Table of Contents
Advertisement
Quick Links
N2953
www.tar gus.com/us/forMac
USER GU ID E
©2008 Manufactured or imported by Targus Group
International, Inc. (for U.S. sales: 1211 North Miller Street,
Anaheim, CA 92806 USA, for Australia sales: Targus Australia
Pty. Ltd., 117-119 Bowden Street, Meadowbank, NSW 2114
Australia). All rights reserved. Targus is either a registered
trademark or trademark of Targus Group International, Inc.
in the United States and/or other countries. Features and
specifications are subject to change without notice. Mac, the
Mac logo, Mac OS, Safari and iTunes are trademarks of Apple
Inc., registered in the U.S. and other countries. All trademarks
and registered trademarks are the property of their respective
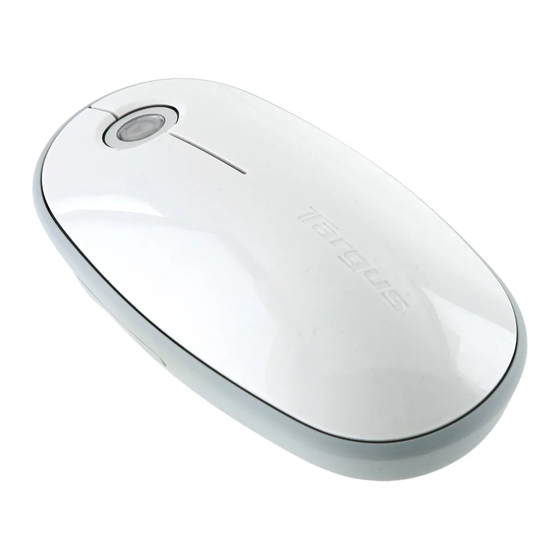
Wireless Mouse
owners. This product and its various features are protected
under patents US7298362, TWM249131, CNZL03275852.9,
JP3132101,
DE202007005619.2,
CNZL200620131443.5,
JP3232194,
DE202007004256.6,
DE202007006210.9.
Other
United
States
and
foreign
patents
pending.
for Mac
®
ONE YEAR LIMITED WARRANTY
Advertisement
Table of Contents

Summary of Contents for Targus AMW43US
- Page 1 ©2008 Manufactured or imported by Targus Group International, Inc. (for U.S. sales: 1211 North Miller Street, Anaheim, CA 92806 USA, for Australia sales: Targus Australia Pty. Ltd., 117-119 Bowden Street, Meadowbank, NSW 2114 Australia). All rights reserved. Targus is either a registered trademark or trademark of Targus Group International, Inc.
-
Page 2: Installing The Batteries
Targus Wireless Mouse Introduction Congratulations on your purchase of the Targus Wireless Mouse. This wireless mouse uses 2.4GHz RF technology which provides a seamless connection up to 33 ft (10 m) away. System Requirements Hardware • USB port Operating System •... -
Page 3: Using The Mouse
• Once the batteries are installed. Close the battery compartment by first re-inserting the front of the cover and then pressing down the back until it locks into position. • Turn on the mouse by sliding the on/off switch on the bottom to the “on” position. Low Battery Power Indicator NOTE: WHEN THE BATTERY POWER IS LOW, THE TOUCH SCROLL WILL FLASH RED. -
Page 4: Establishing The Connection
Establishing the Connection • Remove the mini USB receiver from the bottom of the mouse cover. • Plug the USB receiver into an available USB port on your computer • You are ready to use the mouse. Using the Touch Scroll •... -
Page 5: Programming The Buttons
Follow the on-screen instructions to complete the installation. After the software is successfully installed, restart your computer to finish installing the software. A Targus icon will appear in the System Preferences window. Programming the Buttons Click on the Targus logo to launch the device application. -
Page 6: Troubleshooting
Close the application window to apply the changes. Troubleshooting The mouse is not working. • Make sure the batteries are installed correctly. The positive (+) and negative (-) ends of each battery must match the positive (+) and negative (-) connections in the battery compartment. -
Page 7: Warranty
Under no conditions is Targus liable for loss of, or damage to, a computer or other device(s); nor loss of, or damage to, programs, records, or data; nor any consequential or incidental damages, even if Targus has been informed of their possibility.


