
Related Manuals for Axminster AW318BT


Summary of Contents for Axminster AW318BT
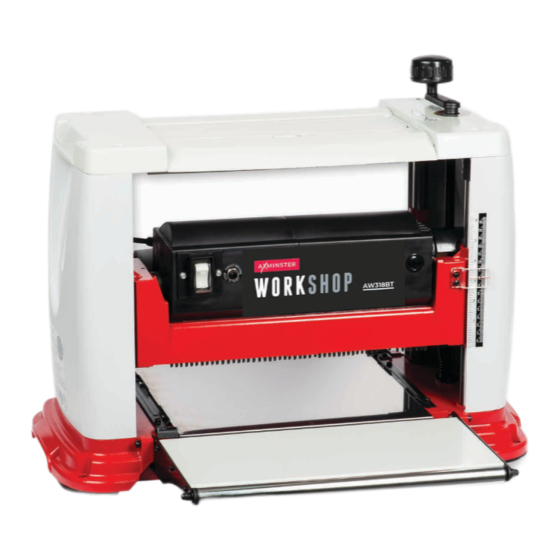
- Page 1 Code 107676 Original Instructions AW318BT Benchtop Thicknesser AT: 28/04/2022 BOOK VERSION: 4...
-
Page 2: Eu Declaration Of Conformity
Troubeshooting Exploded Diagrams/Lists 21-22-23 Wiring Diagram EU Declaration of Conformity Cert No: MB1931(TP2000) EU Declaration of Conformity Axminster Tool Centre Ltd This machine complies with the following directives: Axminster Devon EX13 5PH UK axminstertools.com 2006/42/EC EN 61000-3-11: 2000 EN 55014-1: 2006/A2:2011... -
Page 3: What's Included
What’s Included Quantity Item Part Model Number Benchtop Thicknesser AW318BT Rubber Feet Rise & Fall Operating Handle with M6 Hex Screw and Spring Washer Blade Setting Gauge 8-10mm Spanner 4-5mm Hex Key M8 x 45mm Nex Bolts to secure thicknesser to workbench... -
Page 4: General Instructions For 230V Machines
What’s Included General Instructions for 230V Machines • Carry out a final check e.g. check the cutting tool The following will enable you to observe good working practices, keep yourself and fellow workers safe and maintain is securely tightened in the machine and the correct your tools and equipment in good working order. -
Page 5: Specification
1. Check knives are clean and sharp. make sure that they are rotating freely. 2. Check thicknessing table is clear of debris before commencing work. Specification Code 107676 Model AW318BT Rating Workshop Power 1.8 kW Feed Speed 7 m/min Cutterblock Speed... - Page 6 Assembly Fitting Rubber Feet Rise & Fall Operating Handle...
- Page 7 Assembly Workbench Assembly Place a washer to each corner as shown Mark the four holes with an pencil; drill a 9mm hole to each corner Locate the four M8 Hex bolts (G) and insert down through each hole. Using four M8 washers nuts, secure in place...
-
Page 8: Illustration & Parts Description
Illustration & Parts Description Rise & Fall handle Motor brush NVR Switch Thicknessing head Pointer Scale Extension table Roller Width guide Extension table levelling bolt... - Page 9 Illustration & Parts Description NVR switch (A), Circuit breaker ‘RESET’ switch (B) Thicknessing head rise & fall control handle Cutter block (A), Anti-kickback fingers (B), Feed rollers (C) Tool compartment Thicknessing scale...
- Page 10 Illustration & Parts Description Cutter block cover Motor & gearbox Motor brush Dust extraction Threaded shaft Thicknessing bed...
- Page 11 Illustration & Parts Description Cutter block (A), Blade holder (B), Blade (C), Square nut (D) Width guides (E-F)keep the timber within the boundaries of the cutter block Cutter block cover with a 50mm duct extraction outlet (G) Folding infeed outfeed extension tables...
-
Page 12: Setup And Adjustment
Setup & Adjustment Levelling Extension Tables Wind the thicknessing head up and place a straight edge across the extension tables. Adjust the two stop bolts (A) below the table until level is correct. Loosen nut Adjust stop bolt Table stop bolt (A) and locking nut (B) - Page 13 Setup & Adjustment Setting Cutter Head to Thicknessing Bed Plane a piece of timber and measure the thickness after the cut. If the thicknesses are different on both sides of the work piece, follow the instructions below: Use a piece of hardwood to make a tool gauge block (Illustrations 1-2).
- Page 14 Operating Instructions Connect the thicknesser to a dust extractor with an air volume Circuit Breaker ‘RESET’ Switch of 700m 3 /hr. The thicknesser has an overload switch (3). If an overload occurs, the switch will pop out. Wait several minutes before pressing in the switch to reset the machine.
-
Page 15: Changing The Blades
Changing the Blades DISCONNECT THE MACHINE FROM THE MAINS SUPPLY BEFORE CONTINUING! Loosen Remove assembly Clean cutter block Continues over... - Page 16 Changing the Blades Cutter Block Assembly Blade Setting Gauge Blade Blade Holder Spring Clamping Square Nut...
- Page 17 Changing the Blades CAUTION!! THE BLADES ARE SHARP! Blade Slot Tighten Blade...
-
Page 18: Maintenance
Maintenance Changing the Motor Brushes DISCONNECT THE MACHINE FROM THE MAINS SUPPLY BEFORE CONTINUING! Check the carbon brushes every three months. Replace if worn. Take careful note of the orientation of the brushes when you remove them, remember that they have bedded themselves to the profile of the commutator in that position. - Page 19 Maintenance Checking the Condition of Drive Belt Checking the Condition of Drive Chain • Visually inspect the drive belt for damage or slackness every • Once a month, check the chain drive has not become too month. slack or the teeth on the sprockets too worn. Check the chain has not become clogged.
-
Page 20: Troubleshooting
Troubleshooting PROBLEM POSSIBLE CAUSE SOLUTION Grain is fussy 1. Planing wood with high 1. Dry the wood moisture content 2. Blades are dull 2. Sharpen the blades Grain is torn 1. The cut is too heavy 1. Review proper depth of cut 2. - Page 21 Exploded Diagrams/Lists Continues over...
- Page 22 Exploded Diagrams/Lists DESCRIPTION GUIDE PLATE CLAMP BEARING PRESSING PLATE CONNECTING PLATE POINTER LEAD SCREW SCREW PRESSURE SPRING WASHER FLAT KEY FLAT WASHER COMPRESSION ROLLER SCREW PRESSING PLATE BELT WHEEL CUTTER PLUNGER BASE MOTOR BARREL PIPE SIDE PLATE LIMIT PIN LEAD SCREW TABLE SCALE CHAIN WHEEL...
-
Page 23: Wiring Diagram
Exploded Diagrams/Lists LINE PRESSING CARD BEARING INSERT CHARGING ARM SCREW MOTOR LABEL SCREW SPRING AXIS BRUSH HOUSING CAPACITOR FLAT KEY BRUSH CAP PANEL GEAR CHECK RING SWITCH DEAD PLATE SCREW OIL BEARING SCREW GEAR SCREW COLLAR LOCATING BUSH SPRING WASHER BEARING JOINING CHAIN WASHER... - Page 24 The packaging is suitable for recycling. Please dispose of it in a responsible manner. EU Countries Only Do not dispose of electric tools together with household waste material. By law they must be collected and recycled separately. Axminster Tools, Axminster Devon EX13 5PH axminstertools.com...