
Related Manuals for Bissell MOMENTUM 1792P Series


Summary of Contents for Bissell MOMENTUM 1792P Series
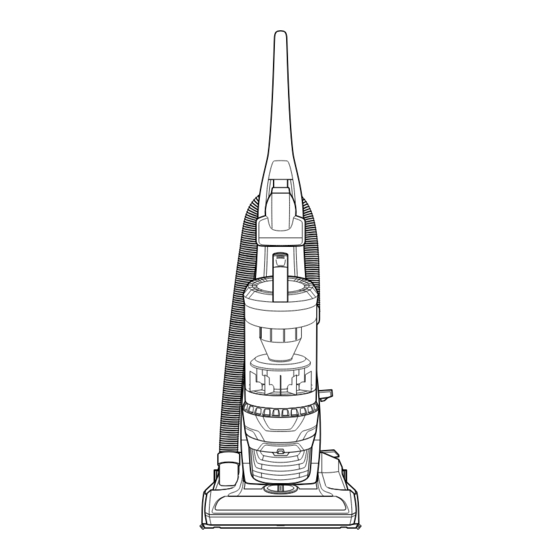
- Page 1 MOMENTUM REWIND PET Vacuum ___________ USER GUIDE 1792P SERIES More of a video person? Look for this icon and go online for an instructional how-to video at www.BISSELL.com...
-
Page 2: Safety Instructions
This plug will fit in a polarized outlet only one way. If the plug does not fit fully in the outlet, reverse the plug. If it still does not fit, contact a qualified electrician to install a proper outlet. Do not change the plug in any way. www.BISSELL.com... -
Page 3: Table Of Contents
Thanks for buying a BISSELL vacuum! We love to clean and we’re excited to share one of our innovative products with you. We want to make sure your vacuum works as well in five years as it does today, so this guide has tips on using (page 6-7), maintaining (pages 7-10), and if there is a problem, troubleshooting (page 10). -
Page 4: Product View
(does not store on vacuum) NOTICE: (2) additional Febreze® Pet Odor Eliminator pre-motor foam filters are included with your vacuum. Febreze and related trademarks are owned by the Procter & Gamble Company, Cincinnati, Ohio and used under license by Bissell Homecare, Inc. www.BISSELL.com... -
Page 5: Assembly
Return dirt tank back onto vacuum, it will click when locked into place. NOTE: The Pet Hair Eraser Tool and Dusting Brush do not store on-board (see Tools section for usage). www.BISSELL.com... -
Page 6: Operations
Push the lower NOTE: For optimal cleaning, adjust to the lowest Handle Recline Pedal practical setting. If your vacuum is difficult to push, or is two times for an even pushing larger debris, adjust to the next higher setting. lower recline. www.BISSELL.com... -
Page 7: Maintenance & Care
Replace the tank back onto the vacuum – it will click when fully installed. NOTE: If you notice excess build up around the top of the tank, before removing top piece, gently tap the tank to allow contents to settle. www.BISSELL.com... - Page 8 WARNING Do not operate vacuum with damp or wet filters, as well as without filters or the Dirt Container in place. Allow components to dry before reassembling the Dirt Container. www.BISSELL.com...
- Page 9 Align latch arrows and tank in warm water release. Wash in warm water with twist tank clockwise with mild detergent. mild detergent. Dry completely until “clicks” into place. Allow tank to air dry. before reassembling. www.BISSELL.com...
-
Page 10: Troubleshooting
Filters missing or installed Check pre-motor and post-motor from cleaner incorrectly filters for correct installation Vacuum Incorrect height adjustment Adjust powerfoot to correct height cleaner setting difficult to push Cord will not Knotted or twisted Follow instructions on page 6 retract www.BISSELL.com... -
Page 11: Warranty
Service If your BISSELL product should require service: Contact BISSELL Consumer Care to locate a BISSELL Authorized Service Center in your area. If you need information about repairs or replacement parts, or if you have questions about your warranty, contact BISSELL Consumer Care. -
Page 12: Product Registration
(and millions of your closest friends) For Parts and Supplies, go to BISSELL.com and know what you think! enter your model number in the search field. For cleaning tips and more visit www.BISSELL.com or find us at: BISSELL BISSELLClean BISSELLClean BISSELL BISSELL ©2017 BISSELL Homecare, Inc...