
Related Manuals for Planet GSD-1022UP


Summary of Contents for Planet GSD-1022UP
- Page 1 2-Port 10/100/1000T 802.3bt PoE + 4-Port 10/100/1000T 802.3at PoE + 2-Port 10/100/1000T + 2-Port 1000X SFP Desktop Switch GSD-1022UP User's Manual...
-
Page 2: Table Of Contents
Table of Contents 1. Package Contents ................. 3 2. Hardware Introduction ................4 2.1 Front Panel ................... 4 2.2 LED Indicators ................4 2.3 Multiple Functions of DIP Switch ............. 5 2.4 Switch Rear Panel ................6 3. Hardware Installation ................7 3.1 Desktop Installation ............... -
Page 3: Package Contents
Thank you for purchasing PLANET 2-Port 10/100/1000T 802.3bt PoE + 4-Port 10/100/1000T 802.3at PoE + 2-Port 10/100/1000T + 2-Port 1000X SFP Desktop Switch, GSD-1022UP. Open the box of the GSD-1022UP and carefully unpack it. The box should contain the following items: Quick Start QR Code Sheet... -
Page 4: Hardware Introduction
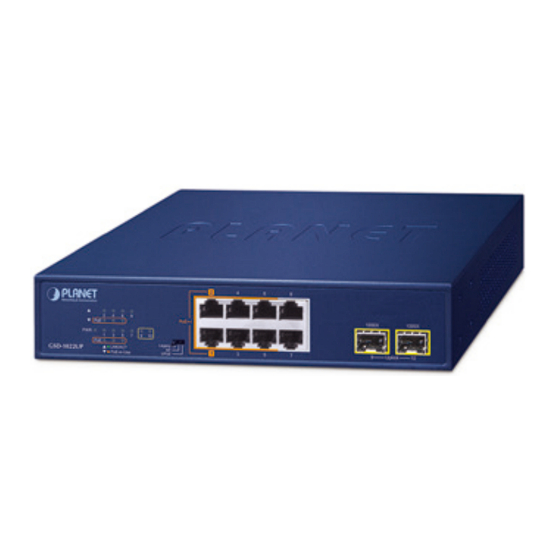
2. Hardware Introduction 2.1 Front Panel The Front Panel of the GSD-1022UP consists of 2-Port 10/100/1000T 802.3bt PoE, 4-Port 10/100/1000T 802.3at PoE, 2-Port 10/100/1000T and 2-Port 1000X SFP. The LED Indicators are also located on the front panel of the GSD-1022UP as shown in Figure 2-1. -
Page 5: Multiple Functions Of Dip Switch
Blinks: sending or receiving data over that port. 2.3 Multiple Functions of DIP Switch The front panel of the GSD-1022UP provides one DIP switch for Legacy, BT and UPoE mode selection. The detailed descriptions are shown in the following table. -
Page 6: Switch Rear Panel
It will prevent you from network data loss or network downtime. In some areas, installing a surge suppression device may also help to protect the GSD-1022UP from being damaged by unregulated surge or current to the GSD-1022UP or the power adapter. -
Page 7: Hardware Installation
3. Hardware Installation This part describes how to install the GSD-1022UP and make connections to it. Please follow the procedure below: This GSD-1022UP does not need software configuration. 3.1 Desktop Installation To install the GSD-1022UP on the desktop, simply follow these steps: Step 1: Attach the rubber feet to the recessed areas on the bottom of the GSD-1022UP as shown in Figure 3-1. -
Page 8: Rack Mounting
To install the GSD-1022UP in a 19-inch standard rack, follow the instructions described below: Step 1: Place the GSD-1022UP on a hard flat surface, with the front panel positioned towards the front side. Step 2: Attach a rack-mount bracket to each side of the Switch with supplied screws attached to the package. - Page 9 Step 4: Follow the same steps to attach the second bracket to the opposite side. Step 5: After the brackets are attached to the GSD-1022UP, use suitable screws to securely attach the brackets to the rack, as shown in Figure 3-3.
-
Page 10: Wall Mounting
Step 1: Please find the wall that can mount the GSD-1022UP. Step 2: Install two screws on the wall. Step 3: Hang the GSD-1022UP on the screws from the wall, as shown in Figure 3-4. Step 4: Proceed with Steps 4 and 5 of Desktop Installation to connect the network cabling and supply power to the GSD-1022UP. -
Page 11: Installing The Sfp Transceiver
Figure 3-5: Plugging In the SFP Transceiver Approved PLANET SFP Transceivers GSD-1022UP supports both single mode and multi-mode SFP transceivers. The following list of approved PLANET SFP transceivers is correct at the time of publication: Gigabit SFP Transceiver Modules ... - Page 12 1. Insert the duplex LC connector into the SFP transceiver. 2. Connect the other end of the cable to a device with SFP transceiver installed. 3. Check the LNK/ACT LED of the SFP slot on the front of the GSD-1022UP. Ensure that the SFP transceiver is operating correctly.
- Page 13 Remove the Transceiver Module 1. Make sure there is no network activity by consulting or checking with the network administrator. Or through the management interface of the switch/ converter (if available) to disable the port in advance. 2. Remove the Fiber-Optic Cable gently. 3.
-
Page 14: Product Specifications
4. Product Specifications Model GSD-1022UP Hardware Specifications Copper Port 8 10/100/1000BASE-T RJ45 auto MDI/MDIX ports Fiber Port 2 1000BASE-X SFP slots 2 ports with 802.3bt PoE++ injector function (Ports 1 to 2) PoE Inject Port 4 ports with 802.3af/at PoE+ injector function... - Page 15 Switch Fabric 20Gbps Switch Throughput 13.39Mpps Jumbo Packet 9K bytes Back pressure for half duplex. IEEE 802.3x Flow Control pause frame for full duplex Power over Ethernet IEEE 802.3af Power over Ethernet/PSE PoE Standard IEEE 802.3at Power over Ethernet Plus/PSE IEEE 802.3bt Power over Ethernet Plus Plus/PSE PoE Power Supply Ports 1 to 2: End-span + Mid-span;...
-
Page 16: Physical Dimensions
5. Physical Dimensions The GSD-1022UP dimensions (W x D x H): 220 x 150 x 44mm 1000X 1000X PoE++ Legacy GSD-1022UP LNK/ACT Uplink PoE-in-Use UPoE Unit: mm... -
Page 17: Customer Support
Customer Support Thank you for purchasing PLANET products. You can browse our online FAQ resource on PLANET Web site first to check if it could solve your issue. If you need more support information, please contact PLANET support team. PLANET online FAQs: https://www.planet.com.tw/en/support/faq...