Table of Contents
Advertisement
Quick Links
Advertisement
Table of Contents

Related Manuals for Bosch HBN331.3B


Summary of Contents for Bosch HBN331.3B
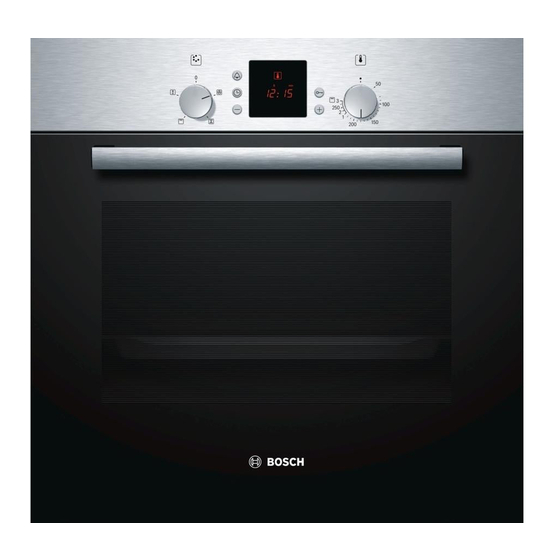
- Page 1 Built-in oven HBN331.3B [en] Instruction manual...
-
Page 3: Table Of Contents
Detaching and refitting the rails ............ 11 Additional information on products, accessories, replacement Detaching and attaching the oven door........11 parts and services can be found at www.bosch-home.com and Removing and installing the door panels ........12 in the online shop www.bosch-eshop.com : Important safety information Read these instructions carefully. -
Page 4: Causes Of Damage
Always slide accessories into the cooking Risk of injury! compartment correctly. See "Description of Scratched glass in the appliance door may accessories in the instruction manual. develop into a crack. Do not use a glass scraper, sharp or abrasive cleaning aids or Risk of fire! detergents. -
Page 5: Your New Oven
Very dirty door seal: If the door seal is very dirty, the Inserting accessories: depending on the appliance model, ■ ■ appliance door will no longer close properly when the accessories can scratch the door panel when closing the appliance is in use. The fronts of adjacent units could be appliance door. -
Page 6: Temperature Selector
Temperature selector Cooking compartment Use the temperature selector to set the temperature and the The oven light is located in the cooking compartment. A cooling grill setting. fan protects the oven from overheating. Oven light Positions Function During oven operation, the oven light is on. By turning the Zero position Oven not hot. -
Page 7: Optional Accessories
Optional accessories Information regarding this can be found in the sales documents. You can buy optional accessories from your after-sales service Not every optional accessory is suitable for every appliance. or from specialist retailers. You will find a variety of suitable When purchasing, always quote the complete identification products for your oven in our brochures and on the Internet. -
Page 8: Setting The Oven
Setting the oven There are various ways in which you can set your oven. Here Press the Clock button. we will explain how you can select the desired type of heating Cooking time symbol flashes. and temperature or grill setting. You can select the cooking time and end time for your dish on the oven. -
Page 9: If The Oven Is To Switch On And Off Automatically
If the oven is to switch on and off automatically Please remember that easily spoiled foods must not be allowed to remain in the cooking compartment for too long. Example in the picture: 3D hot air , 200 °C. It is 10:45. The meal takes 45 minutes to cook and should be ready at 12:45 . -
Page 10: Childproof Lock
Childproof lock Oven To switch off: press and hold the key button until the symbol goes out. The oven has a childproof lock to prevent children switching it Notes on accidentally. You can set the timer and clock at any time. ■... -
Page 11: Detaching And Refitting The Rails
Detaching and refitting the rails Insert both frames into the side walls of the oven (figure E). If the rails are fitted correctly, the distance between the two The rails can be removed for cleaning. The oven must have upper shelf positions is greater. cooled down. -
Page 12: Removing And Installing The Door Panels
Lift the panel up and pull it out (fig. C). Attaching the door Reattach the oven door in the reverse sequence to removal. When attaching the oven door, ensure that both hinges are inserted straight into the opening (figure A). The notch on the hinge must engage on both sides (figure B). -
Page 13: Troubleshooting
Troubleshooting Replacing the bulb in the oven ceiling light Malfunctions often have simple explanations. Refer to the table before calling the after-sales service as you may be able to If the bulb in the oven light fails, it must be replaced. Heat- remedy the fault yourself. -
Page 14: Energy And Environment Tips
Energy and environment tips Measures to be noted during transport Here you can find tips on how to save energy when baking and roasting and how to dispose of your appliance properly. Secure all mobile parts in and on the appliance using an adhesive tape that can be removed without leaving any traces. -
Page 15: Baking Tips
Food Dish Shelf Type of Temperature Time position heating in °C in minutes Victoria sandwich Wire rack + 2 x Ø 20 cm tins 20-30 Light fruit cake Wire rack + high Ø 20 cm tin 80-90 Rich fruit cake Wire rack + Ø... -
Page 16: Meat, Poultry, Fish
The bread or cake (e.g. cheesecake) Use slightly less fluid next time and bake for slightly longer at a lower temperature. For looks good, but is soggy on the inside cakes with a moist topping, bake the base first. Sprinkle it with almonds or bread crumbs (sticky, streaked with water). -
Page 17: Tips For Roasting And Grilling
Grilling Food Dish Shelf posi- Type of Grill setting Time tion heating in minutes Meat steaks Wire rack + universal pan 2 or 3 15-20 Sausages Wire rack + universal pan 15-20 Fish Wire rack + universal pan 25-30 Toast Wire rack + universal pan Tips for roasting and grilling The table does not contain information... -
Page 18: Drying
Drying Line the universal pan and the wire rack with greaseproof or parchment paper. With 3D hot air, you can dry foods brilliantly. Turn very juicy fruit or vegetables several times. Use unblemished fruit and vegetables only and wash them Remove fruit and vegetables from the paper as soon as they thoroughly. -
Page 19: Test Dishes
Test dishes These tables have been produced for test institutes to facilitate Piped cookies (such as Spritz cookies in sugar syrup): the inspection and testing of the various appliances. Dishes that are put in the oven at the same time do not have to be ready at the same time. - Page 20 Robert Bosch Hausgeräte GmbH Carl-Wery-Straße 34 81739 München Germany www.bosch-home.com *9001098398* 211295 9001098398...