Table of Contents
Advertisement
Quick Links
Advertisement
Table of Contents

Related Manuals for WAGNER W 200


Summary of Contents for WAGNER W 200
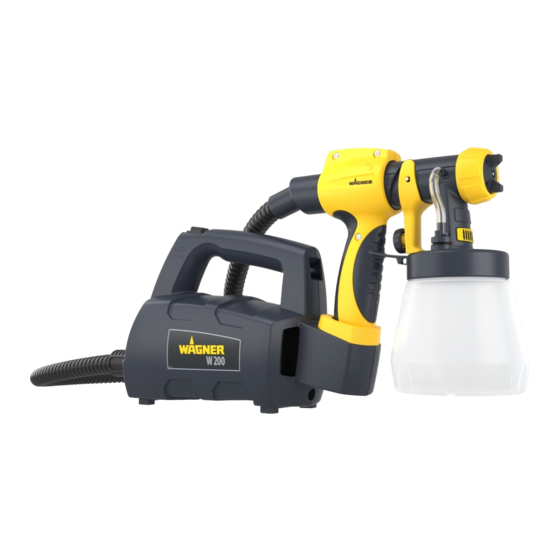
- Page 1 WOOD & METAL SPRAYER W 200 ORIGINAL- BETRIEBSANLEITUNG wagner-group.com...
- Page 2 W 200...
- Page 3 W 200...
- Page 4 W 200...
- Page 5 W 200 12 B 12 A 12 A 12 B...
- Page 6 W 200 . . . . . . . . . . . . . . . . . . . . . . . . . . . . . . . . . . . . . . . . . .1 - 14 .
-
Page 7: Table Of Contents
Translation of the original operating instructions MANY THANKS FOR PLACING YOUR TRUST IN US We would like to congratulate you on purchasing this brand product from Wagner; we are sure that you will enjoy working with it greatly. Please read the Operating Manual carefully and observe the safety information before starting the device. -
Page 8: Explanation Of Symbols Used
W 200 1. Explanation of symbols used This symbol indicates a potential danger for you or for the device. Under this symbol you can find important information on how to avoid injuries and damage to the device. Danger of electrical shock Indicates tips for use and other particularly useful information. - Page 9 W 200 c) Do not expose power tools to rain or wet conditions. Water entering a power tool will increase the risk of electric shock. d) Do not abuse the cord. Never use the cord for carrying, pulling or unplugging the power tool. Keep cord away from heat, oil, sharp edges or moving parts.
-
Page 10: Safety Instructions For Spray Guns
W 200 4. Usage and treatment of the electric tool a) Do not overload the tool. Use the power tool designed for the work that you are doing. You work better and safer in the specified performance range if you use the suitable power tool. -
Page 11: Description/ Scope Of Delivery
• Do not lay the spray gun. With original WAGNER accessories and spare parts, you have the guarantee that all safety regulations are fulfilled. 4. Description/ Scope of delivery Description/ Scope of delivery (Fig. -
Page 12: Coating Materials Suitable For Use
W 200 5. Coating Materials Suitable for Use Water- and solvent-based paints, finishes, primers, 2-component paints, clear finishes, automotive finishes, staining sealers and wood sealer-preservatives. All coating materials with the red Perfect Spray logo. 6. Coating Materials Not Suitable for Use Wall paints without the red Perfect Spray logo. -
Page 13: Adjusting The Desired Spray Setting
W 200 • Set the container on a sheet of paper, pour in the prepared coating material and screw the container tightly onto the spray gun. • Connect the front part with the rear part of the gun. (Fig. 5) •... -
Page 14: Interruption Of Work Till 4 Hours
W 200 The spray movement should come from the arm, not just from the wrist. This ensures that a uniform distance is maintained between the spray gun and the spray surface during the spray operation. Select a distance of 5 - 15 cm, depending on the desired spray jet width. -
Page 15: Maintenance
W 200 12) Unscrew the union nut and remove the air cap and nozzle. Clean the air cap, nozzle seal and nozzle with a brush and solvent or water (Fig. 12, 5). 13) Clean the outside of the spray gun and container with a cloth soaked in solvent or water. -
Page 16: Spare Parts
2315 539 16. Accessories The CLICK&PAINT SYSTEM with additional spray attachments and accessories offers the right tool for each work. Further information about the WAGNER range of products for renovating is available under www.wagner-group.com 17. Correction of Malfunctions Problem Cause Remedy •... -
Page 17: Technical Data
W 200 Problem Cause Remedy • Coating material Coating material assembly ➞ Clean drips from the at air cap, nozzle or needle • nozzle Nozzle loose ➞ Union nut tighten • Nozzle seal worn ➞ Change • Nozzle worn ➞ Change •... -
Page 18: Environmental Protection
W 200 Technical Data Sound pressure level*: 72 dB (A); Uncertainty K = 4 dB Sound pressure output*: 85 dB (A); Uncertainty K = 4 dB Oscillation level*: < 2.5 m/s²; Uncertainty K = 1.5 m/s² Air hose length: 1.8 m Weight: approx. - Page 19 W 200 Warning If the supply cord of this appliance is damaged, it must only be replaced by a repair shop appointed by the manufacturer, because special purpose tools are required. Warning: Do not connect the blue or brown wire to the earth...
- Page 20 The guarantee expires if the tool is opened up by persons other than WAGNER service personnel. Transport damage, maintenance work and loss and damage due to faulty maintenance work are not covered by the guarantee. Under any guarantee claim, there must be proof of purchase of the tool through submission of the original receipt.
- Page 21 W 200...
- Page 22 Attiki, Greece P.O. BOX 293 T 22990 41056 F 22990 41059 Irrtümer und Änderungen vorbehalten. Not responsible for errors and changes. Part. No. 2361670 A 12/2017_RS Sous réserves d’erreurs et de modifications. © Copyright by J.Wagner GmbH Fouten en wijzigingen voorbehouden.