Advertisement
Quick Links
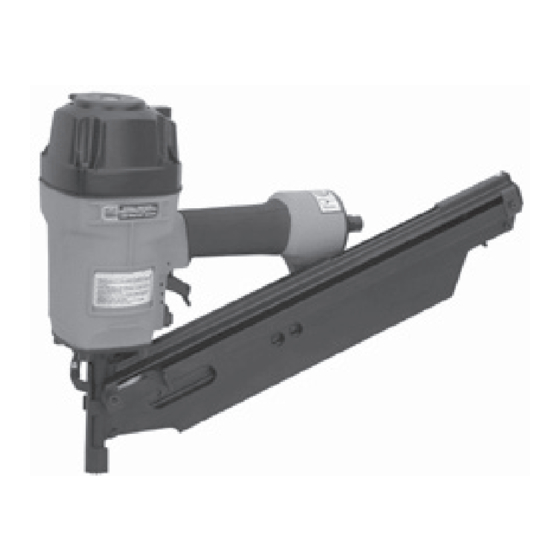
AIR FRAMING NAILER
8-10 GAUGE
Model 46240-B
ASSEMBLY and OPERATING
INSTRUCTIONS
3491 Mission Oaks Blvd., Camarillo, CA 93011
Visit our Web site at http://www.harborfreight.com
TO PREVENT SERIOUS INJURY,
READ AND UNDERSTAND ALL WARNINGS
AND INSTRUCTIONS BEFORE USE.
©
®
Copyright
2003 by Harbor Freight Tools
. All rights reserved. No portion
of this manual or any artwork contained herein may be reproduced in any shape
or form without the express written consent of Harbor Freight Tools.
For technical questions and replacement parts, please call 1-800-444-3353
REV 06/04
REV 11/04
Advertisement

Related Manuals for Central Pneumatic Contractor Series


Summary of Contents for Central Pneumatic Contractor Series
- Page 1 AIR FRAMING NAILER 8-10 GAUGE Model 46240-B ASSEMBLY and OPERATING INSTRUCTIONS 3491 Mission Oaks Blvd., Camarillo, CA 93011 Visit our Web site at http://www.harborfreight.com TO PREVENT SERIOUS INJURY, READ AND UNDERSTAND ALL WARNINGS AND INSTRUCTIONS BEFORE USE. © ® Copyright 2003 by Harbor Freight Tools .
-
Page 2: Specifications
Specifications Nail Size , 0.113” - 0.131” Diameter (8-10 Gauge), 2” - 3-1/2” long Clipped Head Nails Magazine Capacity Air Inlet 1/4”- 18 NPT Recommended Air Pressure 60-125 PSI * Maximum Air Pressure 100 PSI Safety Feature Full Sequential Safety Trip Mechanism This Nailer Features an Adjustable Depth Mechanism, see page 10. - Page 3 Use eye and ear protection. Always wear ANSI approved impact safety goggles and appropriate hearing protection. Wear a full face shield if you are producing metal filings or wood chips. Wear an ANSI approved dust mask or respirator when working around metal, wood, and chemical dusts and mists. Other people in the work area must also wear ANSI approved impact safety goggles.
- Page 4 19. Maintenance. The maintenance outlined in the maintenance section should be performed regularly. For your safety, this product should be serviced or repaired regularly only by a qualified technician. Compressed air only. Never use combustible gas as a power source. Do not load nails with the trigger or safety depressed.
- Page 5 Unpacking When unpacking, check to make sure the parts listed on page 10 are included. If any parts are missing or broken, please call Harbor Freight Tools at the number on the cover of this manual as soon as possible. Warning! Disconnect the Nailer from the air compressor whenever loading or servicing.
- Page 6 Testing the Full Sequential Safety Trip Mechanism Warning: Even though the nailer should be empty during this procedure, ALWAYS point the nailer at a piece of scrap wood when testing. Make sure the tool is disconnected from the power supply. Completely empty the Magazine (56) of nails.
- Page 7 Loading Nails ALWAYS WEAR ANSI APPROVED IMPACT SAFETY GOGGLES WHEN RELOADING OR DOING ANY OTHER MAINTENANCE ON THIS TOOL. Other people in the work area must also wear ANSI approved impact safety goggles. Always disconnect the air nailer from the air supply when loading the magazine. Grasp the finger grip at the lower left side of the magazine, and pull the slide firmly back until it latches.
- Page 8 Anytime any maintenance or repairs are done (including clearing jams), FIRST: Disconnect the Nailer from the air hose. Empty the Magazine (56) completely. Attempt to fire the Nailer into a piece of scrap wood to ensure that it is disconnected and is incapable of firing any brads.
-
Page 9: Maintenance
Troubleshooting Note: Have the following problems repaired by a qualified service technician. n i l . s t l i a . s l t t i s l i l i a i l s l i a l l i s l i l i a . -
Page 10: Parts List
Parts List d i l l i a n i l d i l n i l l i a NOTE: Some parts are listed and shown for illustration purposes only and are not available individually as replacement parts. PLEASE READ THE FOLLOWING CAREFULLY THE MANUFACTURER AND/OR DISTRIBUTOR HAS PROVIDED THE PARTS DIAGRAM IN THIS MANUAL AS A REFERENCE TOOL ONLY. -
Page 11: Assembly Diagram
Assembly Diagram SKU 46240-B For technical questions, please call 1-800-444-3353. Page 11...