Omron HJ-320 - Pedometer Manual
- Instruction manual (22 pages) ,
- Instruction manual (2 pages)
Advertisement
INTRODUCTION
Thank you for purchasing the OMRON® HJ-320 Pedometer.
- Staple your purchase receipt here
- Register your product online at
www.register-omron.com
This Pedometer features advanced 3D Smart Sensor technology - so it knows exactly when you're taking a step. It's more accurate than other pedometers which use a simple pendulum design. Use this in your pocket, bag or on your hip for added convenience. The seven day memory helps you keep track of your daily activity to help you reach your fitness goals. Use this unit everyday to monitor your fitness achievements! Your Pedometer comes with the following components:
Pedometer
Battery (CR2032 installed)
Screwdriver
Holder
Instruction Manual
Please read this instruction manual thoroughly before using the unit. Please keep for future reference.
SAVE THESE INSTRUCTIONS
IMPORTANT SAFETY INFORMATION
To assure the correct use of the product basic safety measures should always be followed including the warnings and cautions listed in this instruction manual.
| SAFETY SYMBOLS USED IN THIS INSTRUCTION MANUAL | |
 | Indicates a potentially hazardous situation which, if not avoided, could result in death or serious injury. |
 | Indicates a potentially hazardous situation which, if not avoided, may result in minor or moderate injury to the user or patient or damage to the equipment or other property. |
OPERATING THE DEVICE
- Contact your physician or healthcare provider before beginning a weight reduction or exercise program.
- Keep the unit out of the reach of young children. The unit contains small pieces that may be swallowed. Immediately contact your physician if any piece is swallowed.
- Please use caution when wearing the unit around your neck so as to avoid possible strangulation. Do not place the unit around the neck of children.
- If battery fluid gets in your eyes, immediately rinse with plenty of clean water. Contact a physician immediately.
- Read all information in the instruction manual and any other literature included in the box before using the unit. Operate the unit only as intended. Do not use for any other purpose.
- If battery fluid gets on your skin or clothing, immediately rinse with plenty of clean water.
- Do not insert the battery with the polarities in the wrong direction.
- Do not throw the battery into fire. The battery may explode.
- Dispose of the device, battery, and components according to applicable local regulations. Unlawful disposal may cause environmental pollution.
CARE AND MAINTENANCE
- Do not disassemble or modify the unit. Changes or modifications not approved by Omron Healthcare will void the user warranty.
- Do not subject the unit to strong shocks, such as dropping the unit on the ground.
- Do not submerge the unit or any of the components in water.
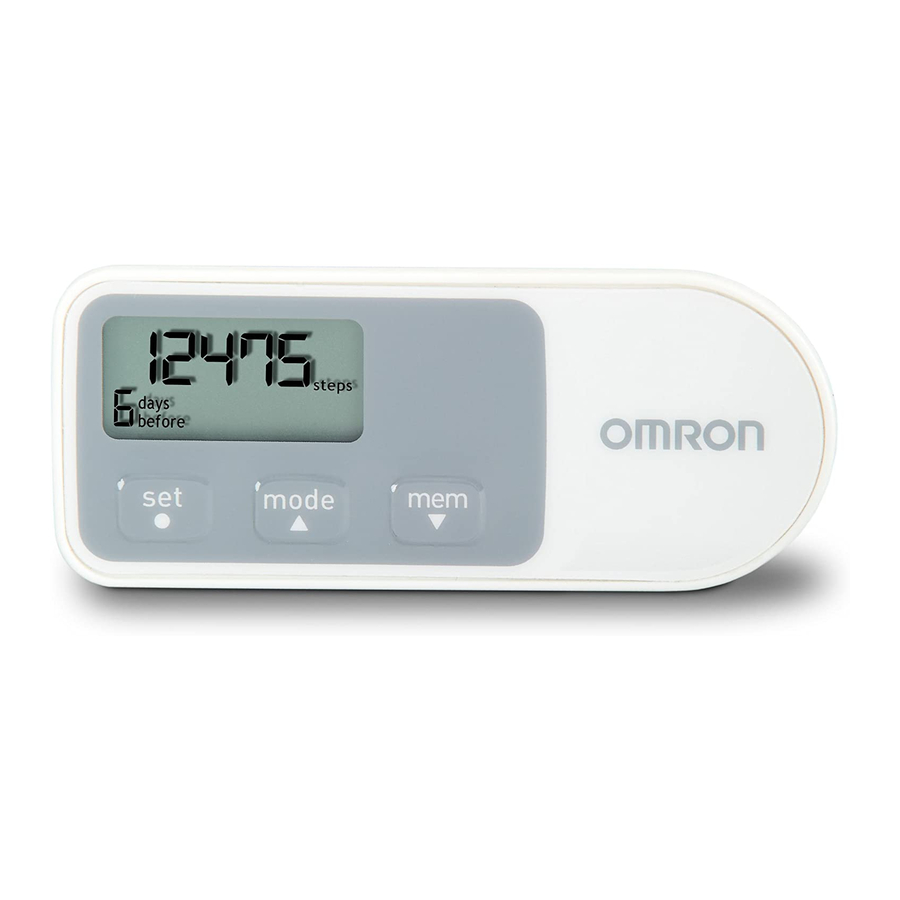
KNOW YOUR UNIT
Front of unit

 NOTE: Remove the protective film from the face of the display.
Back of the main unit

Components
Holder
Attach/remove the holder as illustrated below.

NOTE: When attaching the holder, do not grip it strongly at the top and bottom.

STRIDE LENGTH MEASUREMENT
Measure your stride length before setting the pedometer.
How to measure your stride length
- Walk 10 steps with your normal stride as illustrated below.

- Measure the distance from START to END in inches.
- Calculate your stride length by dividing the total distance by 10.

Example:
Total distance = 320''
320 ÷ 10 = 32 inches (2 feet 8 inches)
Conversion Chart
12 inches = 1 foot
24 inches = 2 feet
36 inches = 3 feet
48 inches = 4 feet
SETTINGS
The unit comes with the battery installed. When you use the unit for the first time, follow the steps below. For setting range details refer to "SPECIFICATIONS".
NOTE: If the initial settings are not correct, the measurement results may not be accurate.
- Press and hold
![]() ,
, ![]() or
or ![]() .
.
After the following display,"inch" and "cm" flash on the display.

- Setting the stride length unit.
- Press
![]() or
or ![]() to select the mode.
to select the mode.
![]()
- Press
![]() to confirm the setting.
to confirm the setting.
![]()
- Press
- To set the distance unit, repeat steps A) and B) in step 2 above.
- To set the time display, repeat steps A) and B) in step 2 above.
- Setting the stride length.
- Press
![]() or
or ![]() to select the desired value for a setting.
to select the desired value for a setting.
![]()
- Press
![]() or (
or (![]() ) to advance (go back) one.
) to advance (go back) one. - Hold
![]() or (
or (![]() ) down to advance (go back) rapidly.
) down to advance (go back) rapidly.
- Press
- Press
![]() to confirm the setting.
to confirm the setting.
![]()
- Press
- To set the hour, repeat steps A) and B) in step 5 above.
- To set the minute, repeat steps A) and B) in step 5 above.


 or
or  to select the desired value for a setting.
 ) to advance (go back) one.
 to confirm the setting.
All the settings are completed.
Adjust the settings
- Press and hold
![]() .
.
"inch" or "cm" flash on the display. - Follow the procedure from step 2 of "SETTINGS".
USING THE UNIT
The unit accurately counts in a pocket, bag or anywhere you want to put it. The unit may be placed in the upper front pocket of your clothing, in the front pocket of your pants, in a bag, or attached to your belt or pants, or hang it from your neck.
- Simply bring the unit with you wherever you go.
![warning]() NOTE: In order to avoid counting steps that are not part of a walk, the unit does not display the step count for the first 4 seconds of walking. If you continue walking for more than 4 seconds, it displays the step count for the first 4 seconds and then continues to count.
NOTE: In order to avoid counting steps that are not part of a walk, the unit does not display the step count for the first 4 seconds of walking. If you continue walking for more than 4 seconds, it displays the step count for the first 4 seconds and then continues to count. - Press
![]() to read the data.
to read the data.
The unit may not count steps correctly in the following conditions:
- The unit moves irregularly.
- When the unit is placed in a bag and a bag moves irregularly.
- When the unit swings from your belt, the top of your pants or a bag.
- Walking at an inconsistent pace.
- When you shuffle or wear sandals.
- Starting and stopping or other forms of inconsistent walking.
- Up and down movement.
![]()
- Standing up and/or sitting down movement.
- Playing sports other than walking.
- Ascending or descending movement on stairs or on a steep slope.
- Vibrations from a moving vehicle.
- Such as riding a bicycle, automobile, train or bus.
- Walking extremely slowly.

READING THE CURRENT DISPLAY
Press ![]() to change the display.
to change the display.

The battery saving mode
After 5 minutes with no button being pressed, the display will automatically turn off. However, the unit continues counting steps. This mode extends the battery life.
Press  ,
,  or
or  to activate the display again.
MEMORY FUNCTION
The unit stores 7 days of measurements for steps and distance.
The current day's data is automatically stored in memory when the time reaches 12:00AM (0:00). The display will return to 0.
NOTE:
The time must be correctly set in the unit.
- Press
![]() to select the type of measurement you want to see (steps or distance).
to select the type of measurement you want to see (steps or distance). - Press
![]() to view the results (days 1-7) in memory.
to view the results (days 1-7) in memory.
 to select the type of measurement you want to see (steps or distance).
 to view the results (days 1-7) in memory.
The display changes with each press of ![]() as shown below.
as shown below.
- Keep
![]() pressed to automatically change the display until the current display is displayed.
pressed to automatically change the display until the current display is displayed.


NOTE: If no button is pressed for more than 1 minute, the display will return to the current day's data.
BATTERY LIFE
If the ![]() symbol blinks or appears on the display, replace the battery with a new (CR2032) battery. If the battery is removed, the settings and all measurement values will be deleted. Please reset the settings (refer to "SETTINGS").
symbol blinks or appears on the display, replace the battery with a new (CR2032) battery. If the battery is removed, the settings and all measurement values will be deleted. Please reset the settings (refer to "SETTINGS").
NOTES:
- If you want to keep any of the measurement values, make a note of them before removing the battery.
- The supplied battery is for initial use. The battery life may be shorter.
BATTERY REPLACEMENT
- Loosen the screw of the battery cover on the back of the unit. Remove the battery cover by pulling it off in the direction of the arrow.
Use the supplied screwdriver or use a small screwdriver to loosen the screw on the battery cover.

- Remove the battery with a toothpick.
![]()


NOTE: Do not use a pair of metal tweezers or any metal object such as a small screwdriver.
Dispose of the device, battery, and components according to applicable local regulations. Unlawful disposal may cause environmental pollution.
Do not throw the battery into fire. The battery may explode.
- Insert the battery (CR2032) with the positive (+) side face up.
![]()
- Replace the battery cover by sliding the catch in first, then tighten the screw.


CARE AND MAINTENANCE
To keep the unit in the best condition and protect the unit from damage follow the directions listed below:
Do not disassemble or modify the unit. Changes or modifications not approved by Omron Healthcare will void the user warranty.
Clean the unit with a soft dry cloth.
Do not use any abrasive or volatile cleaners.
Do not immerse the unit or any of the components in water.
The unit is not waterproof. Do not wash it or touch it with wet hands. Be careful that water does not get into the unit.

Store the unit in a safe and dry location.
Avoid the unit being exposed to direct sunlight, high temperatures, high humidity, water and/or dust.
Do not subject the unit to strong shock, drop, or step on it.
Replace a worn battery with a new one immediately.
Remove the battery if the unit will not be used for three months or longer.
Use of the unit must be consistent with the instructions provided in this manual.
TROUBLESHOOTING TIPS
| Problem | Probable Cause | How to Correct |
| The low battery indicator blinks or appears continuously | The battery is low or worn. | Replace the battery with a new one (CR2032), refer to "BATTERY REPLACEMENT". |
| Nothing is displayed. | Battery saving mode active. | Press either of , or , refer to "About the battery saving mode (sleep mode)" in "READING THE CURRENT DISPLAY". |
| The polarities of the battery (+ and -) are aligned in the wrong directions. | Insert the battery in correct alignement, refer to "BATTERY REPLACEMENT". | |
| The battery is worn | Replace the battery with a new one (CR2032), refer to "BATTERY REPLACEMENT". | |
| The displayed values are incorrect. | The unit is positioned incorrectly. | Refer to "The unit may not count steps correctly in the following conditions:" in "USING THE UNIT". |
| Irregular movement. Inconsistent pace. Up and down movement. | ||
| The set values are wrong. | Check the settings, refer to "SETTINGS". | |
| The display is unusual or the buttons do not operate normally. | Replace the battery with a new one (CR2032), refer to "BATTERY REPLACEMENT". | |
 | Device error. | Reinstall the battery, refer to "BATTERY REPLACEMENT". |
NOTE: If a malfuncion has occurred and you need to repair your unit, all settings and measurement results are deleted. We recommend that you record measurement results.
SPECIFICATIONS
| Model: | HJ-320 (HJ-320-Z) | |
| Power Supply: | 3VDC (1 lithium battery CR2032) | |
| Measurement Range: | Steps: | 0 to 99,999 steps |
| Distance: | 0.0 to 3,725.9 miles / 0.0 to 5,999.9 km | |
| Time: | 12:00AM to 11:59PM / 0:00 to 23:59 | |
| Memory: | Previous 7 days on display | |
| Setting Range: | Time: 12:00AM to 11:59PM / 0:00 to 23:59 | |
| Stride length: 12" to 48" (in increments of 1'') / 30 to 120 cm (in increments of 1 cm) | ||
| Operating Temperature/Humidity: | 14°F to 104°F (-10°C to +40°C) / 30% to 85% RH | |
| Battery Life: | Approx. 6 months* (When used for 12 hours a day) NOTE: The supplied battery is for initial use. This battery can run out within 6 months. | |
| External Dimensions: | Approx. 3''(w) × 1 1/4''(h) × 5/16''(d) (75 mm × 31 mm × 8 mm) | |
| Weight: | Approx. 0.7 oz (battery included) | |
| Contents: | Pedometer, Holder, Battery (CR2032 installed), Screwdriver, and Instruction manual | |
- Specifications are subject to change without notice.
* New battery life based on OMRON testing.

Documents / Resources
References
Download manual
Here you can download full pdf version of manual, it may contain additional safety instructions, warranty information, FCC rules, etc.
Advertisement
Thank you! Your question has been received!


Need Assistance?
Do you have a question about the HJ-320 that isn't answered in the manual? Leave your question here.