Dell OptiPlex 960 Setup And Features Information
Hide thumbs
Also See for OptiPlex 960:
- Service manual (146 pages) ,
- Technical manualbook (40 pages) ,
- Configuration manual (16 pages)
Advertisement
Quick Links
About Warnings
WARNING:
A WARNING indicates potential damage to hardware or loss of data
if instructions are not followed.
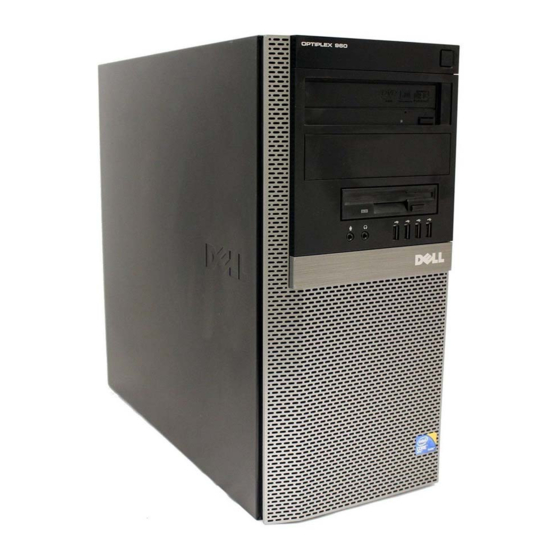
Dell™ OptiPlex™ 960
Setup and Features Information
Mini Tower
Front and Back View
—
1
2
3
12
11
1
hard drive activity light
3
WiFi (optional) light
September 2009
4
13
5
6
7
8
9
10
2
network link integrity light
4
diagnostic lights
14
15
16
Models: DCSM, DCNE,
DCCY, DCSM1F, DCNE1F,
and DCCY1F series.
17
18
19
Advertisement

Related Manuals for Dell OptiPlex 960


Summary of Contents for Dell OptiPlex 960
- Page 1 About Warnings WARNING: A WARNING indicates potential damage to hardware or loss of data if instructions are not followed. Dell™ OptiPlex™ 960 Setup and Features Information Mini Tower Front and Back View — hard drive activity light network link integrity light...
- Page 2 (4) Desktop — Front and Back View power button, power light CD/DVD drive CD/DVD drive tray eject Dell badge button...
- Page 3 USB 2.0 connectors (2) microphone connector headphone connector flex bay (for optional floppy drive, memory card reader, or second 3.5-inch hard disk drive) hard drive activity light link integrity light WiFi (optional) light diagnostic lights expansion card slots (4) power supply check button power supply check light cover release latch and padlock ring security cable slot...
- Page 4 (for optional floppy drive or memory card reader) CD/DVD drive (slimline) CD/DVD drive eject button Dell badge headphone connector microphone connector USB 2.0 connectors (2) hard drive activity light link integrity light WiFi (optional) light...
-
Page 5: Quick Setup
WARNING: Before you begin any of the procedures in this section, read the safety information that shipped with your computer. For additional best practices information see www.dell.com/regulatory_compliance. NOTE: Some devices may not be included if you did not order them. - Page 6 The DisplayPort cable. DVI to DisplayPort connector. Connect a USB device, such as Connect the network cable a keyboard or mouse. (optional). Connect the modem (optional). Connect the power cable(s).
-
Page 7: Specifications
Press the power buttons on the monitor and the computer. Specifications NOTE: The following specifications are only those required by law to ship with your computer. For a complete and current listing of the specifications for your computer, go to support.dell.com. Video Type: ®... - Page 8 Drives (continued) Internally accessible: Mini Tower — two 3.5-inch hard disk drives (HDDs) or two 2.5-inch HDDs Desktop — two 3.5-inch HDDs or two 2.5-inch HDDs Small Form Factor — one 3.5-inch HDD or two 2.5-inch HDDs Mini Tower — two external 5.25-inch bays, one external 3.5-inch bay, Available devices: two internal 3.5-inch bays Desktop —...
- Page 9 Controls and Lights (continued) Rear of computer: Link integrity light Link integrity light color is based on the link speed: (on integrated 10 - Green, 100 - Orange, 1000 - Amber/Yellow network adapter) Off (no light) — The computer is not detecting a physical connection to the network.
-
Page 10: Finding More Information And Resources
Reproduction of these materials in any manner whatsoever without the written permission of Dell Inc. is strictly forbidden. Trademarks used in this text: Dell, the DELL logo, and OptiPlex are trademarks of Dell Inc.; Intel is a registered trademark of Intel Corporation in the U.S. and other countries;...