Palm Tungsten T2 Read This First Manual
Palm tungsten t2: quick start
Hide thumbs
Also See for Tungsten T2:
- Software manual (6 pages) ,
- Supplementary manual (14 pages) ,
- Handbook (502 pages)
Table of Contents

Related Manuals for Palm Tungsten T2


Summary of Contents for Palm Tungsten T2
- Page 1 READ THIS FIRST...
-
Page 3: Start Here
START HERE Here’s what you’ll do: • Charge and set up your Palm T2 handheld. • Install Palm ™ Desktop software. • Learn to use your handheld. Contents Palm Tungsten T2 handheld Important! Already use a Palm handheld? ™ Tungsten ™... - Page 4 Connect a. Connect the HotSync ® cradle to the computer.* b. Plug the adapter into an outlet and into the cradle. * Windows NT and systems without USB ports require a serial cradle, sold separately.
- Page 5 Charge a. Place your Tungsten ™ T2 handheld in the cradle. b. Make sure that the indicator light is solid green. This means your handheld is properly seated in the cradle and is being charged.* c. Charge for at least two full hours. Indicator light * Problems? See "Troubleshooting"...
- Page 6 Set up a. Remove the handheld from the cradle. 1. Tilt it forward. b. Turn on the handheld by pressing the power button.* Stylus Power button To remove it, gently press the top of the stylus to release it from the slot. Then pull it out of the slot.
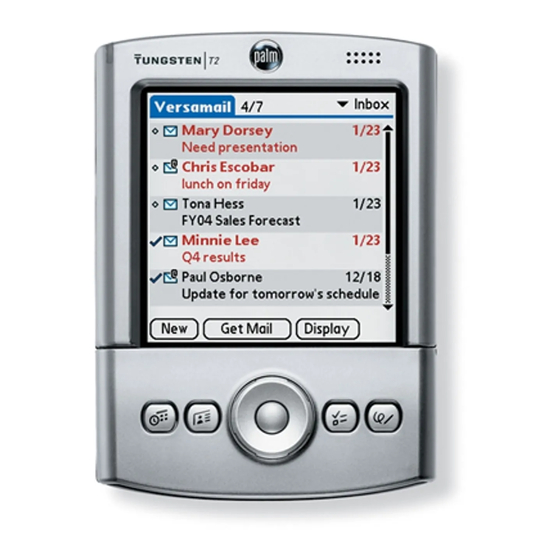
- Page 7 Headphone jack Microphone Voice Memo button Press and hold to record. Home Menu Date Book Address Book IR (infrared) port Stylus Speaker Expansion card slot Graffiti Favorite 5-Way Navigator Indicator light Power button ® 2 writing area Find Note Pad To Do List...
-
Page 8: Install Software
HotSync lots of information. Note: You must install the version of Palm Desktop software included in this package. Microsoft Outlook is also supported. a. Place the Palm Desktop software CD-ROM in the CD-ROM drive. - Page 9 ENTER AND SYNCHRONIZE YOUR INFORMATION Try it! Schedule an appointment on your computer Windows: a. Double-click the Palm Desktop icon on your computer desktop. b. In Palm ™ Desktop software, click New Event in the lower-left corner. c. Enter the appointment, and then click OK to save it.
- Page 10 Now schedule an appointment on your handheld a. Slide open the handheld to reveal the Graffiti ® 2 writing area. b. Press the Date Book button. Date Book c. Tap New. d. Tap to set the time, and then tap OK. e.
- Page 11 In this step, the HotSync ® process synchronizes information on your handheld and in Palm Desktop software, so that information you enter in one appears in both places. a. Place the handheld in the cradle. b. Press the button on the cradle to begin the HotSync process.*...
- Page 12 GET MORE OUT OF YOUR HANDHELD Use the 5-way navigator Use the 5-way navigator for quick access to your information with just one hand! For example, you can do any of the following and much more. For full details, see the Handbook. •...
- Page 13 Insert the Software Essentials CD-ROM into the CD-ROM drive to install software that enables you to take full advantage of your handheld’s multimedia, communication, and productivity features. • Take your favorite photos with you when you install Palm • Show your video clips to friends and family when you install Kinoma Video Player.
- Page 14 • Drag and drop files onto the Palm Quick Install icon. • Open the Palm Quick Install window and drag and drop files, or click the Add button to select files. • Right-click a file, select Send To, and then click Palm Quick Install.
-
Page 15: Troubleshooting
TROUBLESHOOTING The indicator light does not go on. 1. Seat your handheld firmly in the cradle. 2. Connect the power adapter securely to the cradle. 3. Make sure that the power adapter is plugged into a working electric outlet. Your handheld does not turn on when you press the power button. 1. - Page 16 3. Click Browse to locate the drive with the Palm Desktop software CD-ROM. 4. Double-click the autorun.exe file on the Palm Desktop software CD-ROM. Mac: 1. Double-click the CD-ROM icon on the Mac desktop to open the Palm Desktop software CD- ROM. 2. Double-click the Palm Desktop Installer icon.
- Page 17 Mac: 1. Make sure the Transport Monitor of the HotSync Manager is enabled: a. Double-click the HotSync Manager icon in the Palm folder. b. In the HotSync Controls tab, click Enabled. 2. If you are using a USB cradle: a.
-
Page 18: Find More Information
Then select the menu item for the Handbook. www.palm.com/intl In one convenient location, find tips on getting the maximum benefit from your handheld, get your favorite accessories, download more software, and communicate with other Palm users. ™ Desktop software CD-ROM. - Page 19 Palm, Inc. assumes no responsibility for any damage or loss resulting from the use of this guide. Palm, Inc. assumes no responsibility for any loss or claims by third parties which may arise through use of this software. Palm, Inc. assumes no responsibility for any damage or loss caused by deletion of data as a result of malfunction, dead battery, or repairs.