Denon AVR-3313CI Integrated Network AV Receiver Manual
- Owner's manual (187 pages) ,
- Manual (21 pages) ,
- Getting started manual (11 pages)
Advertisement
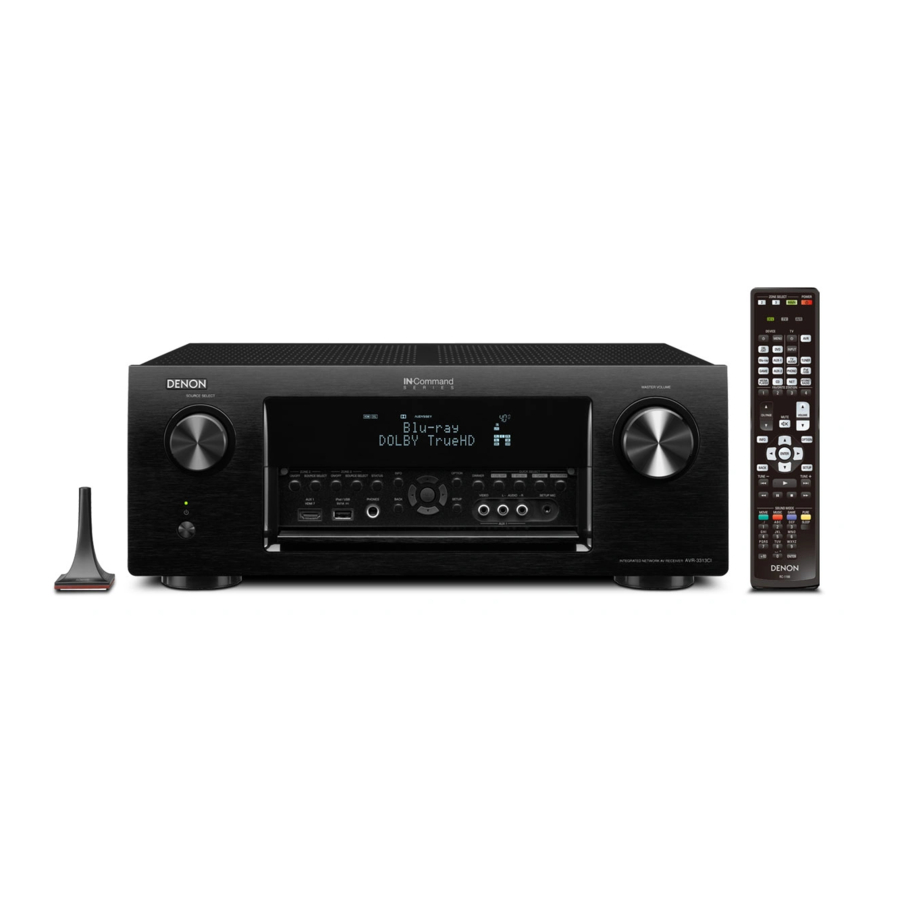
Front Panel

- Power operation button (
![]() )
)
Turns power to this unit on and off (standby). - Power indicator
(Power indicator status)
 )
)- Power on: Green
- Normal standby: Off
- When "HDMI Control" is set to "On": Red
- When "IP Control" is set to "Always On": Red
- Door
When you are using buttons and/or connectors behind the door, press the bottom of the door to open it. Be careful not to catch your fingers when closing the door.
![]()
- MASTER VOLUME knob
This adjusts the volume level. - Master volume indicator
- Display
This displays various pieces of information. - Remote control sensor
This receives signals from the remote control unit. - SOURCE SELECT knob
This selects the input source.

Buttons and Connectors Behind the Compartment Door


- AUX1 HDMI 7 connector
Used to connect HDMI output compatible devices such as video cameras and game consoles. - Ipod/USB port
Used to connect USB storages (such as USB memory devices) and the USB cable supplied with iPod. - Headphones jack (PHONES)
When the headphones are plugged into this jack, audio will no longer be output from the connected speakers or from the PRE-OUT connector.
NOTE: To prevent hearing loss, do not raise the volume level excessively when using headphones. - BACK button
This returns to the previous screen. - ENTER button
This determines the selection. - SETUP button
This displays the menu on the TV screen. - AUX1 INPUT connector
Used to connect analog output compatible devices such as video cameras and game consoles. - SETUP MIC jack
Used to connect the supplied Setup and measurement microphone. - QUICK SELECT buttons
With a single press of any of these buttons, you can call up various settings you've registered to each button such as the input source, volume level and sound mode settings. - DIMMER button
Each press of this switches the brightness of the display. - OPTION button
This displays the option menu on the TV screen. - Cursor buttons (
![]() )
)
These select items - Information button (INFO)
This displays the status information on the TV screen. - STATUS button
Each press of this switches the status information that is shown on the display. - ZONE3 SOURCE button
This selects the input source for ZONE3. - ZONE3 ON/OFF button
This turns the power of ZONE3 on/off. - ZONE2 SOURCE button
This selects the input source for ZONE2. - ZONE2 ON/OFF button
This turns the power of ZONE2 on/off.
 )
)Display

- Information display
The input source name, sound mode, setting values and other information are displayed here. - Front speaker indicator
This lights according to the setting of the front A and B speakers. - Output signal channel indicators
Lights when audio signals are being output from the speakers. - Master volume indicator
- MUTE indicator
This lights when the mute mode is selected. - Sleep timer indicator
This lights when the sleep mode is selected. - MULTI ZONE indicators
This lights up when ZONE2, ZONE3 (separate room) power is turned on. - Monitor output indicator
These light according to the HDMI monitor output setting. When set to "Auto (Dual)", the indicators light according to connection status. - Tuner reception mode indicators
These light according to the reception conditions when the input source is set to "HD Radio".
STEREO : In FM mode, this lights up when receiving analog stereo broadcasts.
TUNED : Lights up when the broadcast is properly tuned in. - Audyssey® indicator
This indicator lights when the "MultEQ® XT", "Dynamic EQ", or "Dynamic Volume" setting is set to "On". - Decoder indicator
These light when Dolby or DTS signals are input or when the Dolby or DTS decoder is running. - Input mode indicators
Set the audio input modes for the different input sources
Rear Panel

- FM/AM antenna terminals (ANTENNA)
- Analog audio connectors (AUDIO)
- PRE OUT connectors
- SIGNAL GND terminal
- Video connectors (VIDEO)
- Speaker terminals (SPEAKERS)
- AC inlet (AC IN)
- Component video connectors (COMPONENT VIDEO)
- HDMI connectors
- Denon Link HD connector
- Digital audio connectors (DIGITAL AUDIO)
- Network connector (NETWORK)
- REMOTE CONTROL jacks
- RS-232C connector
- TRIGGER OUT jack
Remote Control


- ZONE SELECT buttons (MAIN, Z2, Z3)
These switch the zone (MAIN ZONE, ZONE2, ZONE3) that is operated through the remote control unit. - Operation mode indicators
The "AVR" operation mode indicator lights when the unit is being operated.
The "DEV." indicator lights when an external device is being operated.
The "TV" indicator lights when the TV is being operated. - Device operation buttons (DEVICEO/ DEVICE MENU)
These turn the power of external devices on/off and call up menus.
Preset codes need to be registered in order to use these buttons. - Input source select buttons
These select the input source. - FAVORITE STATION buttons (1 – 4)
- Channel/page search buttons (CH/PAGE
![]()
![]() )
)
These select radio stations registered to presets or switch pages. - MUTE button (
![]() )
)
This mutes the output audio. - Information button (INFO)
This displays the status information on the TV screen. - Cursor buttons (
![]() )
)
These select items. - BACK button
- System buttons.
These perform playback related operations.
Skip buttons (![]() )
)
Play button (![]() )
)
Search buttons (![]() )
)
Pause button (![]() )
)
Stop button (![]() )
)
Tuning up / Tuning down buttons (TUNE +, –).
These select either FM broadcast or AM broadcast. - Number buttons
These enter numbers into the unit. - Character buttons
These enter letters into the unit. - Remote control signal transmitter
This transmits signals from the remote control unit. - POWER button (
![]() )
)
This turns the power on/off. - AVR-operation mode button
When using a remote control with preset codes registered, press AVR before other operations in order to operate the unit. - TV operation buttons (TV X / INPUT)
- VOLUME buttons (
![]()
![]() )
)
These adjust the volume level. - OPTION button
This displays the option menu on the TV screen. - ENTER button
This determines the selection. - SETUP button
This displays the menu on the TV screen. - SOUND MODE buttons
These select the sound mode.

 )
) )
) )
) )
) )
) )
) )
) )
) )
)- MOVIE button
- MUSIC button
- GAME button
- PURE button
- SLEEP button
This sets the sleep timer. - ENTER button
Reset

Back up the settings before resetting the microprocessor. Most settings are reset to the factory default values after performing this procedure. This means that all the settings data will be completely lost if it's not previously saved.
Reset procedure:
With the power off, press and hold the "INFO" button, "BACK" button, and "POWER" button simultaneously on the AVR for a few seconds until the display starts flashing at intervals of about 1 second.

Resetting the micro is a procedure used to "reboot" the microprocessor to restore its normal operation when it temporarily freezes, locks up, or behaves erratically. Resetting the microprocessor, erases any saved settings you may have previously programmed into the unit
Issues that can affect the performance of the microprocessor:
- A jolt of static electricity
- Current surge through an input
Before resetting the microprocessor;
- Check all connections carefully
- Check for setup errors
- Back up your settings. You may also want to write down your preferred settings for easier task of setting up the AVR after reset.
Note: The Web (Browser) Control feature can be used to back up your settings by saving a configuration file on your hard drive. For this feature, we recommend using one of the following web browsers: Internet Explorer 10 and above, Mozilla Firefox 24 and above, Google Chrome 29 and above, and Safari 5.x and above.
Note: If you had an installer setup your system, please first contact your installer to see if they can reset and then setup your system again as there may be specific EQ calibrations (Audyssey) that the installer will need to perform.
Accessories

Upgrades/Updates
Firmware:
This unit has the ability to update its firmware over the internet if so is selected by the user. When connected to a network via Wi-Fi or Ethernet, the AVR searches automatically for new updates and if any is found, a message appears on the screen for approx. 40 seconds with the options of updating the firmware: "NOW", "LATER", or "IGNORE". Note: This feature of displaying the update message, can be disable from the "Setup" menu (Setup/General/Firmware/Notifications/Update or Upgrade/Off).
If the update process is interrupted, "Update retry" appears on the display and the unit tries repeatedly to continue the update until it either reconnects and picks up where it left off and continue the update process or times itself out after trying several times. When the latter occurs, one of the following messages will appear on the screen.

To Check for Firmware Update from the Denon server when the unit is connected to the internet via the Ethernet port (When Firmware Notification is turned off).
Press "SETUP" and select "GENERAL" and then select "FIRMWARE" followed by "UPDATE" and finally, select "CHECK FOR UPDATE".
Note: This will also check the time it will approximately take to complete the update.
To download the latest version of firmware for AVR-3313CI, click on the following Upgrade page: www.usa.denon.com/US/Downloads/Pages/Product-Updates.aspx
To display the AVR's current firmware version on the TV screen:
Press "SETUP" and select "GENERAL" and then select "INFORMATION" followed by "FIRMWARE".
To check to see if an update or upgrade is available for your unit and also to see a list of "Recent Updates/Upgrades", click on the following link:
http://usa.denon.com/us/downloads/productupdates?_ga=1.114028992.611911196.1430951505
Specifications
Audio

Video

Tuner

General

Dimensions
Unit: inch/mm

Weight: 26 lbs 7 oz (12.0 kg)

Documents / ResourcesDownload manual
Here you can download full pdf version of manual, it may contain additional safety instructions, warranty information, FCC rules, etc.
Download Denon AVR-3313CI Integrated Network AV Receiver Manual
Advertisement
Thank you! Your question has been received!


Need Assistance?
Do you have a question about the AVR-3313CI that isn't answered in the manual? Leave your question here.