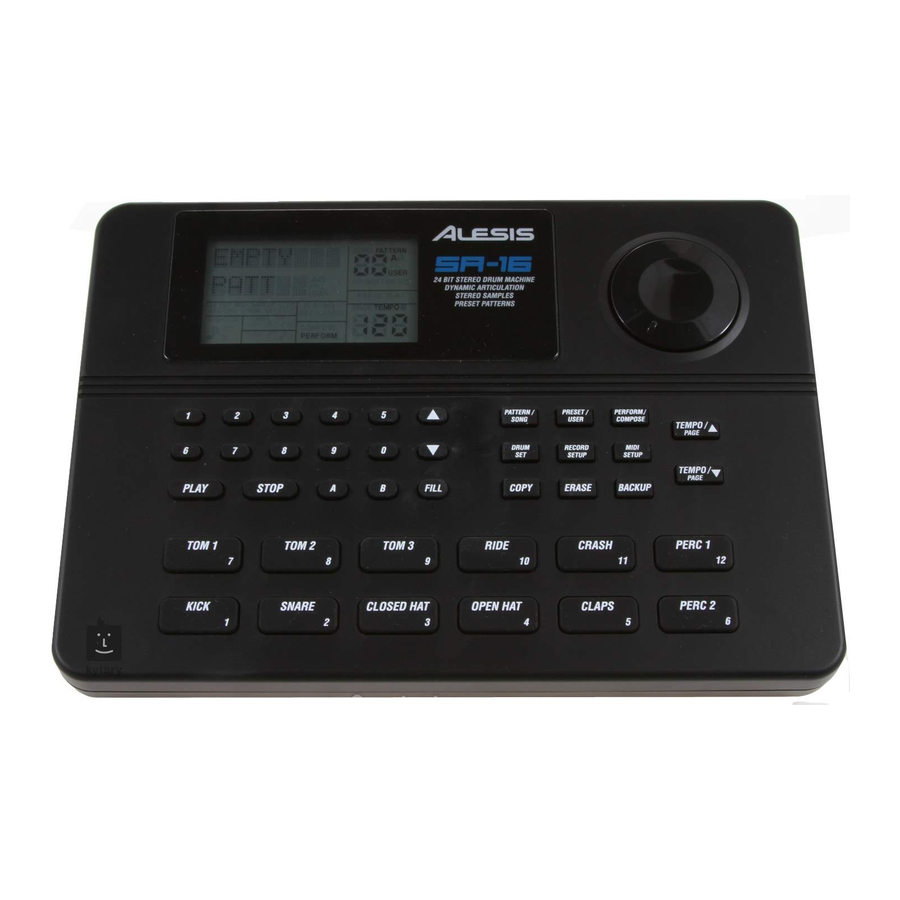
Alesis SR-16 Drum Machine Quick Start Guide
- Reference manual (71 pages) ,
- Quick start owner's manual (52 pages) ,
- Getting started (13 pages)
Advertisement
- 1 Box Contents
- 2 Quick Setup
- 3 Playing Patterns
- 4 Playing Sequences of Patterns
- 5 Playing Fills
- 6 Creating and Erasing Songs
- 7 Footswitch Control
- 8 Set Tempo
- 9 Start a Song or Pattern
- 10 Initiate a Fill When Playing Patterns
- 11 Cancel a Transition From A to B, or B to A, Patterns
- 12 Extend a Song Step When Playing Back a Song
- 13 Recording Your Own Patterns
- 14 Creating Drum Sets
- 15 Use the device as an Expander Module
- 16 Videos
- 17 Documents / Resources
Box Contents
- SR-16 DRUM MACHINE
- POWER ADAPTER
- MANUALS
Quick Setup
As you hook up the SR-16, the volume control on your power amp and the SR-16 should be all the way down, and power to both units should be off.

- Plug 1/4" mono cords from the main outputs to an amplifier, mixer, or stereo system.
- If you have a couple of footswitches, plug them into the Start/Stop and Count/A/B/Fill jacks.
- Plug the AC adapter cord into the 9V AC jack and 12VDC the adapter into a wall socket.
- Turn on the unit.
- Tap the pads to hear drum sounds.
- Adjust the volume.
Playing Patterns

- If the display's upper right window shows Song, Press the PATTERN/SONG button once to select Pattern mode.
- If the display's upper right window shows USER, press the PRESET/USER button to select Preset Patterns.
- Press the UP/DOWN arrow buttons to select a Pattern. You can also enter a pattern number (00-49) with the Number buttons. Use a "leading zero" (e.g. 01, 02, 03) for the first nine patterns.
- Press PLAY to start a pattern, STOP to stop it.
- Speed up the tempo by pressing the TEMPO/UP arrow button.
Slow down the tempo by pressing the TEMPO/DOWN arrow button.
Playing Sequences of Patterns
Each Pattern number, Preset and User, includes A and B "sub-Patterns." The Preset A and B variations complement each other. For example, in a Rock Pattern, A could play the verse, and B the chorus. In fact, you may construct many songs just by switching back and forth between the A and B variations.

- Begin by selecting a Pattern and pressing PLAY.
- If an A Pattern is playing, press the B button (or press A if a B Pattern is playing).
The alternate Pattern will begin playing as soon as the currentlyselected Pattern reaches its end. - You can call up a different Pattern number if desired.
Press the UP/DOWN arrow buttons to select a Pattern or enter a Pattern number (00-49) with the number buttons.
Playing Fills
Each A and B variation also includes associated Fill Patterns, which can play transitions between the A and B variations. You can push a button to have a Fill take over from its associated main Pattern and transition to the alternate Pattern.

- Begin by selecting an A Pattern then pressing PLAY.
- Press and release the FILL button while the main A Pattern is playing.
You'll hear a drum fill that leads right into the associated B pattern. - Press the FILL button again. A different fill will transition from the B pattern back into the A pattern.
- Fills do not always have to be transitional Patterns. Suppose an A Pattern is playing. If you press the FILL button, a fill will start—but this time, keep the FILL button held down until after the fill has finished playing.
This cancels the transition to the alternate pattern (in this example, the A pattern would continue playing).
Creating and Erasing Songs
The SR-16 can remember the order in which you selected Patterns, which variations were selected, and when you selected fills. Recording this information in the SR-16's Song mode creates a complete Song. Begin with the SR-16 stopped.

- Select Song mode.
- The display upper left should say EMPTY SONG. If not, press the Up or Down buttons until an empty song is selected.
- Press the PERFORM/ COMPOSE button until the display's lower middle shows COMPOSE.
- Choose a Pattern for Song step 1 by entering a Pattern number and A or B variation. This step can be a Fill if you press Fill along with A or B. User Patterns should not be selected for now.
- Press PLAY.
- Choose Patterns, A and B variations, and Fills as described in the previous pages. Each selection will be remembered as another Song step, and the SR-16 will also remember the exact instant you selected a Fill.
If you don't specify a new Pattern, every time a pattern repeats it will add a new song step. - When you've finished creating the Song, press STOP.
- To hear your Song, press PERFORM/COMPOSE to select Perform mode.
Then press PLAY. - If you like the Song, great! The SR-16 will remember it. Entering the Song number in Song and Perform mode will call up the Song.
- To erase the Song, you must have the Song selected. The SR-16 should be stopped and in Perform mode. Press ERASE and, while holding it down, press PLAY.
The Song will be erased.
Footswitch Control
Now that we have the basics down, let's investigate some live performance options using footswitch control. This is particularly useful if you're playing along with Patterns and Songs on the pads and can't use your hands to punch buttons.
There are two jacks for footswitches (Start/Stop and Count/A/B/Fill). Always plug these footswitches in before turning on power. Either normally open or normally closed types (the two most common footswitch types) can be used; the SR-16 determines which kind is in use during power-up.
Here's how to use the footswitches.
Set Tempo
The SR-16 must be stopped. Before playing a Song or Pattern, tap the Count/A/B/Fill jack footswitch several times at the desired tempo. The SR-16 will average the time between taps and derive a tempo, the display will update the tempo with each tap. Tapping the STOP button accomplishes the same result as tapping the Count/A/B/Fill footswitch.
Start a Song or Pattern
When the SR-16 is stopped, pressing the Start/Stop footswitch is equivalent to pressing PLAY.
When the SR-16 is running, pressing the Start/Stop footswitch is equivalent to pressing STOP.
Initiate a Fill When Playing Patterns
In Perform mode, the Count/A/B/Fill footswitch duplicates the FILL button function when playing Patterns.
Cancel a Transition From A to B, or B to A, Patterns
When you initiate a Fill, an A Pattern will transition to a B pattern (or vice-versa) when the Fill has finished playing. However, you can cancel this transition if desired. We've already explained how to do this with the front panel FILL button. However, you can also use the Count/A/B/Fill footswitch. If you press the footswitch before the fill has finished playing and hold it down until after the fill has played (i.e, past the downbeat of the next Pattern), the SR-16 will return to the original MainA or B Pattern.
Extend a Song Step When Playing Back a Song
In Song Perform mode (i.e, during song playback), pressing and holding the Count/A/B/Fill footswitch until past the end of a Song Step will cause that step to repeat. This is great if the soloist wants to take a few more bars.
Recording Your Own Patterns

- If the display's upper right window shows SONG, press the PATTERN/SONG button once to select Pattern mode.
- If the display's upper right window does not show USER, press the PRESET/USER button to select User Patterns.
- Push the PERFORM/ COMPOSE button until the display's lower middle shows COMPOSE.
- Press the Up/Down arrow buttons until you find an EMPTY PATTern, as shown on the display.
- Press PLAY to start recording.
You will probably hear a metronome click.
When a Pattern reaches its end, it will loop back to the beginning so you can do overdubs. - Play the pads.
The SR-16 will shift your playing to the nearest rhythmic value shown in the lower-left corner of the quantize window. - If you make a mistake, hold down the ERASE button, then hold down the drum pad of the sound you want to erase.
Creating Drum Sets
The SR-16 has 50 Preset and 50 editable User Drum Sets (groups of sounds) which can be assigned to any of the 100 Patterns. After pressing the DRUM SET button, each press of the TEMPO/PAGE UP button selects a different kind of parameter (drum sound, tuning, volume, etc.) Tap the pad to be edited, then enter the new parameter value with the UP/DOWN, arrow, or number buttons.

- Press DRUM SET.
Select a number from 00-49 with the number buttons, and Preset or User with the PRESET/USER button.
Preset Drum Sets can only be saved to User locations. - Press the TEMPO/PAGE UP button to choose Page 2 (see display lower right), where you can assign different drum sounds to different pads. Press the pad to be assigned then use the Up/Down or number buttons to select one of the available sounds (a three-digit number – don't forget leading zeroes if necessary).
- Press the TEMPO/PAGE UP button to choose Page 3, where you can assign different levels for each pad. Tap a pad, then use the UP/DOWN or number buttons to select the level.
- Press the TEMPO/PAGE UP button to choose Page 4, where you can assign the panning for each pad. Tap a pad, then use the UP/DOWN buttons to select the pan position.
- Press the TEMPO/PAGE UP button to choose Page 5, where you can assign the tuning for each pad. Tap a pad, then use the UP/DOWN or number buttons to select the tuning.
- To save the new Drum Set parameters, press the TEMPO/PAGE UP button three times to choose Page 8, where you can save the drum set parameters you've selected.
Press PLAY to save, or DRUM SET to back out. - If you pressed PLAY, press DRUM SET to return to normal operation.
Use the device as an Expander Module

- You can use the SR-16 as a tone module, where different drums will sound in response to different MIDI notes received at the SR-16's MIDI in. You must run a MIDI cable from the sequencer or electronic drum set's MIDI out to the SR-16's MIDI in.
- Press MIDI SETUP.
Use the UP/DOWN buttons to select Omni mode or a specific MIDI channel for Poly mode. - Press the TEMPO/PAGE UP button to choose Page 2. Press the UP arrow button so that Drum In is on (i.e., the SR-16 receives MIDI note data).
- Press the TEMPO/PAGE UP BUTTON three times to choose Page 5. Press the Down Arrow button so that the Clock In is Off (i.e., the SR-16 ignores MIDI synchronization data).
- Press the TEMPO/PAGE UP BUTTON three times to choose Page 8. Press the Down Arrow button so that the Prg Chng is Off (i.e., the SR-16 ignores MIDI program change data).
- Press the TEMPO/PAGE UP BUTTON to choose Page 9. Press the Up Arrow button so that the Note Map shows D00-09, D10-19, etc.
- The SR-16 is now set up as an expander module. Press MIDI SETUP again to exit MIDI setup mode and return to normal operation.

VideosAlesis SR-16 Drum Machine Review Video
Documents / ResourcesDownload manual
Here you can download full pdf version of manual, it may contain additional safety instructions, warranty information, FCC rules, etc.
Advertisement
Thank you! Your question has been received!


Need Assistance?
Do you have a question about the SR-16 that isn't answered in the manual? Leave your question here.