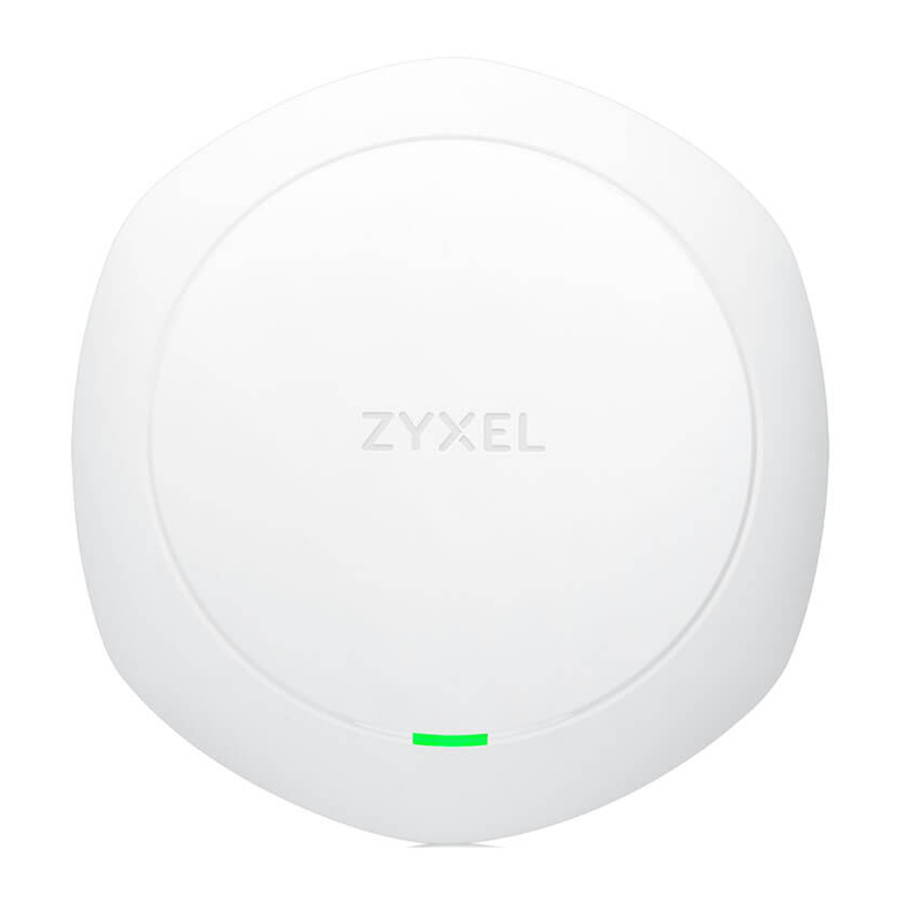
Zyxel WAC6303D-S - 802.11ac Wave2 Dual-Radio Unified Pro Access Point Quick Start Guide
- User manual (333 pages) ,
- User manual (252 pages) ,
- User manual (52 pages)
Advertisement

Hardware Installation
- Connect the UPLINK/POE port to a router network through a PoE switch or a PoE injector (30W).
![Zyxel - WAC6303D-S - Hardware Installation Hardware Installation]()
Initial Configuration
- From a Wi-Fi enabled computer, search for the WAC6303D-S's default Wi-Fi network name (Zyxel) and connect to it.
![Zyxel - WAC6303D-S - Initial Configuration - Step 1 Initial Configuration - Step 1]()
- Open your web browser and enter "http://1.1.1.1" for initial configuration. Enter the default user name (admin) and password (1234). Click Login.
![Zyxel - WAC6303D-S - Initial Configuration - Step 2 Initial Configuration - Step 2]()
Management Connect UPLINK to Router DHCP-assigned IP Address: Not Connect UPLINK to Router 192.168.1.2 SSID: Zyxel Wi-Fi Security Disabled
Note: If your computer doesn't have a Wi-Fi adapter, use an Ethernet cable to connect your computer to the LAN1 port of the WAC6303D-S. Use its DHCP-assigned IP or default static IP address (192.168.1.2) to access the web configurator. Make sure your computer IP address is in the same subnet as the WAC6303D-S's. - The wizard appears automatically. Use the wizard to set up your WAC6303D-S. Note: It takes 1 to 2 minutes to apply your wizard changes. The power LED will blink red and green alternatively. The power and Wi-Fi LEDs then turn steady green when the system is ready. Check the Dashboard screen and note down the WAC6303D-S's IP address in case you need to access it's web configurator again.
Note: The 1.1.1.1 is for initial setup only. It is not usable after the WAC6303D-S is configured.
![Zyxel - WAC6303D-S - Initial Configuration - Step 3 Initial Configuration - Step 3]()
- Use the WAC6303D-S's new wireless settings (SSID and key) to re-connect to the WAC6303D-S's Wi-Fi network for Internet access if you change them in the wizard.
![Zyxel - WAC6303D-S - Initial Configuration - Step 4 Initial Configuration - Step 4]()
Wall / Ceiling Mounting
 Drill two holes for the plastic wall plugs (A), 6.41cm apart. Insert the plugs into the wall.

 Screw the self-drilling drywall anchors (C) into the ceiling, 6.41cm apart.

- Install two mounting screws through the holes on the bracket (B) into the plugs/anchors to secure the bracket to the wall/ceiling. Make sure the screws are snugly and securely fastened to the wall/ceiling.
![Zyxel - WAC6303D-S - Wall / Ceiling Mounting - Step 3 Wall / Ceiling Mounting - Step 3]()
- After the bracket is attached to the wall/ceiling, line up the UPLINK/POE port on the WAC6303D-S with the tab of the mounting bracket (B). Push the WAC6303D-S in and turn it to the right until it clicks into place.
![Zyxel - WAC6303D-S - Wall / Ceiling Mounting - Step 4 Wall / Ceiling Mounting - Step 4]()
How to release the AP

Insert a thin flat tool (such as a flat screwdriver) to push down the AP lock. Turn the AP in a counterclockwise direction to release.
Support Information
| North America |  | + 1 800 978 7222 | Spain |  | + 911 792 100 |
| USA |  | support@zyxel.com |  | soporte@zyxel.es | |
| UK |  | + 44 3331 559 301 | France |  | + 33 4 72 52 97 97 |
 | support@zyxel.co.uk |  | support@zyxel.fr | ||
| Germany |  | + 49 2405 690969 | | ||
 | support@zyxel.de | ||||
See the User's Guide at www.zyxel.com for more information, including safety warnings and customer support.
EU Importer
Zyxel Communications A/S
Generatorvej 8D, 2860 Søborg, Denmark.
http://www.zyxel.dk
US Importer
Zyxel Communications, Inc
1130 North Miller Street Anaheim, CA 92806-2001
http://www.us.zyxel.com
Copyright © 2017 Zyxel Communications Corp. All Rights Reserved.

Documents / Resources
References
Zyxel Networks, Your Networking Ally | Zyxel Networks
Zyxel Networks, Your Networking Ally | Zyxel Networks
Zyxel Networks, Your Networking Ally | Zyxel Networks
Download manual
Here you can download full pdf version of manual, it may contain additional safety instructions, warranty information, FCC rules, etc.
Download Zyxel WAC6303D-S - 802.11ac Wave2 Dual-Radio Unified Pro Access Point Quick Start Guide
Advertisement
Thank you! Your question has been received!


Need Assistance?
Do you have a question about the WAC6303D-S that isn't answered in the manual? Leave your question here.