Advertisement
Quick Links
748011-67029-3
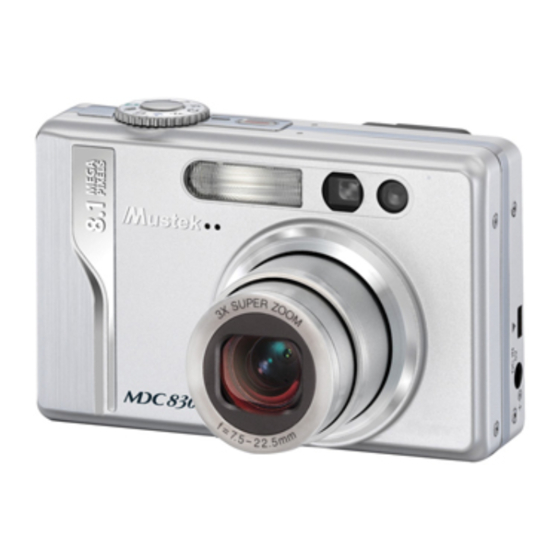
MDC 830Z
GETTING STARTED
Thank you for purchasing the Mustek MDC 830Z Multi-functional Digital Camera. This Getting Started
is to help with basic operations. For more details on the different functions and operations, please
refer to the User's Guide.
HOW TO CONTACT US
WEB SITE:
http://www.mustek.com
CUSTOMER SERVICE
Email: cservices@mustek.com
Fax: (949)788-3670
TECHNICAL SUPPORT
mail:
tsupport@mustek.com
Phone:
(949)788-3600
Address: Mustek Inc.15271 Barranca
Parkway Irvine, CA 92618
MEMORY CAPACITY CHART
Still Image
Memory Capacity
3312x2485
3312x2485
3312x2485
3312x2485
640x480
(Fine)
(Normal)
(Economy)
(TIFF)
(Fine)
Internal memory
5
11
17
1
1: 33
32MB
6
12
19
1
1:47
64MB
26
13
39
2
3:55
128MB
27
53
80
5
8:11
ICONS & INDICATORS
LCD Monitor Icons
1
2
1. Mode icon
2. Zoom status
17
3. Voice memo
16
2
4. Battery condition
[
] Full battery power
15
[
] Medium battery power
[
] Low battery power
14
10S
[
] Virtually no battery
01/06/2005
20:50
13
power
5. Flash mode
[
] Automatic
12
A
[
] Red-eye Reduction
[
] Forced Flash
10. Image quality
[
] Flash Off
[
] Fine
6. Main focus area
[
] Standard
7. Capture mode icon
[
] Economy
[Blank] Single
[TIFF] TIFF
[
] Continuous
11. Self-timer icon
[AEB] Auto Exp.
[
]
10 sec.
8. Image resolution
s
[ ]
3312 x 2485
[
]
2 sec.
s
[ ]
2560 x 1920
12. Date and time
[ ]
1600 x 1200
13. Long-exposure time
[ ]
640 x 480
warning icon (potential
9. Available number of
for hand-shake blur)
shots
14. Backlight correction
1
Front View
1
2
3
4
PACKAGE CONTENTS
11
Digital Camera
AV Cable
USB Cable
Back View
User's Manual
Getting Started
Software CD
1 2
Camera Pouch
Camera strap
AC Power Adapter
Lithium-ion battery
Video
640x480
320x240
320x240
(Normal)
(Fine)
(Normal)
14
13
1:55
4:03
5:27
2:11
4:35
6:10
4:44
9:40
12:55
9:52
19:51
26:26
2
1. Open the battery/SD card cover in the direction of the [OPEN]
arrow.
3
4
5
6
7
2. Insert the battery in the correct
orientation shown.
8
Tilt the battery lock lever in the direction
00356
9
of the arrow, and then insert the battery.
3. Insert an SD memory card (not supplied)
11 10
4. Close the battery/SD card cover.
15. Metering
[Blank] Average
[
]
Spot
16. White balance
3
[Blank] Auto
[
] Incandescent
[
] Fluorescent 1
1
[
] Fluorescent 2
Using the supplied AC power adapter may charge the battery or operate the camera as power supply.
2
[
] Day Light
Make sure that the power of the camera is off and then insert the battery before starting.
[
] Cloudy
1. Insert one end of the AC power adapter into the DC IN 5V
[
] Manual
terminal of the camera.
17. Focus setting
2. Insert the other end of the AC power adapter into a wall
[Blank] Auto focus
outlet.
[
] Macro
The status LED lights red when charging is started and
[
] Infinity
goes out when charging is completed.
It is recommended to fully discharge the battery before recharging.
Charging time varies according to the ambient temperature
and the status of battery.
IDENTIFYING THE PARTS
1 Mode dial
2 Shutter button
Auto photography
3 Power indicator
5
6
7
4 POWER (Power)
P
Program
button
Tv
Shutter speed
5 Flash
priority
6 Viewfinder window
Av Aperture priority
7 Self-timer LED(AF
M
Manual photography
auxiliary light)
Portrait
8 USB or A/V OUT
8
terminal
Sports
9 DC IN 5V terminal
Night scene
9
10 Lens
Set-up
11 Microphone
Movie
10
1 Status LED
11 Multi-selector button
2 Viewfinder window
SET button
3 Diopter adjustment dial
4 Mode switch
3
4
5
Photography mode
Playback mode
5
(Zoom in) button
(Zoom out) button
6 MENU (Menu) button
6
7
7
(Delete) button
8
8 Speaker
9
9
(Display) button
10
10 Strap holder
11
12 Battery/SD card cover
12
13 Tripod socket
14 LCD monitor
LOADING BATTERY/CARD
1
2
CHARGING THE BATTERY
ATTACHING THE STRAP
4
Attach the camera strap as shown in the illustration.
SETTING DATE/TIME
5
button
(Focus) button
1. Slide the mode switch to [
] and set the mode dial to [
button
The setup menu is displayed.
(Flash) button
2. Select [Custom] with the
/
buttons.
button
3. Select [Date/Time] with the
/
(Self-timer)
SET button.
button
The Date/Time setting screen will be displayed.
button
4. Select the item's field with the
/
(Exposure
value for the date and time with the
compensation/
The date and time is set in the order year-month-day-
Backlight
hour-minute.
correction)
The time is displayed in 24-hours format.
button
5. After confirming all settings are correct, press the SET button.
The setting will be stored and the screen will return to the
setup menu.
TAKING PICTURES
6
1. Press the POWER button to turn on the camera.
2. Slide the mode switch to [
] and set the mode dial to [
3. Compose your image in the viewfinder.
Turn the "diopter adjustment dial" until the image appears
clearly within the viewfinder.
4. Press the shutter button down halfway.
5. Press the shutter button down fully to capture the image.
RECORDING VIDEOS
7
1. Slide the mode switch to [
] and set the mode dial to [
2. Compose the image with the zoom button.
3. Fully press down the shutter button.
].
buttons, and press the
buttons and adjust the
/
buttons.
2005
01
01
01
01
Adjust
].
1
2
].
Advertisement

Related Manuals for Mustek MDC-830Z


Summary of Contents for Mustek MDC-830Z
-
Page 1: Getting Started
748011-67029-3 MDC 830Z GETTING STARTED Thank you for purchasing the Mustek MDC 830Z Multi-functional Digital Camera. This Getting Started is to help with basic operations. For more details on the different functions and operations, please refer to the User’s Guide. - Page 2 BASIC PLAYBACK Still Image 1. Slide the mode switch to [ ]. The last image appears on the screen. 2. The images can be fed in reverse or fed forward with the buttons. Video 1. Slide the mode switch to [ ]. The last image appears on the screen.