Table of Contents
Advertisement
Advertisement
Table of Contents

Related Manuals for Mustek G-Smart LCD 3


Summary of Contents for Mustek G-Smart LCD 3
- Page 1 Digital Camera Digital Camera User Manual...
-
Page 2: A Quick Start Of This Digital Camera
A Quick Start of This Digital Camera • Before using this camera, you may want to learn its main functions: Still Camera Mode In this mode,You can take pictures and movies. In this mode, your camera will behave like a harddisk Mass Storage Mode which contains your picture files. -
Page 3: Table Of Contents
Table of Contents A Quick Start of This Digital Camera Table of Contents System Requirements Getting to Know Your Digital Camera Functions and Modes Power How to record images and short movies How to Correct Fluorescent Banding Noise Something About the Light Condition... -
Page 4: System Requirements
System Requirements For Microsoft Windows® Users • Compatible with Microsoft® Windows® 98SE, Me, Windows® 2000 and Win- dows® XP • Direct Show 8.0 or later • Pentium® 200MHz or Pentium® compatible processor • 32 MB RAM or higher • USB Port •... -
Page 5: Getting To Know Your Digital Camera
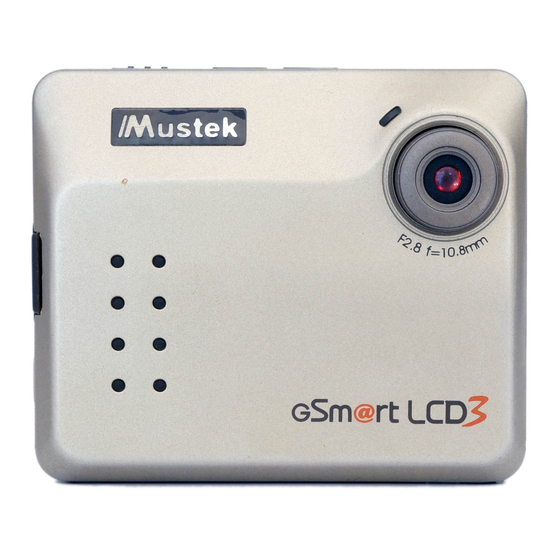
Getting to Know Your Digital Camera Refer to the picture below for a quick overview for your Digital camera. Shutter Lens Delete LCD Backlight Previous/ Resolution Next/ Self-timer LCD Display/ Viewfinder Back View Power Button Mode Button Front LED Front View... -
Page 6: Functions And Modes
Functions and Modes You can cycle through the modes by pressing MODE button. If your camera is not connected to a computer, you can only access the Record and Playback Modes. If your camera is connected to a computer, you can access the additional two modes. -
Page 7: How To Record Images And Short Movies
How to record images and short movies The Picture Counter Under normal condition, you can take as many as 180 Low resolution or 30 High resolution or 20 Fine pictures. You can see the remaining picture counter displayed on the top right corner of your LCD. If you have taken 5 pictures at fine resolution, you can shoot another 15 pictures at that resolution. -
Page 8: Something About The Light Condition
Press the MODE Button again to return to Recorder Mode. Mass Storage Mode(USB Portable Disk) Connect your Digital camera to a computer, it will turn to Mass Storage Mode. In Mass Storage Mode, your camera acts exactly like a harddisk. That means you can access it via the Windows user interface. -
Page 9: Pc Cam Mode
The LCD Display Backlight On/Off To save energy, Digital camera allows you to switch off the LCD panel’s backlight. In Playback Mode, the backlight will always be on. In Record Mode, you can switch it on or off at will. -
Page 10: Self-Timer
Self-Timer To use the self-timer, press the Button to activate the 10-second built-in selftimer. You will see a icon on the camera’s top left side. Press the Shutter Button to start counting down. The camera’s front LED will blink until a picture is taken after 10 seconds. -
Page 11: Software Installation
Software Installation How to Install the Driver 1. Insert the CD-ROM disc into the CD-ROM drive and close the CD ROM draw. 2. An installation wizard will automatically launch. 3. Click the driver’s icon. 4. Follow the instructions presented on the screen to complete the installation. -
Page 12: Technical Specifications
• 41-104º Fahrenheit; 5-40º Celsius • 20% - 85% relative humidity, non-condensing Camera Cautions • Never immerse any part of the Digital camera or its components into any fluid or liquid. • Disconnect the camera from your PC or Mac before cleaning it.