Table of Contents
Advertisement
Quick Links
An Operation Manual with more detailed explanations and other documents
related to this product can be viewed on the following website.
You must read the Usage and Safety Precautions before use.
© 2022 ZOOM CORPORATION
Copying or reprinting this manual in part or in whole without permission is prohibited.
You might need this manual in the future. Always keep it in a place where you can access it easily.
The contents of this manual and the specifications of the product could be changed without notice.
Quick Tour
www.zoom.jp/docs/m4
Advertisement
Table of Contents

Summary of Contents for Zoom MicTrak M4
- Page 1 You must read the Usage and Safety Precautions before use. © 2022 ZOOM CORPORATION Copying or reprinting this manual in part or in whole without permission is prohibited. You might need this manual in the future. Always keep it in a place where you can access it easily.
-
Page 2: Inserting Microsd Cards
Inserting microSD cards Supported recording media: microSDHC: 4 GB – 32 GB microSDXC: 64 GB – 1 TB • Always turn the power off before inserting or removing a microSD card. • To remove a microSD card, push it further into the slot and then pull it out. Turning the power on Use only one type of battery (alkaline, NiMH or lithium) at a time. -
Page 3: Setting The Language
Making settings when first turned on Setting the language Setting the date format to select the language The year, month and day will be used in the recording file name in the order set here. to confirm. Setting the date and time Select a setting item, and press Change the value, and press to confirm. -
Page 4: Setting The Battery Type
Setting the battery type After setting is complete, the Home Set the type of battery used correctly so that the amount Screen will open. of remaining battery charge can be shown accurately. Formatting microSD cards Always format microSD cards in order to maximize their performance after purchasing them new or using them with a different device. - Page 5 Connecting input and output equipment █ Recording live performances PA mixer █ Recording performances with a voice and instrument When disconnecting a mic, pull the XLR plug while pushing the connector lock release button. █ Monitoring with headphones to adjust the volume. Headphones...
- Page 6 Making input and recording settings █ Built-in XY mic Selecting the recording format for the built-in XY mic Sound from the built-in XY mic will not be recorded. This will record and save stereo files with the left and STEREO right signals from the built- in XY mic.
- Page 7 █ Reducing noise from wind and vocal pops We recommend using a windscreen if air is blown di- rectly at the mic, for example, when recording outdoors or when the mic is near the mouth of a speaker. Adjusting volume amplification on the display Select the desired input for volume amplification adjustment.
-
Page 8: Playing Recordings
Recording The indicator will light red and This ends recording. recording will start. Slide toward HOLD when recording to prevent misoperation. Playing recordings Operations during playback This opens the FILE LIST Screen. Use these to move the file playback position backward/ forward. -
Page 9: Other Functions
█ Using the FILE LIST Screen On the Playback Screen, press to open the FILE LIST Screen. This reopens the Playback Screen. Use these to select files. This deletes the selected file. Other functions Sample Rate The sampling rate used to record files can be set. Pre-recording Before recording is started, input signals can be captured for a certain amount of time. -
Page 10: Functions Of Parts
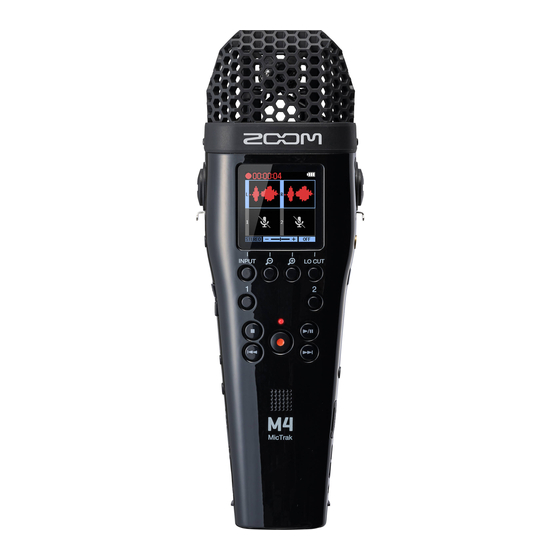
Functions of parts ■ Front ① Built-in XY mic This stereo mic has two crossing direc- tional mics. This mic can record three- dimensional sound with natural depth and width. ② Display This shows various types of information. ③ Operation buttons When the Home Screen is open, these change settings related to sound being recorded. - Page 11 ■ Left side ■ Right side ① INPUT jacks ⑦ MIC/LINE IN jack Connect mics and mixers to these. If an external mic is connected here, it can These support XLR and 1/4-inch phone be used to record instead of the XY mic. (TRS/TS) plugs.
-
Page 12: Troubleshooting
MIC/LINE IN jack supports plug-in power. confirmed to operate with this recorder. Monitored sound is distorted See the ZOOM website (zoomcorp.com) for informa- → Adjust the volume amplification on the display. tion about microSD cards that have been confirmed to work with this unit.


