Advertisement
Quick Links
About Unpacking and Assembling EPSON Stylus Pro 7800/7400
In the Unpacking and Assembling EPSON Stylus Pro 7800/7400 section of the Unpacking and Setup Guide,
step 4 on page 11 has been changed as described below.
Step 4. Remove the polystyrene foam stoppers from the sides of the printer.
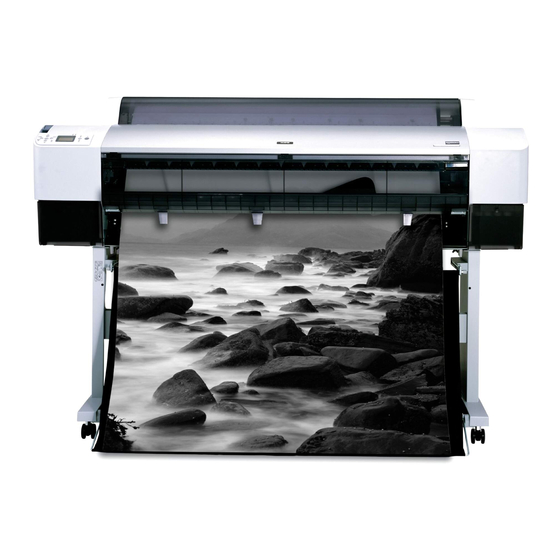
About the Basket Rings
The shape of the basket rings has been changed as shown below.
NOTICE SHEET
Copyright © 2005 Seiko Epson Corporation. All rights reserved.
Printed in Japan 05. xx-xx
Advertisement

Related Manuals for Epson Stylus Pro 7800


Summary of Contents for Epson Stylus Pro 7800
- Page 1 NOTICE SHEET About Unpacking and Assembling EPSON Stylus Pro 7800/7400 In the Unpacking and Assembling EPSON Stylus Pro 7800/7400 section of the Unpacking and Setup Guide, step 4 on page 11 has been changed as described below. Step 4. Remove the polystyrene foam stoppers from the sides of the printer.
- Page 2 About the Paper Guides The shape of the paper guides has been changed as shown below. EPSON Stylus Pro 7800/7400 EPSON Stylus Pro 9800/9400 Attach the paper guides to the bottom of the printer as shown below, when you feed the paper forward or backward.
- Page 3 When Feeding Paper Backward When you feed the roll paper backward, gently pinch the upper part of each paper guide and push it to the back position to allow the printout to come out properly. When Using the Auto Take-up Reel Unit To use the paper guides packaged with the Auto Take-up Reel Unit, first remove the paper guides and holders packaged with the printer, as shown below.
- Page 4 About CLEAR JOB HISTORY The CLEAR JOB HISTORY function on the PRINTER STATUS menu, described in the Control Panel section of the User’s Guide, is not supported. About SHEET AUTO FEED TIME The SHEET AUTO FEED TIME function described in the Maintenance Mode section of the User’s Guide, is not supported.
-
Page 5: Loading Cut Sheet Media
Loading Cut Sheet Media Some information in the Paper Handling section of the User’s Guide and in the Loading the Cut Sheet Media section of the Unpacking and Setup Guide, has been changed as described below. To load A4, Letter or 8 × 10 inch cut sheet media, see “Loading cut sheet media with a size of A4, Letter or 8 ×... - Page 6 5. Set the paper lever to the secured position. PRESS PAUSE BUTTON appears on the LCD panel. 6. Press the Pause button. The print heads move and the sheet feeds into the printing position automatically. READY appears on the LCD panel. Now the printer is ready to print.
- Page 7 4. Press the Pause button. The print heads move and the sheet feeds into the printing position automatically. READY appears on the LCD panel. Now the printer is ready to print. While the printer is printing, do not open the front cover. If the front cover is opened while printing is in progress, the printer stops printing, and then restarts printing when the front cover is closed.
- Page 8 5. Open the front cover. 6. Load the sheet into the paper insertion slot so that the bottom edge of the paper rests behind the open front cover. Make sure that the right and bottom edges of the sheet are straight and in line with the horizontal line and the vertical line.