Advertisement
- 1 Introduction
- 2 General description
- 3 Intended use
- 4 Important safety information
- 5 Preparing for use
- 6 Cleaning and disinfecting
- 7 Assembling the breast pump
- 8 Using the breast pump
- 9 Operating the breast pump
- 10 After use
- 11 Storage
- 12 Compatibility
- 13 Technical information
- 14 Troubleshooting
- 15 Undesirable side effects
- 16 Explanation of symbols
- 17 Videos
- 18 Documents / Resources
Introduction
Congratulations on your purchase and welcome to Philips Avent!
To fully benefit from the support that Philips Avent offers, register your breast pump at www.philips.com/mybreastpump.
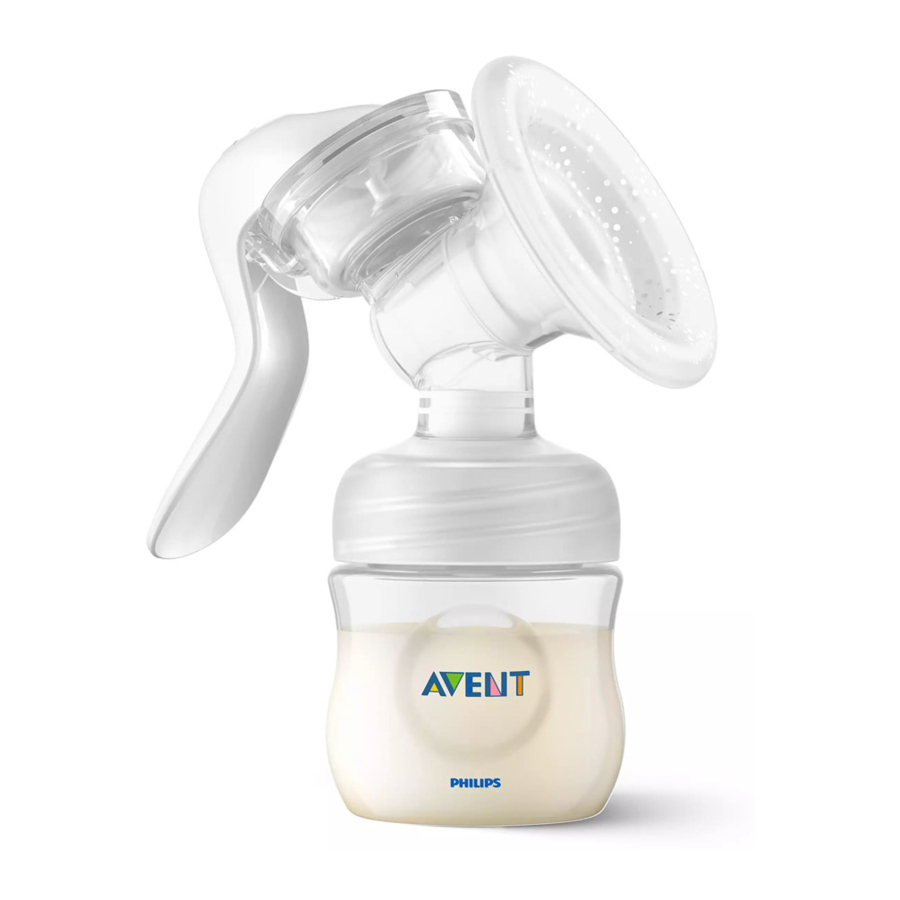
General description


- Handle
- Silicone diaphragm
- Stem
- Pump body
- Cushion
- White valve
- Philips Avent Natural bottle*
- Breast milk storage bags*
- Cushion cover
- Bottle cap
- Screw ring
- Teat
- Sealing disc
- Adapter for cup
- Philips Avent storage cup*
- Storage cup lid
* For these accessories, a separate user manual is provided. Read the separate user manuals carefully, as these contain important safety information.
Intended use
The Philips Avent manual breast pump is intended to express and to collect milk from the breast of a lactating woman. The device is intended for a single user.
Important safety information
Read this user manual carefully before you use the breast pump and save it for future reference.
Contraindication

- Never use the breast pump while you are pregnant, as pumping can induce labor.

Warnings to avoid choking, strangulation and injury:
- Do not allow children or pets to play with the breast pump parts, packaging materials or accessories.
- Inspect the breast pump for signs of damage before each use. Do not use the breast pump if it is damaged or if it does not work properly.
Warnings to avoid contamination and to ensure hygiene:
- For hygienic reasons, the breast pump is only intended for repeated use by a single user.
- Clean and disinfect all parts before first use and after each use.
- Do not use antibacterial or abrasive cleaning agents to clean the breast pump parts as this may cause damage.
- Wash your hands thoroughly with soap and water before you touch breast pump parts and breasts to prevent contamination. Avoid touching the inside of containers or lids.
Warnings to avoid breast and nipple problems including pain:
- Always release the handle before you remove the pump body from your breast in order to release the vacuum.
- If the vacuum is uncomfortable or causes pain, stop pumping and remove the breast pump from your breast.
- Do not continue pumping for more than five minutes at a time if you do not succeed in expressing any milk. Try to express at another time during the day.
- If the process becomes very uncomfortable or painful, stop using the pump and consult your healthcare professional.
- Only use accessories and parts recommended by Philips Avent.
- No modification of the breast pump is allowed.
If you are infected with Human Immunodeficiency Virus (HIV) or Hepatitis B or C, using the breast pump will not reduce or remove the risk of transmitting the virus to your baby through breast milk.

Caution to prevent damage to and malfunctioning of the breast pump:
- Keep the parts away from heated surfaces to avoid deformation of these parts.
Preparing for use
Disassemble, clean and disinfect all parts before you use the breast pump for the first time and after every use.
Be careful when you remove and clean the white valve. Do not insert objects into the white valve, as this may cause damage.
Cleaning and disinfecting
Step 1: Disassembling
Disassemble the breast pump and bottle completely. Also remove the white valve from the pump body and the stem from the silicone diaphragm.
Step 2: Cleaning
The parts can be cleaned manually or in the dishwasher.
Manual cleaning
- Rinse all parts under a running tap with lukewarm water.
- Clean all parts with a cleaning brush in warm water with some mild dishwashing liquid.
- Thoroughly rinse all parts under a running tap with cold clear water.
- Leave all parts to air-dry on a clean tea towel or drying rack.
Cleaning in the dishwasher
 Note: Food colorings may discolor parts.
- Place all parts on the top rack of the dishwasher.
- Put dishwashing liquid or a tablet in the machine and run a standard program.
- Leave all parts to air-dry on a clean tea towel or drying rack.
Step 3: Disinfecting
During disinfection with boiling water, prevent the bottle or other parts from touching the side of the pot. This can cause irreversible product deformation or damage that Philips cannot be held liable for.
- Fill a household pot with enough water to cover all parts and place all parts in the pot. Let the water boil for 5 minutes. Make sure the parts do not touch the side of the pot.
- Allow the water to cool down.
- Gently remove the parts from the water. Place the parts on a clean surface, tea towel or drying rack to air-dry.
Assembling the breast pump
Make sure you have cleaned and disinfected the parts of the breast pump that come into contact with milk.
Be careful, when you have disinfected the breast pump parts by boiling them, they can be very hot. To prevent burns, only start assembling the breast pump when disinfected parts have cooled down.
Check the breast pump kit parts for wear or damage before use and replace them if necessary.
Note: Correct placement of the cushion and the silicone diaphragm is essential for the breast pump to form a proper vacuum.
- Insert the white valve into the pump body from underneath. Push the valve in as far as possible (Fig. 2).
")
- Screw the pump body clockwise onto the bottle (Fig. 3) or storage cup (Fig. 4) until it is securely fixed.
")
")
![information]() Note: If you use a storage cup, you have to screw the adapter for cup onto the storage cup first (Fig. 4).
Note: If you use a storage cup, you have to screw the adapter for cup onto the storage cup first (Fig. 4).
- Push the stem into the silicone diaphragm fully to the end (Fig. 5).
")
- Insert the silicone diaphragm into the pump body from above. Make sure it fits securely around the rim by pressing down with your fingers to ensure a perfect seal (Fig. 6).
")
- Attach the handle onto the diaphragm with stem by hooking the hole in the handle over the end of the stem. Push down the handle onto the pump body until it clicks into place (Fig. 7).
")
- Place the cushion into the pump body (Fig. 8) and make sure that the rim covers the pump body. Push the inner part of the cushion into the funnel. Make sure that you push the cushion inwards completely, up to the line indicated with an arrow on the pump body (Fig. 9).
")
")
![information]() Note: Place the cushion cover (SCF430/10, SCF430/13, SCF430/15) over the cushion to keep the breast pump clean while you prepare for expressing.
Note: Place the cushion cover (SCF430/10, SCF430/13, SCF430/15) over the cushion to keep the breast pump clean while you prepare for expressing.
")
")
")
")
")
")
")
")
Using the breast pump
Always use the breast pump with the cushion.
Note: Contact your healthcare professional in case of questions or if you experience side effects.
Operating the breast pump
- Wash your hands thoroughly with soap and water and make sure that your breast is clean.
- Press the assembled pump body against your breast. Make sure that your nipple is centered, so that the cushion creates an airtight seal.
- Gently start to press down the handle until you feel the suction on your breast (Fig. 10). Then allow the handle to return to its resting position. Repeat this step rapidly 5 or 6 times to initiate the 'let-down' reflex.
")
![information]() Note: You do not have to press down the handle fully. Press it down as much as is comfortable for you. Your milk will soon start flowing, even though you are not using all the suction the pump can generate.
Note: You do not have to press down the handle fully. Press it down as much as is comfortable for you. Your milk will soon start flowing, even though you are not using all the suction the pump can generate. - When the milk starts flowing, adopt a slower rhythm by pressing down the handle and keeping it pressed down for a moment before you let it return to its resting position. Continue with this rhythm while your milk is flowing. If your hand becomes tired, try to use the other hand or pump from the other breast.
![information]() Note: Do not worry if your milk does not flow immediately. Relax and continue pumping. Repositioning the breast pump on your breast from time to time can help stimulate milk flow.
Note: Do not worry if your milk does not flow immediately. Relax and continue pumping. Repositioning the breast pump on your breast from time to time can help stimulate milk flow. - Continue pumping until you feel your breast is empty.
- When you have finished expressing, carefully remove the breast pump from your breast and unscrew the bottle or storage cup from the pump body. Clean the other used parts of the breast pump (see ‚Cleaning and disinfecting').
")
After use
Only store breast milk collected with a clean and disinfected pump.
If you intend to feed your baby with the expressed breast milk within 4 days, you can store the breast milk in the refrigerator in an assembled Philips Avent bottle or storage cup. Otherwise, you can store breast milk in the freezer for up to 6 months.
- To store the breast milk: close the bottle with the sealing disc and screw ring (Fig. 11).
")
- To prepare the bottle for feeding your baby: place a teat in a screw ring and screw the assembled screw ring onto the bottle. Seal the teat with the bottle cap (Fig. 12).
")
- In case a storage cup is included with the manual breast pump, screw the lid onto the storage cup. Make sure you properly close it to avoid leakage (Fig. 13).
")
- Disassemble and clean all parts that have been in contact with breast milk (see ‚Cleaning and disinfecting').
![information]() Note: For safe use of bottles and storage cups, please read the separately provided user manuals.
Note: For safe use of bottles and storage cups, please read the separately provided user manuals.
")
")
")
Refrigerate or freeze expressed breast milk immediately, label with date and time, or keep it at a room temperature for a maximum of 4 hours before you feed your baby. Never refreeze thawed breast milk to avoid a decrease in milk quality. Never add fresh breast milk to frozen breast milk to avoid a decrease in milk quality and unintended thawing of the frozen milk.
Note: For more information about the breast pump and tips for expressing milk, visit www.philips.com/avent.
Storage
Keep the breast pump out of direct sunlight as prolonged exposure may cause discoloration. Store the breast pump and its accessories in a safe, clean and dry place.
Compatibility
The Philips Avent manual breast pump is compatible with all baby bottles in the Philips Avent Natural range and Philips Avent storage cups with an adapter for cup. We do not recommend using the Philips Avent Natural glass bottles with the breast pump.
Technical information
- Operating conditions:
- Temperature 5°C to 40°C (41°F to 104°F)
- Relative humidity 15 to 90% (non-condensing)
- Pressure 700–1060 hPa (<3000 m/9842 ft. altitude)
- Storage and transportation conditions:
- Temperature -25°C to 70°C (-13°F to 158°F)
- Relative humidity up to 90% (non-condensing)
- Materials: polypropylene, silicone
- Service life: 500,000 pump cycles
Troubleshooting
This chapter summarizes the most common problems you could encounter with the manual breast pump. If you are unable to solve the problem with the information below, visit www.philips.com/support for a list of frequently asked questions or contact the Consumer Care Center in your country.
| Problem | Solution |
I experience pain when I use the breast pump. | • Make sure that your nipple is placed in the center of the cushion. • Press the handle down to a vacuum level that is comfortable for you. • If the pain persists, stop using the breast pump and consult your healthcare professional. |
I do not feel any suction. | • Make sure you have assembled the breast pump correctly (see 'Assembling the breast pump'). • Make sure that the breast pump is positioned correctly on the breast to allow a seal between breast pump and breast. |
The breast pump is damaged. | In case of regular use, some light scratching is normal and does not cause problems. However, if a part of the breast pump is badly scratched or cracked, stop using the breast pump and contact the Philips Consumer Care Center or visit www.philips.com/support to obtain a replacement part. |
Undesirable side effects
When using the breast pump, the below undesirable side effects may occur. If you experience any of these symptoms, contact a healthcare professional or breastfeeding specialist.
| Undesirable side effect | Description |
| Pain sensation | Pain felt on the breast or nipple, or felt as a response to the suction being above a comfortable level. |
| Sore nipples | Persistent pain in the nipples at the beginning of the pumping session, or that lasts throughout the entire pumping session, or pain between sessions. |
| Erythema (redness) | Redness of the skin of the breast. |
| Bruise | A reddish-purple discoloration that does not fade when pressed. When a bruise fades, it may become green and brown. |
| Thrombus | Thrombus can result into tenderness, pain, redness, swelling and/or heat. |
| Injured tissue on nipple (nipple trauma) | • Fissures or cracked nipples. • Skin tissue peeling off the nipple. Normally occurs in combination with cracked nipples and/or blisters. • Nipple tear. • Blister. Looks like small bubbles on the surface of the skin. • Bleeding. Cracked or torn nipples can lead to bleeding of the affected area. |
Explanation of symbols
The warning signs and symbols are essential to ensure that you use this product safely and correctly and to protect you and others from injury. This symbol indicates:
![warning]() important information such as warnings and cautions
important information such as warnings and cautions
![information]() usage tips, additional information or a note
usage tips, additional information or a note
![]() the manufacturer
the manufacturer
![]() the manufacturing date
the manufacturing date
![]() the manufacturer's catalog number of the breast pump
the manufacturer's catalog number of the breast pump
![]() the batch number of the medical device
the batch number of the medical device
![]() the Forest Stewardship Council
the Forest Stewardship Council
![]() that an object is capable of being recycled - not that the object has been recycled or will be accepted in all recycling collection systems
that an object is capable of being recycled - not that the object has been recycled or will be accepted in all recycling collection systems![]() that the material used in the product is safe for food contact
that the material used in the product is safe for food contact
 the manufacturer
 the manufacturing date
 the manufacturer's catalog number of the breast pump
 the batch number of the medical device
 the Forest Stewardship Council
 that an object is capable of being recycled - not that the object has been recycled or will be accepted in all recycling collection systems
 that the material used in the product is safe for food contact


Philips Consumer Lifestyle B.V.
Tussendiepen 4, 9206 AD Drachten, The Netherlands
www.philips.com/avent
Trademarks are the property of Koninklijke Philips N.V.
© 2021 Koninklijke Philips N.V.
All rights reserved.
3000.054.0756.2 (2021-11-02)

VideosPhilips Avent Manual Breast Pump Review Video
Documents / Resources
References
![www.philips.com]() Welcome to Philips
Welcome to Philips![www.philips.com]() Baby Products, Accessories and Newborn Essentials | Philips Avent
Baby Products, Accessories and Newborn Essentials | Philips Avent![www.philips.com]() Support location selector
Support location selector
Download manual
Here you can download full pdf version of manual, it may contain additional safety instructions, warranty information, FCC rules, etc.
Advertisement
Thank you! Your question has been received!


Need Assistance?
Do you have a question about the SCF430 that isn't answered in the manual? Leave your question here.