
Related Manuals for Tenda Nova MX6


Summary of Contents for Tenda Nova MX6
- Page 1 AX1800/AX3000 Whole Home Mesh Wi-Fi 6 System MX6/EX6/MX12/EX12 2-pack, 3-pack Quick Installation Guide...
-
Page 2: Package Contents
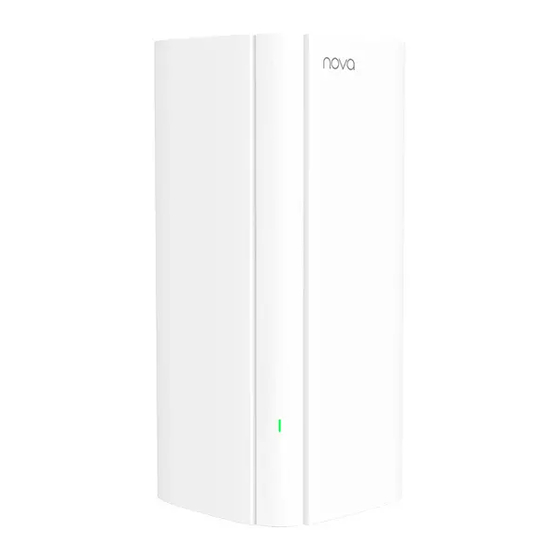
Package contents MX6 (3-pack) & EX6 (3-pack) MX6 (2-pack) & EX6 (2-pack) MX12 (3-pack) & EX12 (3-pack) MX12 (2-pack) & EX12 (2-pack) • Mesh6X/Mesh12X • Mesh6X/Mesh12X • Power adapters • Power adapters • Ethernet cable • Ethernet cable • Quick installation guide •... - Page 3 Button Description MESH button. As a networking button: Press this button on this − device for about 1 to 3 seconds. The LED indicator blinks green fast, which indicates the device is searching for another device to form a network. Within 2 minutes, press the MESH button of another device for 1 to 3 seconds to negotiate with this device.
- Page 4 Connect the primary node *Choose one device from the kit to connect to the internet as the primary node in the network. Tips If you do not use a modem for internet access, please skip steps 1 and 3. 1. Power off your modem. 2.
- Page 5 Method 1: Setup through Tenda WiFi App 1. Download the Tenda WiFi App onto your mobile device by searching for Tenda WiFi in Google Play or App Store or by scanning the QR code. Then install the Tenda WiFi App.
- Page 6 3. Run the Tenda WiFi App and follow the onscreen instructions to connect the device to the internet. After the device is connected to the internet, its LED indicator lights solid green, and the device has become the primary node in the network.
- Page 7 Method 2: Setup through web UI 1. Connect the client to the primary node. Method 1: Connect the wireless client such as a mobile phone to the WiFi network of the primary node. The SSID and password can be found on the bottom label of the device. Method 2: Use an Ethernet cable to connect the computer to the LAN2 or LAN3/IPTV port of the primary node.
- Page 8 Extend network 1. Place the other devices in the kit within 3 meters from the primary node to power them on. Wait for about 3 minutes. When the LED indicators of these devices light solid green, the networking is successful and these devices become secondary nodes in the network.
- Page 9 3. Power on the secondary nodes again till these LED indicators blink green slowly. The MX6 (3-pack) is taken as an example here. Tips If the LED indicator of secondary node keeps blinking green slowly for more than 3 minutes, relocate the secondary node and move it closer to the primary node.
- Page 10 - Wireless devices: Connect to your WiFi network using the SSID and password you set. (All nodes share the same SSID and password) • If you configure the nodes using the Tenda WiFi App and you want to manage the network remotely, tap on the App home page and use your account to log in.
- Page 11 MESH button of another device for 1 to 3 seconds to negotiate with this device. Method 2: Run the Tenda WiFi App and manage the network, tap on the My WiFi page, and follow the on-screen instructions.
-
Page 12: Led Indicator Status
LED indicator blinks red fast. The device is reset successfully. Q4: The device failed to be detected by the Tenda WiFi app upon my first time using the device, what should I do? A4: Try the following solutions: 1. -
Page 13: Declaration Of Conformity
RJ45 cable. Declaration of Conformity Declaration of Conformity Hereby, SHENZHEN TENDA TECHNOLOGY CO., LTD. declares that the radio equipment types Mesh6X, MX6, EX6, Mesh12X, MX12 and EX12 are in compliance with Directive 2014/53/EU. - Page 14 equipment generates, uses and can radiate radio frequency energy and, if not installed and used in accordance with the instructions, may cause harmful interference to radio communications. However, there is no guarantee that interference will not occur in a particular installation. If this equipment does cause harmful interference to radio or television reception, which can be determined by turning the equipment off and on, the user is encouraged to try to correct the interference by one or more of the following measures:...
- Page 15 RECYCLING This product bears the selective sorting symbol for Waste electrical and electronic equipment (WEEE). This means that this product must be handled pursuant to European directive 2012/19/EU in order to be recycled or dismantled to minimize its impact on the environment.
- Page 16 Copyright © 2021 Shenzhen Tenda Technology Co., Ltd. All rights reserved. Tenda is a registered trademark legally held by Shenzhen Tenda Technology Co., Ltd. Other brand and product names mentioned herein are trademarks or registered trademarks of their respective holders. Specifications are...