Table of Contents
Advertisement
Quick Links
Quick Installation Guide
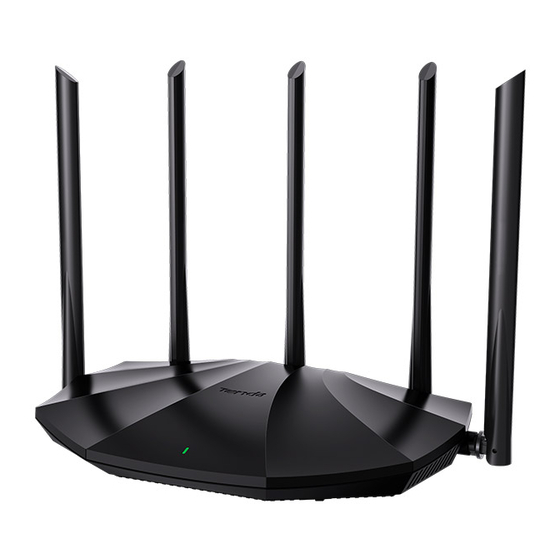
Dual Band Wi-Fi 6 Router
RX2 Pro/TX2 Pro/RX1 Pro/TX1 Pro/RX2/TX2/RX1/TX1
Package contents
Wireless router x 1
Power adapter x 1
Ethernet cable x 1
Quick installation guide x 1
Scan QR code to download Tenda WiFi App
Please read this guide before you start with the quick setup upon the first use.
This guide instructs how to install and connect the device. For more information, such as the description of
symbols displayed on relevant materials, please visit www.tendacn.com or scan the Product Documents QR
code of this guide.
The product name and model are specified on the label of the device. RX2 is used for illustrations here unless
otherwise specified. The actual product prevails.
Advertisement
Table of Contents

Related Manuals for Tenda RX2 Pro


Summary of Contents for Tenda RX2 Pro
- Page 1 Quick installation guide x 1 Scan QR code to download Tenda WiFi App Please read this guide before you start with the quick setup upon the first use. This guide instructs how to install and connect the device. For more information, such as the description of symbols displayed on relevant materials, please visit www.tendacn.com or scan the Product Documents QR...
- Page 2 I Connect the router If you use the modem for internet access, power off the modem first before connecting the WAN port of the router to the LAN port of your modem and power it on after the connection. For better WiFi performance, it is recommended that the router be positioned according to the following guidelines: •...
- Page 3 II Connect the router to the internet Start a browser on the client and enter tendawifi.com in the address bar to access the web UI, or run the Tenda WiFi app. If you cannot log in to the web UI, refer to Q1 in FAQ.
- Page 4 ❷ The router detects your connection type automatically. If your internet access is available without further configuration (for example, PPPoE connection through an optical modem is completed), click Next.
- Page 5 If the PPPoE user name and password are required for internet access, select the ISP Type based on your region and ISP and enter required parameters (if any). If you forget your PPPoE user name and password, click Import PPPoE user name and account from the original router and perform operations as prompted, or you can obtain the PPPoE user name and password from your ISP and manually enter them.
- Page 6 Wired devices: Connect to a LAN port (1, 2 or IPTV/3) of the router using an Ethernet cable. If you still cannot access the internet after the configuration, refer to Q2 in FAQ. If you completed the configurations using the Tenda WiFi App and want to remotely manage the network, tap...
-
Page 7: Led Indicator
LED indicator LED indicator Scenario Status Description Startup Solid green Starting up Solid green Connected to the internet Not configured and not connected to the Blinking green slowly internet Internet connection Blinking red slowly Configured but internet connection failed LED indicator Configured but no Ethernet cable is connected Blinking orange slowly to the WAN port... - Page 8 LED indicator Scenario Status Description PPPoE user name and Blinking green quickly PPPoE user name and password imported password for 8 seconds successfully importing Blinking orange Resetting Resetting quickly Jack, ports and buttons Jack/Port/Button Description Used to start the WPS negotiation process, or to reset the router. WPS: Through the WPS negotiation, you can connect to the WiFi network of the router without entering the password.
- Page 9 Jack/Port/Button Description LAN/IPTV port. IPTV/3 It is a LAN port by default. When the IPTV function is enabled, it can only serve as an IPTV port to connect to a set-top box. LAN port. 2, 1 Used to connect to such devices as computers, switches and game machines. WAN port.
- Page 10 Check whether wired devices are set to obtain an IP address automatically and obtain DNS server address automatically. Q3: The device failed to be detected by the Tenda WiFi app upon my first time using the device. What should I do? A3: Try the following solutions: 1.
- Page 11 Get support and services Scan the Product Documents QR code to get related documents for more information. The specific product model can be found on the label of the device. Product Documents (such as datasheet and user guide)
-
Page 12: Wall Mounting
(2) To avoid unnecessary radiation interference, it is recommended to use a shielded RJ45 cable. Declaration of Conformity Hereby, SHENZHEN TENDA TECHNOLOGY CO., LTD. declares that the device is in compliance with Directive 2014/53/EU. The full text of the EU declaration of conformity is available at the following internet address: https://www.tendacn.com/download/list-9.html... -
Page 13: Fcc Statement
FCC Statement This equipment has been tested and found to comply with the limits for a Class B digital device, pursuant to Part 15 of the FCC Rules. These limits are designed to provide reasonable protection against harmful interference in a residential installation. This equipment generates, uses and can radiate radio frequency energy and, if not installed and used in accordance with the instructions, may cause harmful interference to radio communications. -
Page 14: Safety Precautions
Caution: Adapter Model: BN073-A12012U/BN073-A12012E/BN073-A12012B/BN073-A12012P/BN073-A12012A/BN073-A12012I Manufacturer: SHENZHEN HEWEISHUN NETWORK TECHNOLOGY CO., LTD. Input: 100 - 240V AC, 50/60Hz, 0.4A Output: 12V⎓1A : DC Voltage RECYCLING This product bears the selective sorting symbol for Waste electrical and electronic equipment (WEEE). This means that this product must be handled pursuant to European directive 2012/19/EU in order to be recycled or dismantled to minimize its impact on the environment. -
Page 15: Technical Support
© 2023 Shenzhen Tenda Technology Co., Ltd. All rights reserved. Tenda is a registered trademark legally held by Shenzhen Tenda Technology Co., Ltd. Other brand and product names mentioned herein are trademarks or registered trademarks of their respective holders. Specifications are subject to change without notice.