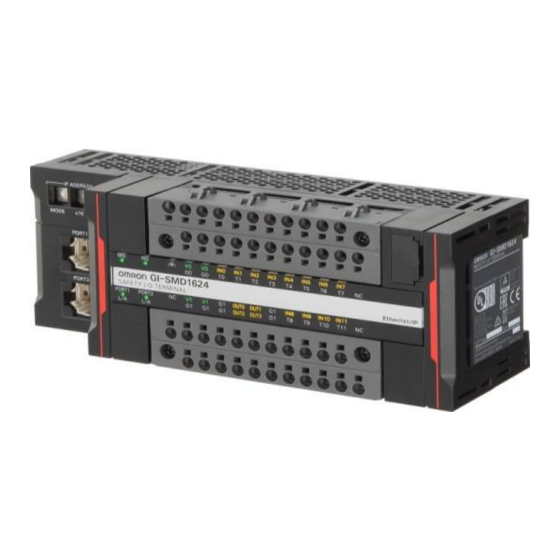
Summary of Contents for Omron GI-S Series
- Page 1 GI-S series How to configure a software IP address with a DHCP server application SPD-1809139 Rev.B CONFIDENTIAL © OMRON Corporation...
- Page 2 Introduction When you add a GI-S to a network there are three ways to set the default IP address so you can program the I/O Block. Rotary switches • Will set the IP address to 192.168.250.x. To do this set the rotary switches to 0xx where xx is the last octet in the IP address.
- Page 3 Preparation Necessary tools to use BOOTP-DHCP: BOOTP-DHCP server ver 3.01.00 (Rockwell Automation): BootP-DHCP allows you to assign a specific IP address to a specific MAC address. You can download here (Need to complete Account Registration): https://rockwellautomation.custhelp.com/app/answers/detail/a_id/19793 Sysmac Studio: Necessary to store software IP address into non-volatile memory. Wireshark: Only for troubleshooting (ex.
- Page 4 Preparation Network configuration: • PLC, target GI-S unit and Sysmac Studio PC must be in a network (accessible directly) and have same network ID. See two examples below. Using Port1: Using Port2: 192.168.250.1 DHCP server 192.168.1.100 DHCP server DHCP client 192.168.250.100 (to be 192.168.250.2)
- Page 5 Step 1: Confirm MAC address of target unit Confirm the MAC address on the label attached to the back of GI-S unit. In this case, MAC address is: 00:00:0A:BE:84:AC...
- Page 6 Step 2: Find target unit Run BOOTP-DHCP server tool and first configure the Network settings. No need to fill numbers into all boxes. Typical requirement is set Subnet mask to “255.255.255.0”. Configure rotary DIP switches to “000” and power on. Wait for the MAC address of target unit to appear in the list.
-
Page 7: Step 3: Assign Ip Address
Step 3: Assign IP address Click the line with target MAC address and select “Add relation”. Set the IP address to assign the target unit. In this example it configured to “192.168.1.2” but any valid number is available. When it’s assigned, the IP addresses are shown in table above. At this point, the unit uses the IP address but it’s not stored in non-volatile memory. - Page 8 Step 4: Store IP address Use Sysmac Studio to store the software IP address to the target unit. In this example, the safety connection configuration is already complete in the project. Log onto the PLC and select target unit in Connection Settings, right-click and select “TCP/IP Settings”.
- Page 9 Procedure for Multiple Targets When IP addresses need to be assigned to multiple target units.
- Page 10 Step 1: Assign IP addresses with csv file BOOTP-DHCP server supports .csv file to import relationship settings. Creating a table for multiple targets in a .csv file saves time instead of manually assigning IP address one by one. Click File > Open and import prepared .csv file. Configure rotary DIP switches to “000”...
- Page 11 Step 2: Store IP addresses by EIP tool Use the EIP tool to store IP address into non-volatile memory. Execute from #1 to #5 to get a list of targets. 1. Click List Identity tab 2. Select Network Broadcast 3. Enter multicast IP address 5.
- Page 12 Step 3: Store IP addresses by EIP tool Use the EIP tool to store IP address into non-volatile memory. Execute from #6 to #9, then IP address is stored. Repeat from #5 to #9 for all targets. 6. Click 0xF5 TCP/IP tab 7.
-
Page 13: Troubleshooting
Troubleshooting In the case where no target device appears in window, the likely reasons are: - IP address are not assigned correctly by BOOTP-DHCP server. - Network interface of PC is not configured with IP address in same network address. - Firewall is blocking communication between PC and target device. - Page 14 Appendix...
- Page 15 How to delete stored IP address Refer user’s manual Z400-E1, section 6-4-1 Setting the IP Address - Built-in EtherNet/IP Port IP Address Settings – To obtain the IP address from the DHCP server whenever the power is turned ON, instead of using that stored in the built-in memory.
- Page 16 5. MAC address of the unit sent DHCP discover message is shown in “Client MAC address”. Confirm it’s Omron device. Click MAC address is displayed here. Click NOTE: MAC address is unique and Wireshark will recognize this device is registered as an Omron device.
- Page 17 How to get a stored IP address by Wireshark Use MAC address of your target unit 1. You know MAC address is 00:00:0a:be:84:ac but don’t know stored IP address. 2. Directly connect the target GI-S unit, configure the rotary DIP switches to “000” and power on.


