Oki MC770 Maintenance Manual
Lcf unit
Hide thumbs
Also See for MC770:
- Maintenance manual (487 pages) ,
- User manual (118 pages) ,
- Manual de usuario (102 pages)

Related Manuals for Oki MC770


Summary of Contents for Oki MC770
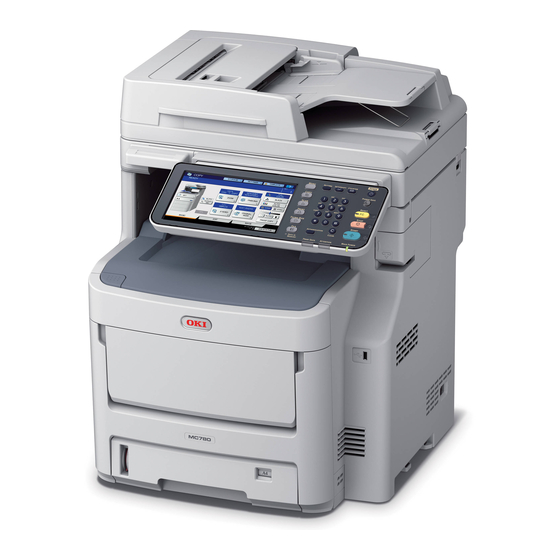
- Page 1 MC770 / MC770+ / MC780 / MC780+ MB760dn / MB770dnf / B721dn / B731dn MPS3537mc / MPS3537mc+ MPS4242mc / MPS4242mc+ LCF Unit Maintenance Manual 102213A...
-
Page 2: Copyright Information
Copyright Information Copyright © 2013 by Oki Data. All Rights Reserved Disclaimer Every effort has been made to ensure that the information in this document is complete, accurate, and up-to- date. The manufacturer assumes no responsibility for the results of errors beyond its control. The manufacturer also cannot guarantee that changes in software and equipment made by other manufacturers and referred to in this guide will not affect the applicability of the information in it. - Page 3 Oki Data assumes no responsibility to the damages caused or claimed to have been caused by the user as a result of repair, adjustment and/or change using this manual.
-
Page 4: Replacement Of Parts
Oki Data CONFIDENTIAL REPLACEMENT OF PARTS This chapter describes the procedures of the field replacement of parts, assemblies and units. The procedures are to detach them. Reverse the procedures to attach them. The reference part numbers used in this manual (such as ) do not identical to the part numbers in the maintenance disassembly configuration diagram (45393301TL) and RSPL (45393301TR) for the manual. -
Page 5: Notes On Replacement Of Parts
1.REPLACEMENT OF PARTS Oki Data CONFIDENTIAL 1.1 Notes on replacement of parts (1) Prior to replacing a part, unplug the AC cord and the interface cable. (2) Do not disassemble the printer so long as it operates properly. (a) Be sure to use the following procedure to unplug the AC cord: (3) Minimize disassembly. - Page 6 1.REPLACEMENT OF PARTS Oki Data CONFIDENTIAL Maintenance Tools: Table 1-1-1 shows the tools necessary to replace printed-circuit boards and units: Table 1-1-1: Maintenance Tools Maintenance Tool Quantity Remarks Phillips screwdriver with 3- to 5-mm magnetic tip, No. screws 2-200 Screwdriver No.
-
Page 7: Part Replacement Procedure
1.REPLACEMENT OF PARTS Oki Data CONFIDENTIAL 1.2 Part replacement procedure (6) Remove all cables ⑮ and connectors from the Board ⑭ . This section describes the procedure for replacing the parts and assemblies shown in the (7) Remove the two screws (black,No:44883906) ⑯ and remove the Board-GOI ⑭ . -
Page 8: Photo Sensor
1.REPLACEMENT OF PARTS Oki Data CONFIDENTIAL 1.2.2 Photo sensor (1) Remove the Frame.Assy-Hop(See 1.2.1) (2) Remove the E-ring ① and remove the Hopping Clutch ② . ⑳ ⑲ (3) Remove the three screws (silver,No:42920406) ③ and remove the Plate-Assy- ㉓... - Page 9 1.REPLACEMENT OF PARTS Oki Data CONFIDENTIAL 1.2.3 Caster etc (1) Draw out the Casstte ① ,remove the six screws ( silver, D4-6HH) ② and remove the Cassette ① from LCF Unit. (2) Remove the six screws ( silver, D4-6HH) ③ and remove the Slide-Rail ④ .
- Page 10 1.REPLACEMENT OF PARTS Oki Data CONFIDENTIAL (2) Remove the latch and remove the roller ① , ② 1.2.4 Pickup roller If the hopping jam occurs frequently, to change the pickup roller and separation roller. Model name: RS-C4B ② ① feed roler...
- Page 11 1.REPLACEMENT OF PARTS Oki Data CONFIDENTIAL (4) Put the new roller ( with gear) ② to the shaft. (7) Remove the Retard Roller ③ and spring ④ . ③ ④ (8) Assemble the spring ④ to the new Reatard Roller ③ .
- Page 12 1.REPLACEMENT OF PARTS Oki Data CONFIDENTIAL (10) Set the position groove of Retard Roller ③ to boss of Cassette. (13) To p u s h a r o u n d t h e c ove r, and check the Retard Roller moving up and down.