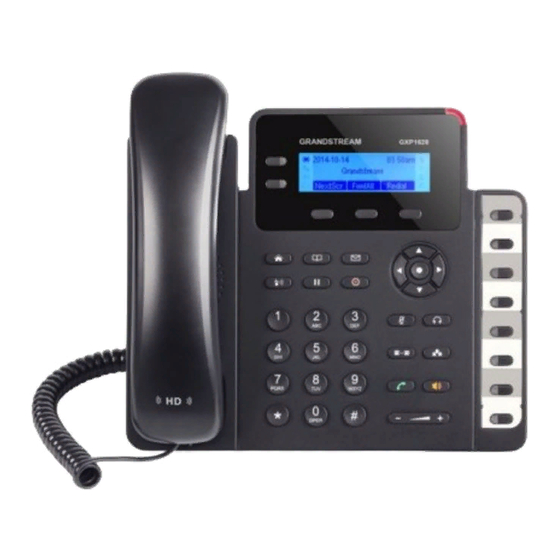
Grandstream Networks GXP1628 Configuration Manual
Hide thumbs
Also See for GXP1628:
- Quick installation manual (30 pages) ,
- Quick reference sheet (5 pages) ,
- Quick user manual (1 page)

Related Manuals for Grandstream Networks GXP1628


Summary of Contents for Grandstream Networks GXP1628
-
Page 1: Table Of Contents
Home PBXware SERVERware TELCOware SIPmon SIPProt Desktop & Mobile UADs Appliances From Bicom Systems Wiki Contents 1 Introduction 2 Video Tutorial 3 Requirements 3.1 Identifying phone model 3.2 Phone firmware 3.3 DHCP server 3.4 PBXware version 4 Installation 4.1 Power adapter 4.2 Power over Ethernet (PoE) 4.3 Find the phone IP address 4.4 Reset to factory settings... -
Page 2: Video Tutorial
This Configuration Guide is written as general guide on how to configure the Grandstream phone model GXP1628 to work with PBXware 4.1.4. Video Tutorial Video tutorial explaining Auto Provisioning setup for Grandstream Phone on PBXware 4. Video tutorial explaining Auto Provisioning setup for Grandstream Phone on PBXware 5. -
Page 3: Dhcp Server
To find out the firmware version of your Grandstream phone model open a new browser window and enter your phone IP address in order to access the phone web administration interface login screen. Example: http://192.168.1.22. Login to phone web administration interface with your username and password. Please note, factory default login details are username: admin and password: admin. -
Page 4: Find The Phone Ip Address
Using a regular ethernet cable, your phone can be powered from a Power over Ethernet (PoE) compliant router or switch. Connect the Ethernet cable between the Internet port on the phone and an available port on the in-line power router or switch. NOTE: If you are using Power over Ethernet (PoE), you don't need to connect the AC adapter. - Page 5 UAD settings Creating extension Registering phone UAD Settings UAD settings Login to PBXware web administration interface Open a new browser window and enter the IP address in order to access the PBXware web administration login screen. Example: http://192.168.1.10. Login to PBXware with your e-mail address and password. UAD settings Navigate to Settings:UAD.
- Page 6 registered from remote networks, WAN, Internet etc. Click on the Next step button. Extension values Enter values into the required field text boxes. REQUIRED FIELDS: Name Enter a name for the extension being created. Example: John Smith. E-mail Enter the e-mail address associated with this extension. This e-mail address will receive all system notification messages.
-
Page 7: Auto Provisioning
PBXware extension number. Example: 1003 Sip Server Enter the Hostname or IP Address of the PBXware. - Example for Hostname: voip.bicomsystems.com - Example for IP Address: 192.168.1.10 SIP User ID Usually the same number as the Phone Number. Authenticate Password The Secret of the extension as received in the e-mail associated with this extension. - Page 8 Open a new browser window and enter the IP address in order to access the PBXware web administration login screen. Example: http://192.168.1.10. Login to PBXware with your e-mail address and password. UAD settings. Navigate to Settings:UAD. Make sure Grandstream UAD is enabled. To check the UAD status click on the edit icon corresponding to your Grandstream phone.
- Page 9 system notification messages. Example: john.smith@bicomsystems.com Auto Provisioning Set to Yes. MAC Address Enter Grandstream phone MAC address. Example: 000B82123456. MAC address can be found at the back of the phone. Click on the Save button. Registering Phone This chapter describes how to register Grandstream phone using DHCP, TFTP or HTTP & HTTPS.
- Page 10 If the Server Type is HTTP or HTTPS enter Hostname or IP Address, followed then by /prov. Example for Hostname using HTTP: abc.bicomsystems.com/prov Example for Hostname using HTTPS: abc.bicomsystems.com/prov Example for IP Address using HTTP: 192.168.1.10/prov Example for IP Address USING HTTPS: 192.168.1.10/prov Enter Auto Provisioning username and password into Config HTTP/HTTPS User Name and Config HTTP/HTTPS Password fields.
- Page 11 Example for IP Address: 192.168.1.10 Click on Save and Apply button. Click Reboot at the top of the administration interface and confirm with OK on prompt. You'll have to wait couple of seconds for the configuration to be updated. NOTE: Do not power off your phone.