Table of Contents
Advertisement
Advertisement
Table of Contents

Related Manuals for Casio KL-780


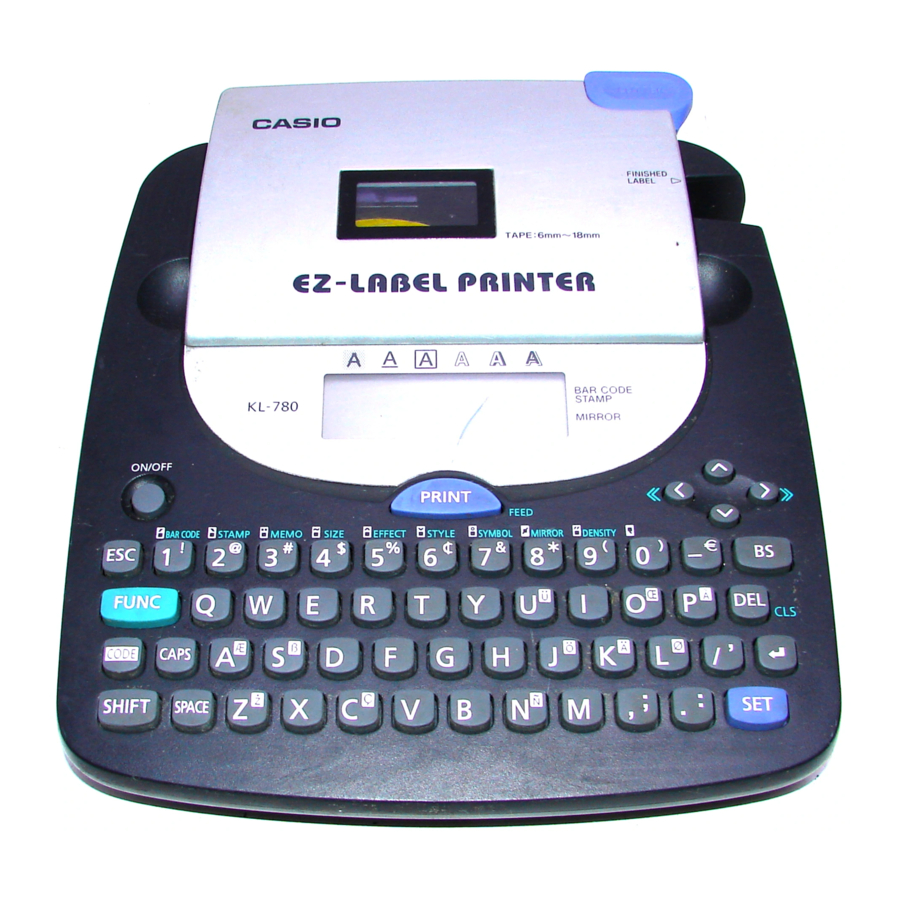
Summary of Contents for Casio KL-780
- Page 1 KL-780 User’s Guide...
-
Page 2: Important Safety Precautions
Important Safety Precautions Note of the following safety precautions before using the label printer for the first time. Keep these safety precautions and operating instructions on hand for future reference. About safety precaution symbols The following symbols are used in this manual and on the product itself to alert you and others to the risk of personal and material injury. - Page 3 Tape Cutter • Never touch the tape cutter while a tape cut operation is being performed. Doing so can result in cuts and other personal injury. Microwave oven containers • Never affix labels to containers used for heating food in a microwave oven.
- Page 4 • Never mix batteries of different types. • Never mix new batteries and dead batteries. • Remove the batteries if you do not plan to use KL-780 for a long time. • Use only the battery type specified for this label printer in this manual.
-
Page 5: Table Of Contents
To recall text from memory ... E-20 Part 10 Reference ... E-20 Cleaning the Printer Head and Roller ... E-20 To clean the printer head and roller ... E-20 Initial Power On Settings ... E-21 Initializing the Label Printer ... E-21 To initialize the Label Printer ... -
Page 6: Part 1 Getting Acquainted
This part of the manual provides you with important information you need to know in order to use the Label Printer to its full potential. Be sure to read it carefully before using the Label Printer for the first time. -
Page 7: Label Printer Menus
• Never mix batteries of different types. • Never leave dead batteries in the Label Printer. • Remove the batteries if you do not plan to use the Label Printer for a long time. • Replace the batteries in accordance with the battery life marked on the side of the battery. -
Page 8: To Load The Batteries
Note the following important precautions when using an AC adaptor to power your Label Printer. • Use only a genuine CASIO AD-A95100 AC adaptor with the same voltage rating as the household current in your area. Using a wrong adaptor can damage your Label Printer. -
Page 9: Resetting The Memory
Resetting the Memory You should reset the memory of the Label Printer before using it for the first time, after you have not used it for a long time, or if nothing happens when you turn power on, even after you change the batteries. -
Page 10: Part 3 Inputting Characters And Symbols
5. 8. Close the cover. 9. Turn on Label Printer power and press FUNC and then PRINT (FEED) two or three times to make sure that the tape comes out without any problem. • If the tape does not come out normally, turn off power and start again from step 1 above. -
Page 11: Basic Alpha-Numeric Input
All letters you input in the caps mode are upper-case. When the caps mode indicator is not shown on the display, all letters are input as lower-case. Note that the Label Printer stays in the caps mode until you press the CAPS key again. -
Page 12: About The Code Key
• A newline operation is indicated on the display by the B symbol. This shows where you changed lines. • The maximum number of lines you can input depends on the width of the tape you have loaded in the Label Printer. Tape Width Maximum Number of Lines •... -
Page 13: Part 4 Deleting And Inserting Characters
To delete characters using the BS key Example: To change the word “CASSSIO” to “CASIO”. 1. Use c and v to move the cursor under “I”. C A S S S I O 2. -
Page 14: Part 5 Character Size, Text Effects And Character Styles
• The maximum character size you can print depends on the size of the tape Actual Size (Vertical × Horizontal) you have loaded in the Label Printer and the number of lines of text you are printing. If the character size you specify is greater than the maximum 3mm × 3mm characters size limit, the Label Printer automatically adjust your text vertically 3mm ×... - Page 15 6mm (1 line) Horizontal 1 × 1 1 × 2 1 × 3 1 × 1 1 × 2 1 × 3 1 × 1 1 × 2 1 × 3 1 × 1 1 × 2 1 × 3 9mm (1 line) Horizontal 1 ×...
-
Page 16: Using Auto Sizing (Auto
• To change a dimension, press z to increase it or x to decrease it. • Remember that the dimensions you can specify depend on the width of the tape loaded in the label printer (see table, above). 5. When the character size you want to specify is on the display, press SET to select it and return to the text display. -
Page 17: Character Styles
• Never turn power off while printing is being performed. • Make sure that the tape outlet is not blocked before you start printing. • Never operate the tape cutter while printer is being performed (indicated by the message “NOW PRINTING” on the display). -
Page 18: Mirror Image Printing
• An easy way to remove the backing from a tape and expose the adhesive surface is to bend the tape near one of its ends. This should cause the tape and its backing to separate, allowing you to pull them apart. Mirror Image Printing When you specify mirror image for text, it is printed in reverse image. -
Page 19: Part 7 Bar Code
• With bar codes, you can only input numeric characters (0 to 9). EAN-8 allows input of seven digits, while EAN-13 allows input of 12 digits. • Always test bar codes produced using this label printer before actually using them. If bar codes cannot be read properly, try adjusting the print density or using a larger character size. -
Page 20: Part 8 Stamp Printing
• You can perform stamp printing only when 18mm is specified as the tape width. • An error message “LENGTH ERROR!” appears on the display and the Label Printer refuses to print whenever you try to print text that is longer than the maximum length you specify. -
Page 21: To Recall Text From Memory
Cleaning the Printer Head and Roller A dirty printer head and roller can result in poor printing quality. If you have problems with print quality, use the following procedure to clean the printer head and roller. -
Page 22: Initial Power On Settings
• This prompt confirms whether or not you want to initialize the Label Printer. I N I T 3. Release the PRINT, ESC, and ON/OFF keys. 4. Press SET to initialize the Label Printer or ESC to abort the reset operation. • The following table shows the initial settings. Power On... -
Page 23: Troubleshooting
Input the text you want to print. Printing is blurred, blotched, broken, etc. Possible Causes Action Adjust the print density setting. Remove the tape cartridge and reload it correctly. Clean the printer head and roller. Page Page Page E-17 E-20... -
Page 24: Error Messages/Display Messages
• Tape Cutting Cannot cut tape. Possible Causes Tape cutter blade is dull. Take the label printer to the dealer from whom you purchased it to have the tape cutter blade replaced. Printed text is cut off by tape cut operation. - Page 25 In response to the “INITIAL?” message that appears, press SET to initialize the Label Printer. Input the correct number of digits for the type of bar code you are creating. • EAN-8 ... 7 digits • EAN-13 ... 12 digits...
-
Page 26: Alpha Characters
Alpha Characters Symbols E-25... -
Page 27: Symbols: 46
Specifications Model: KL-780 Input Keyboard Layout: Typewriter (QWERTY) Character Types Alpha (English and other languages): 151 Numbers: 10 Symbols: 46 Display Type: Liquid crystal display Character matrix: 10 columns × 2 lines of 5 × 7-dot Printing Type: Thermal transfer Speed: Approximately 6.58mm/second... - Page 28 CASIO COMPUTER CO., LTD. 6-2, Hon-machi 1-chome Shibuya-ku, Tokyo 151-8543, Japan MO0306-B...