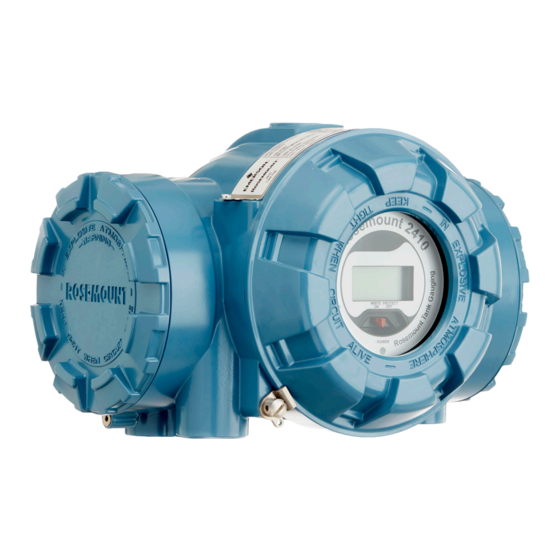
Emerson Rosemount 2410 Manual
Tank hub
Hide thumbs
Also See for Rosemount 2410:
- Reference manual (192 pages) ,
- Instruction manual (34 pages) ,
- Instructions manual (30 pages)

Related Manuals for Emerson Rosemount 2410


Summary of Contents for Emerson Rosemount 2410
- Page 1 Manual Supplement 00809-0200-2410, Rev AB January 2022 ™ Rosemount 2410 Tank Hub Upgrade Instruction for Primary Bus and Secondary Bus...
- Page 2 Emerson. Any continued use of product that has been damaged or modified without the written authorization is at the customer’s...
- Page 3 Manual Supplement Contents 00809-0200-2410 January 2022 Contents Chapter 1 Introduction......................5 Chapter 2 The upgrade kit......................7 Chapter 3 Installation procedure....................9 Chapter 4 Upgrade procedure....................11 Rosemount 2410 Tank Hub...
- Page 4 Contents Manual Supplement January 2022 00809-0200-2410 Emerson.com/Rosemount...
-
Page 5: Introduction
January 2022 Introduction This instruction describes how to upgrade a Primary/Secondary Fieldbus on existing Rosemount 2410 Tank Hub. Note The upgrade must be documented. This includes stating the serial number of the device, date of upgrade, type of upgrade and name of the person performing the upgrade. - Page 6 Introduction Manual Supplement January 2022 00809-0200-2410 Emerson.com/Rosemount...
-
Page 7: The Upgrade Kit
The upgrade kit The modification kit consists of the following parts: • Screw M3x6 • Plate for Main Label • Main and Spare Part Label • PCM Modem Board (if applicable) • Start Code (if applicable) Rosemount 2410 Tank Hub... - Page 8 The upgrade kit Manual Supplement January 2022 00809-0200-2410 Emerson.com/Rosemount...
-
Page 9: Installation Procedure
Always make sure to have the necessary site permissions before starting any kind of work within the hazardous locations. If unsure, consult the local personnel on site. Rosemount 2410 Tank Hub... - Page 10 Installation procedure Manual Supplement January 2022 00809-0200-2410 Emerson.com/Rosemount...
-
Page 11: Upgrade Procedure
Electrostatic Discharge (ESD). 4. Remove the cover from the transmitter. 5. Unsnap the display cover by pressing two plastic clips upwards. Rosemount 2410 Tank Hub... - Page 12 Upgrade procedure Manual Supplement January 2022 00809-0200-2410 6. Disconnect the cables from the mother board. 7. Remove all the 6 screws holding the plastic holder inside the housing. 8. Remove the plastic holder from the housing. Emerson.com/Rosemount...
- Page 13 9. Press down the plastic clips to detach the electronics. Detach and remove the electronics package from the plastic holder. 10. Remove the plate that holds the power supply in place. This will allow for easy access to the primary and secondary bus boards. Rosemount 2410 Tank Hub...
- Page 14 Add or exchange the primary/secondary board depending on desired configuration. A. Primary bus B. Secondary bus 12. If an IS board is mounted on the primary side make sure the connection cable is placed under the secondary bus board if such board is present. Emerson.com/Rosemount...
- Page 15 13. Attach the power supply board back to the main board, ensure that all boards are aligned and properly resting against the board support. 14. Steer the boards into the grooves of the holder; make sure the heat sink is properly aligned against the bottom of the holder. Rosemount 2410 Tank Hub...
- Page 16 15. Push the two parts together all the way until the holder snaps in place and the boards are visible in the inspection holes. 16. Place the electronic package back into the housing and secure it with the screws. 17. Connect all the cables back to the mother board where applicable. Emerson.com/Rosemount...
- Page 17 25. Connect the device and power it on, if a display is present make sure the device is working properly. When there is no display present contact the control room and verify that the device is back on-line. Rosemount 2410 Tank Hub...
- Page 18 Select OK and Apply to close the properties window. 29. Your 2410 device is now upgraded. You may need to make additional configuration adjustments based on type of upgrade. See the Rosemount 2410 Tank Hub Reference Manual for more details.
- Page 19 Manual Supplement 00809-0200-2410 January 2022 Rosemount 2410 Tank Hub...
- Page 20 2022 Emerson. All rights reserved. Emerson Terms and Conditions of Sale are available upon request. The Emerson logo is a trademark and service mark of Emerson Electric Co. Rosemount is a mark of one of the Emerson family of companies. All other marks are the property...