
Related Manuals for Chicco E-Motion


Summary of Contents for Chicco E-Motion
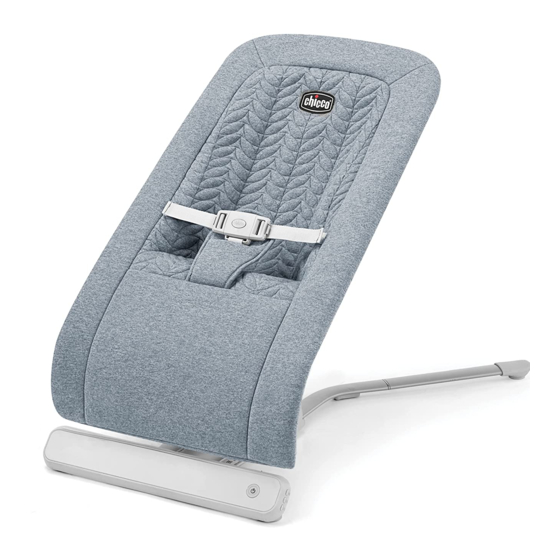
- Page 1 Read all instructions BEFORE assembly and USE of product. KEEP INSTRUCTIONS FOR FUTURE USE. E-Motion ™ Glider & Bouncer Owner's Manual IS0213E_01 ©2021 Artsana USA, INC. 08/21...
- Page 2 • Do not use accessories or • ALWAYS use restraints and adjust replacement parts other than to fit snugly, even if baby falls those approved by the Chicco. asleep. C. - Base Frame • STOP using product when baby starts trying to sit up, attempts to climb out (approximately 9 months), or has reached 20 lbs.,...
- Page 3 How to Assemble Glider Components D. - Screws 1A. Place the Base Frame upsidedown on a flat surface. Insert the Rear Legs (E) into the Base Frame (C), as shown. E. - Rear Legs F. - Power Cord 1B. Secure the Rear Legs using the Screws (D) provided.
- Page 4 How to Assemble Glider How to Assemble Glider 3. Line up and insert both arms of 2. Turn the Base Frame right side up the Base Frame into the arms of the and locate the lower support arms. Top Support Frame (B). Push down Lift up on the support arms until they to make sure the Support Frame is lock into the open position.
- Page 5 How to Assemble Glider How to use Glider WARNING 4A. Slide the Seat Fabric (A) onto the Top Support Frame. Pull the bottom Avoid serious injury from falls or sliding out. Always secure child in the restraint. edge of the Seat Fabric down over the Never leave child unattended in Glider.
- Page 6 How to use Glider How to use Glider 7A. The product may be used in a 7B. Press the Glide button on the Bouncer bouncer position or glider position. front of the base. The button will light up and the Glider function will Bouncer: Press down on the lock be active for 30 minutes.
- Page 7 How to use Glider How to use Glider 9. The Glider has a function panel on 8A. To use the Power Cord (F), make the side of the base, as shown. sure USB end of the Power Cord is attached to the Adapter. Music (top button): Press the button to start playing the music cycle.
- Page 8 Fitting and/or Replacing Batteries Fitting and/or Replacing Batteries WARNING 10A. This Glider uses (4)1.5v AA batteries. To replace the batteries, The Glider requires 4 x “AA” 1.5 Volt alkaline type batteries (not included). loosen the screw holding the battery • Batteries must only be fitted by an adult. cover with a Phillips screwdriver and •...
- Page 9 How to remove the fabric How to Fold Glider 11. To fold the Glider, lift up on the 12. To remove the Seat Fabric, undo seat back then pull back on the the snap buttons and release the release button while the seat back is fabric loop (see step 4C).
-
Page 10: Cleaning And Maintenance
Cleaning and Maintenance How to remove the fabric The cleaning and maintenance of the Rocker must only be carried out by an adult. 13. Slide the Seat Fabric off of the Seat Frame, as shown. To replace the CLEANING Fabric, see step 4. The fabric seat can be removed (please refer to the steps 12-13). -
Page 11: Fcc Information
FCC Information For More Information WARNING For USA customers : If you have any questions or comments about this product, or are missing any of Changes or modifications not expressly approved by the party responsible for the parts, please do not return this product to the store. Contact us in one of the compliance could void the user’s authority to operate the equipment. - Page 12 www.chiccousa.com...