Dual XD1222 Installation & Owner's Manual
Am/fm/cd receiver with auxiliary input, usb charging port and detachable face
Hide thumbs
Also See for XD1222:
- Installation & owner's manual (15 pages) ,
- Installation & owner's manual (4 pages)

Related Manuals for Dual XD1222


Summary of Contents for Dual XD1222
- Page 1 XD1222 INSTALLATION/OWNER'S MANUAL AM/FM/CD Receiver with Auxiliary Input, USB Charging Port and Detachable Face Charge Port...
-
Page 2: Typical Mounting Method
XD1222 INSTALLATION Preparation Please read entire manual before installation. Before You Start • Disconnect negative battery terminal. Consult a qualified technician for instructions. • Avoid installing the unit where it would be subject to high temperatures, such as from direct sunlight, or where it would be subject to dust, dirt or excessive vibration. -
Page 3: Wiring Diagram
Green (+) Wiring Diagram RCA Cable (sold separately) FUSE When replacing the fuse, make sure new fuse is the correct type and amperage. Using an incorrect fuse could damage the radio. The XD1222 uses one 5 amp AGC fuse located in-line. -
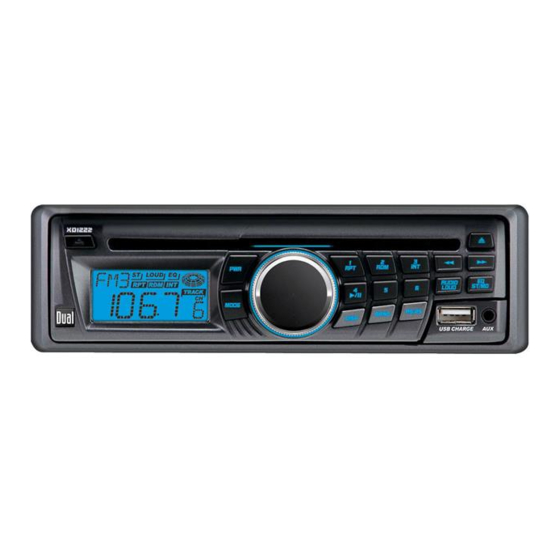
Page 4: Control Locations
Preset 3/Intro Preset 6 The XD1222 has an easy-to-use interface that provides a rewarding experience, as well as support for your favorite tunes. Audio CD-R and CD-RW disc playback ensures compatibility with your music collection, and the RCA preamp output provides the right connections to expand your system. -
Page 5: General Operation
Adjust volume using the rotary encoder (00-46). Volume Press DISP to display the clock. The radio frequency (tuner Display mode) and CD track/elapsed time (CD player mode) will be shown by default. Press DISP to display the clock, then release. Press and Set the Clock hold DISP for 2 seconds, the clock will begin to flash. - Page 6 XD1222 OPERATION General Operation USB Charging Port Insert the USB connector of a battery powered USB device into the USB charging port on the front panel, which provides 5 volts DC and 1.0 amps. The USB device will immediately begin charging. Note: The USB charging port may not be compatible with every device due to differences in power requirements.
-
Page 7: Tuner Operation
FM Stereo/Mono Band Frequency Spacing Storing and Recalling Station Presets Automatically Store Stations Preset Scan XD1222 OPERATION Press TUNE or TUNE next strong station. Press TUNE or TUNE then release. “MANU” will momentarily appear in the display. Press TUNE or TUNE frequency up or down one step at a time. Press and hold to advance quickly. -
Page 8: Cd Player Operation
XD1222 OPERATION CD Player Operation Insert CD Eject CD Track Select Fast Forward and Reverse Pause Intro Repeat Random CD-R/CD-RW Compatibility With the label facing up, insert a standard size CD into the CD slot. The CD will automatically begin playback. Press the EJECT button to stop and eject the CD. -
Page 9: Troubleshooting
Error Code ER-1 appears on display Disc error ER-2 appears on display Mechanism error ER-3 appears on display Servo error or disc is in upside down XD1222 OPERATION Troubleshooting Cause Check connections for proper voltage (11~16VDC) Check connection to ground Replace fuse... -
Page 10: Limited One Year Warranty
This warranty gives you specific legal rights. You may also have other rights which vary from state to state. Dual Electronics Corp. warrants this product to the original purchaser to be free from defects in material and workmanship for a period of one year from the date of the original purchase. - Page 11 XD1222 NOTES...
-
Page 12: Specifications
Dimensions: 7" x 7" x 2" (178 x 178 x 51 mm) Design and specifications subject to change without notice. CEA-2006 Power Standard Specifications (reference: 14.4VDC +/- 0.2V, 20Hz~20kHz) Dual Electronics Corp. Toll Free: 1-866-382-5476 www.dualav.com ©2008 Dual Electronics Corp. All rights reserved. NSA0608-V01...