Table of Contents
Advertisement
Quick Links
You must read the Usage and Safety Precautions before use.
The Operation Manual can be downloaded from the ZOOM website (www.zoom.jp/docs/q8n-4k).
This page has files in PDF and HTML formats.
The PDF file format is suitable for printing on paper and reading on a computer.
The HTML format can be read with web browsers and is designed for reading on smartphones and tablets.
© 2021 ZOOM CORPORATION
Copying or reprinting this manual in part or in whole without permission is prohibited.
You might need this manual in the future. Always keep it in a place where you can access it easily.
The contents of this manual and the specifications of the product could be changed without notice.
Q8n-4K
Handy Video Recorder
Quick Tour
Advertisement
Table of Contents

Related Manuals for Zoom Q8n-4K


Summary of Contents for Zoom Q8n-4K
- Page 1 Quick Tour You must read the Usage and Safety Precautions before use. The Operation Manual can be downloaded from the ZOOM website (www.zoom.jp/docs/q8n-4k). This page has files in PDF and HTML formats. The PDF file format is suitable for printing on paper and reading on a computer.
-
Page 2: Installing The Battery
Recharging the battery With the Q8n-4K power off, connect a USB power supply (running computer or ZOOM AD-17 AC adapter) to the USB (Type-C) port. The charging LED will light red and recharg- ing will start. After charging has completed, the charging LED will become unlit. -
Page 3: Inserting Microsd Cards
Raising the mic arm While pressing , raise the mic arm. To put the mic arm away, while pressing fold it down. Inserting microSD cards To remove a microSD card, push it further into the slot and then pull it out. Inserting or removing a microSD card while the power is on could result in data loss. -
Page 4: Turning The Power On
Turning the power on Press and hold to turn the power off. Making settings when first turned on Language setting... -
Page 5: Date/Time Setting
Date/time setting After confirming the date and time setting, the Startup Screen will appear. -
Page 6: Formatting Microsd Cards
Formatting microSD cards After purchasing a new microSD card, always format it to maximize performance. All data previously saved on a microSD card will be deleted when it is formatted. - Page 7 Recording Using the mic capsule Press so that it lights. Adjust so that the level meter becomes −12 dB when the loudest sounds are input. Recording Press again to stop video recording.
-
Page 8: Playing Recordings
Playing recordings Adjusting the volume Adjust the volume of the built-in speaker and headphones. Operations during playback Show information Delete playing file about playing file Repeat settings Select previous file Select next file Search backward Search forward Close Playback Screen Play/pause... -
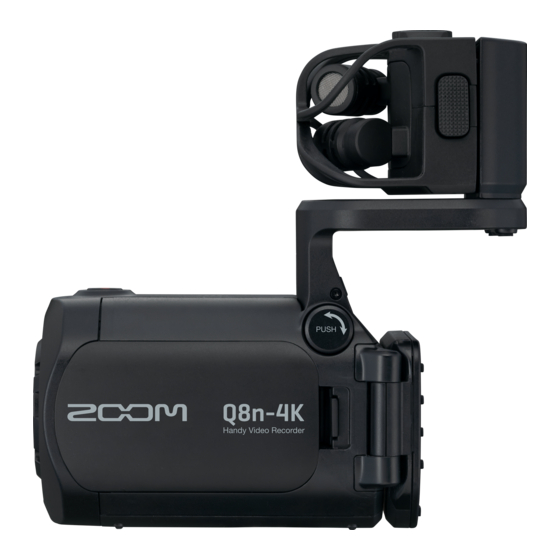
Page 9: Functions Of Parts
⑨ Channel buttons These turn each channel on/off. Use this to play files recorded by the ⑩ microSD card slot Q8n-4K. ⑤ Settings/Exit button Insert a microSD card here. Use this to open and close the SET- TINGS Screen, for example. Use this to cancel on setting and confirmation screens. - Page 10 ④ Inputs 1/2 Connect this to a computer or iOS/ Connect mics and instruments to these. iPadOS device to use the Q8n-4K as a These can be used with XLR plugs. web camera, card reader or USB mic. ⑤ Input volume 1/2 A dedicated AC adapter (ZOOM AD-17) These adjust input volumes.
- Page 11 Connect a BTA-1 or other dedicated This starts recording video/audio. ⑥ Tripod mounting threads wireless adapter here. This enables operation of the Q8n-4K from an iOS/ Use these screw threads to attach a iPadOS device using a dedicated con- tripod (not included).
- Page 12 Using external mics External mics can be connected to the Q8n-4K. 1: GND 2: HOT 3: COLD Set the PHANTOM switch according to the con- nected mic(s). Dynamic mic(s) Condenser mic(s) +12V/+24V/+48V can be selected. Press to light the channels that have mics connected to them.
- Page 13 Adjust so that the level meter shows −12 dB when the loudest sounds are input. Setting phantom power voltage...
-
Page 14: Recording Screen
Recording screen Use the buttons on the left and right sides of the display to change recording settings. The amount of time that can be recorded to a microSD card depends on recording settings. When recording: recording time In recording standby: available recording time Remaining battery level Field of view Recording mode... - Page 15 Playback on a TV or monitor connected by HDMI Recorded videos can be played back on a TV or monitor by connecting it to the Q8n-4K using an HDMI cable. TV or monitor Micro HDMI HDMI cable Q8n Control and HandyShare By connecting a BTA-1 or other dedicated wireless adapter to the Q8n-4K, an iOS/iPadOS device with the Q8n Control app can be used to operate it wirelessly.
-
Page 16: Troubleshooting
→ The unit and the microSD card might become devices and their volume settings. warm but this is not a malfunction. → Confirm that the Q8n-4K volume is not set → If the internal temperature becomes too high low. when using the Q8n-4K, a warning will sound and the power will turn off automatically.