Broan EW48 Series Installation Use And Care Manual
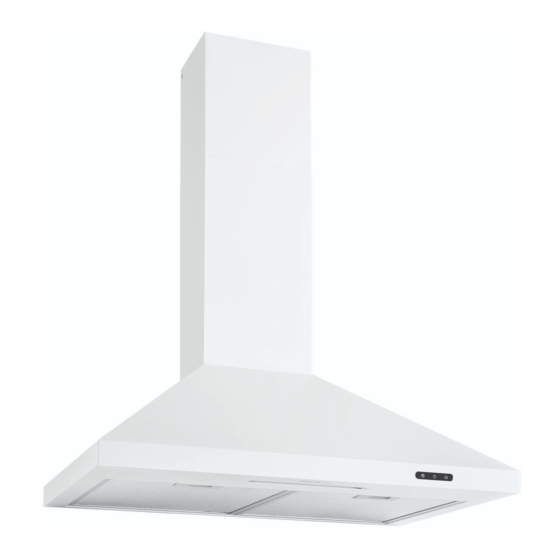
Chimney range hood
Hide thumbs
Also See for EW48 Series:
- Installation use and care manual (12 pages) ,
- Installation use and care manual (36 pages) ,
- Installation use and care manual (36 pages)

Related Manuals for Broan EW48 Series


Summary of Contents for Broan EW48 Series
- Page 1 WW.BR CHIMNEY RANGE HOOD EW48 Series INSTALLATION, USE AND CARE MANUAL Serial number: 99046144C...
- Page 2 9. To reduce the risk of fire and electrical shock, the Broan Elite d) Use proper pan size. Always use cookware appropriate for the EW48 Series models should only be installed with their own size of the surface element.
-
Page 3: Table Of Contents
TABLE OF CONTENTS 1. P ......3 9. D ......7 REPARE INSTALLATION UCT CONNECTION 2. -
Page 4: Build Framework
3. BUILD FRAMEWORK WARNING • When cutting or drilling into wall, do not damage electrical wiring and other hidden utilities. • When building framework, always follow all applicable construction codes and standards. ALL STUDS Construct wood wall framing that is even with the surface of wall studs. Wood wall framing must be at least 1/2”... -
Page 5: Remove Grease Filter(S)
6. REMOVE GREASE FILTER(S) Lay the back side of the hood flat on a table. Use a piece of cardboard to avoid damaging the table or the hood. To remove the grease filter(s), pull down on the metal latch tab and tilt each filter downward. -
Page 6: Connect Wiring
8. CONNECT WIRING WARNING Risk of electric shock. Electrical wiring must be done by qualified personnel in accordance with all applicable codes and standards. Before connecting wires, switch power off at service panel and lock service disconnecting means to prevent power to be switched on accidentally. Remove a knockout from the junction box cover top previously set aside. -
Page 7: Uct Connection
9. DUCT CONNECTION ERTICALLY DUCTED INSTALLATION Slide a 6” round metal duct section over the adapter/damper on the hood up to the roof cap. Use metal foil duct tape to seal the joint. ORIZONTALLY DUCTED INSTALLATION Measure and install 6” round metal ductwork to wall cap and 90° elbow over duct collar then install the 90°... -
Page 8: Repare The Decorative Flue
10. PREPARE THE DECORATIVE FLUE CAUTION DO NOT REMOVE the protective plastic film covering the upper flue yet. NOTE: Both lower and upper flues are included with the hood, but for ceilings of 9 ft. or more, discard the provided lower and upper flues and use the optional flue extension, part no. -
Page 9: Nstall The Decorative Flue
11. INSTALL THE DECORATIVE FLUE ( CONTINUED DUCTED INSTALLATION Slide up the upper flue until it is aligned with the plenum. Secure the upper flue to the plenum using 2 M4 x 12 Phillips 9 mm round head screws. Remove protective plastic film covering the upper flue and the hood. HO0293 PPER FLUE MOUNTING BRACKET RONT VIEW... -
Page 10: Peration
13. OPERATION Always turn your hood on before you begin cooking to establish an air flow in the kitchen. Let the blower run for a few minutes to clear the air after you turn off the range. This will help keep the whole kitchen cleaner and brighter. HC0088 1) Blower Speed key + OFF 2) Master ON/OFF key... -
Page 11: Eplacement Parts
EPLACEMENT ARTS AND EPAIRS In order to ensure your unit remains in good working condition, you must use Broan- NuTone LLC or Venmar Ventilation ULC genuine replacement parts only. Broan-NuTone LLC or Venmar Ventilation ULC genuine replacement parts are specially designed for... -
Page 12: Arranty
Company’s most current written limited warranty for your particular product will control. The most current limited written warranties for the Company’s products can be found at www.broan.com and www.broan.ca.