Table of Contents
Advertisement
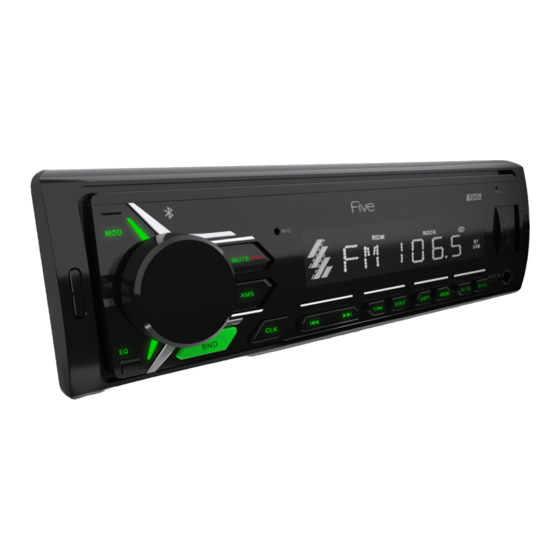
T R U S T T H E S O U N D
USER'S MANUAL
C A R A U X / U S B / m i c r o S D R E C E I V E R W I T H B T F U N C T I O N
G/R/W
50Wx4
M A X P O W E R
A P P C O N T R O L
A U X I N P U T
B T M U S I C
M P 3 P L A Y E R
U S B I N P U T
F M R A D I O
S D S L O T
T R U S T T H E S O U N D
T R U S T T H E S O U N D
T R U S T T H E S O U N D
Advertisement
Table of Contents

Summary of Contents for 5five F26
- Page 1 T R U S T T H E S O U N D USER’S MANUAL C A R A U X / U S B / m i c r o S D R E C E I V E R W I T H B T F U N C T I O N G/R/W 50Wx4 M A X P O W E R...
-
Page 3: Table Of Contents
С O N T E N T Precautions Read Before Using How to install and remove the player Wired connections Front Panel Description Basic operations and receiver operation modes Radio mode Media player mode Bluetooth mode Troubleshooting guide Specifications... -
Page 4: Precautions
P R E C A U T I O N S A T T E N T I O N ! If you encounter any difficulties in using the device, contact an authorized service center. The device has a built-in LCD monitor, so be careful when transporting and installing. -
Page 5: Read Before Using
R E A D B E F O R E U S I N G · Carefully read through this manual to familiarize yourself with this high- quality sound system. · The moment of unit installation is considered the start of its operation. When using the device in winter it is recommended to heat the car interior for 15 minutes or up to operating temperatures. -
Page 6: How To Install And Remove The Player
P L A Y E R I N S T A L L A T I O N A N D R E M O V A L · Before final installation, connect the wiring according to the time diagram and make sure that it all works correctly. - Page 7 1) Insert the keys all the way into the grooves on the sides of the device. Remove the player from the mounting frame. Metal mantle Frame 2) Insert the mounting frame (without the player case) into the dashboard compartment and bend the “tabs” with a screwdriver. Not all “tabs” fit the design of the dashboard of a particular car, select the most suitable.
- Page 8 Removing the receiver Make sure the ignition is off. Disconnect a wire from "-" plugs of the car battery. Remove the metal bracket from the back of the device (if installed previously). Insert the keys all the way into the slots on the sides of the front panel. Pull the receiver out of the frame by pulling it towards you.
-
Page 9: Wired Connections
W I R E D C O N N E C T I O N S · Make sure your vehicle's on-board voltage is +12 volts with a negative value on the chassis. · Before starting installation, turn off the on-board power by removing the fuse from the receiver. -
Page 10: Front Panel Description
F R O N T P A N E L D E S C R I P T I O N button ON/OFF the device, select the receiver modes 2. MUTE mute ON/OFF button, in Bluetooth mode, interrupts the call 3. -
Page 11: Basic Operations And Receiver Operation Modes
B A S I C O P E R A T I O N S A N D R E C E I V E R O P E R A T I O N M O D E S Turn on / off the player Press the power button on the front panel to turn on the head unit. -
Page 12: Radio Mode
D A T E A N D T I M E S E T T I N G S To display the clock on the screen press CLK button. To set the current time, press and hold CLK. The hour numbers will blink. The digital value is set by rotating the volume control. - Page 13 Track selection Briefly press the button to switch to the previous file or the next. The display will show the file number. Press the button while holding to scroll backward / forward. Playback starts when the button is released. Pause playback Press the 1/ button to pause playback.
-
Page 14: Bluetooth Mode
A U X M O D E The AUX jack is for connecting an external audio device to enhance sound. To do this, connect an external source to the AUX line-in input on the front panel. After connecting the equipment by successive pressing the button on the front panel, select the AUX mode. -
Page 15: Troubleshooting Guide
T R O U B L E S H O O T I N G G U I D E Below is a table describing simple measures that can help you eliminate most problems likely to emerge when this unit is in use. If below measures do not help, turn to a service center or to the nearest dealer. -
Page 16: Specifications
S P E C I F I C A T I O N S R A D I O Operating frequency: FM 87.5 - 108 MHz The number of memory cells for storing tuned radio stations 18 Intermediate frequency: 10.7 MHz Sensitivity (30 dB): 15 dB Reflection Ratio: 40 dB Signal to Noise Ratio: 65dB... - Page 17 Dear customers! Please note that the specifications, design and algorithms of the device are subject to change without notice! All illustrations in this manual are schematic images of objects and may differ from their actual appearance. The manufacturer sets the product life to 3 years. Safe disposal.
- Page 20 “AUTOTEK INDUSTRIAL LIMITED” 1318-19,13/F, HOLLYWOOD PLAZA, 610 NATHAN ROAD, MONGKOK, KOWLOON, HONG-KONG, CHINA MADE IN P.R.C. T R U S T T H E S O U N D T R U S T T H E S O U N D T R U S T T H E S O U N D...