Table of Contents
Advertisement
Quick Links
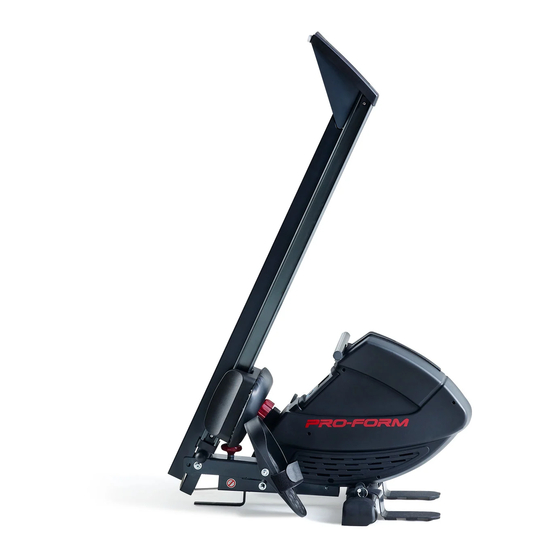
Model No. PFEVRW45019.0
Serial No.
Write the serial number in the space
above for reference.
Serial Number
Decal (under rail)
CUSTOMER SERVICE
UNITED KINGDOM
Call: 0330 123 1045
From Ireland: 053 92 36102
Website: iconsupport.eu
E-mail: csuk@iconeurope.com
Write:
ICON Health & Fitness, Ltd.
Unit 4, Westgate Court
Silkwood Park
OSSETT
WF5 9TT
UNITED KINGDOM
AUSTRALIA
Call: 1800 993 770
E-mail: australiacc@iconfitness.com
Write:
ICON Health & Fitness, Inc.
PO Box 635
WINSTON HILLS NSW 2153
AUSTRALIA
CAUTION
Read all precautions and
instructions in this manual before
using this equipment. Keep this
manual for future reference.
USER'S MANUAL
iconeurope.com
Advertisement
Table of Contents

Related Manuals for Pro-Form 440 R


Summary of Contents for Pro-Form 440 R
- Page 1 Model No. PFEVRW45019.0 Serial No. USER’S MANUAL Write the serial number in the space above for reference. Serial Number Decal (under rail) CUSTOMER SERVICE UNITED KINGDOM Call: 0330 123 1045 From Ireland: 053 92 36102 Website: iconsupport.eu E-mail: csuk@iconeurope.com Write: ICON Health &...
-
Page 2: Table Of Contents
TABLE OF CONTENTS WARNING DECAL PLACEMENT ............. . .2 IMPORTANT PRECAUTIONS . -
Page 3: Important Precautions
IMPORTANT PRECAUTIONS WARNING: To reduce the risk of serious injury, read all important precautions and instructions in this manual and all warnings on your rower before using your rower. ICON assumes no responsibility for personal injury or property damage sustained by or through the use of this product. -
Page 4: Before You Begin
The model the body. The 440 R rower is designed to let you enjoy number and the location of the serial number decal are this effective exercise in the convenience and privacy shown on the front cover of this manual. -
Page 5: Part Identification Chart
PART IDENTIFICATION CHART Use the drawings below to identify the small parts needed for assembly. The number in parentheses below each drawing is the key number of the part, from the PART LIST near the end of this manual. The number following the key number is the quantity needed for assembly. -
Page 6: Assembly
ASSEMBLY • Assembly requires two persons. • Left parts are marked “L” or “Left” and right parts are marked “R” or “Right.” • Place all parts in a cleared area and remove the packing materials. Do not dispose of the packing •... - Page 7 3. Remove the Frame Pin (37) from the Frame (39). Next, unwrap the Bungee Cord (45) from the Frame (39). Then, remove the 1/2" Locknut (54), the two M13 x 22mm Washers (33), and the 1/2" x 100mm Bolt (36) from the Frame (39). Note: The parts that you removed will be used in steps 4 and 5.
- Page 8 5. Move the Seat (28) to the front of the Rail (8). Have a second person raise the Rail (8) to the vertical position. Then, fully insert the Frame Pin (37) into the indicated hole (A) in the Rail Bracket (41) so that it holds the Rail in place. 6.
- Page 9 7. See the inset drawing. Route the end of the Bungee Cord (45) around the Small Pulley (5) on the Rear Stabilizer (3) as shown. Make sure that the Bungee Cord (45) is not twisted. Attach the Bungee Clip (97) to the indicated hole (B) in the Rail Attachment Bracket (43).
- Page 10 9. Orient the Rail Cover (18) as shown. Attach the Rail Cover (18) to the Rail (8) with four M5 x 8mm Screws (12). 10. Remove the Frame Pin (37) from the Rail Bracket (41), and lower the Rail (8) to the floor. Next, insert the Frame Pin (37) into the Frame (39) and into the Rail Bracket (41).
- Page 11 11. Identify the Stop Rod (35), which is slightly shorter than the Pedal Axle (not shown). Insert the Stop Rod (35) into the Frame (39) and center it. Next, slide a Pedal Stop (34), an M8 x 20mm Washer (16), and an M8 Split Washer (15) onto each side of the Stop Rod (35).
- Page 12 14. Attach a Foot Plate (52) to one side of the Front Stabilizer (50) with a Foot Plate Pin (51). Attach the other Foot Plate (not shown) to the other side of the Front Stabilizer (50) in the same way. 15.
-
Page 13: How To Use The Rower
HOW TO USE THE ROWER HOW TO ADJUST THE RESISTANCE HOW TO DO CURL EXERCISES WITH THE ROWER To vary the Stand on the foot intensity of your plates (B), facing exercise, you the rower. Hold can adjust the the row bar with resistance that an underhand or you feel when... - Page 14 HOW TO FOLD, STORE, AND UNFOLD THE Strokes/Min.—This mode shows the number of rowing ROWER strokes you are completing per minute. Calories—This mode shows the approximate number The rower can be stored in a folded position to conserve space. Store the rower in a location where of calories you have burned during your workout.
-
Page 15: Maintenance And Troubleshooting
3. Begin rowing and follow your progress with the 4. When you are finished exercising, the console display. will turn off automatically. As you exercise, the console will display the mode If the row bar does not move for a few seconds, the that you select. -
Page 16: Exercise Guidelines
EXERCISE GUIDELINES Aerobic Exercise—If your goal is to strengthen your WARNING: cardiovascular system, you must perform aerobic Before beginning this exercise, which is activity that requires large amounts or any exercise program, consult your physi- of oxygen for prolonged periods of time. For aerobic cian. -
Page 17: Part List
PART LIST Model No. PFEVRW45019.0 R0720A Key No. Qty. Description Key No. Qty. Description M2.5 x 10mm Screw M10 x 52mm Screw Rear Stabilizer Cover M10 x 20mm Washer Rear Stabilizer M4 x 20mm Screw Reed Switch Left Stabilizer Cap Small Pulley Front Stabilizer M10 x 30mm Screw... - Page 18 Key No. Qty. Description Key No. Qty. Description M5 Nut M8 Washer M10 x 68mm Screw M10 x 36mm Screw M4 x 8mm Screw M5 x 60mm Screw M10 Washer M5 x 10mm Screw Bungee End M4 x 12mm Machine Screw Bungee Cover Rail Plate Bungee Clip...
-
Page 19: Exploded Drawing
EXPLODED DRAWING Model No. PFEVRW45019.0 R0720A... -
Page 20: Ordering Replacement Parts
ORDERING REPLACEMENT PARTS To order replacement parts, please see the front cover of this manual. To help us assist you, be prepared to provide the following information when contacting us: • the model number and serial number of the product (see the front cover of this manual) •...