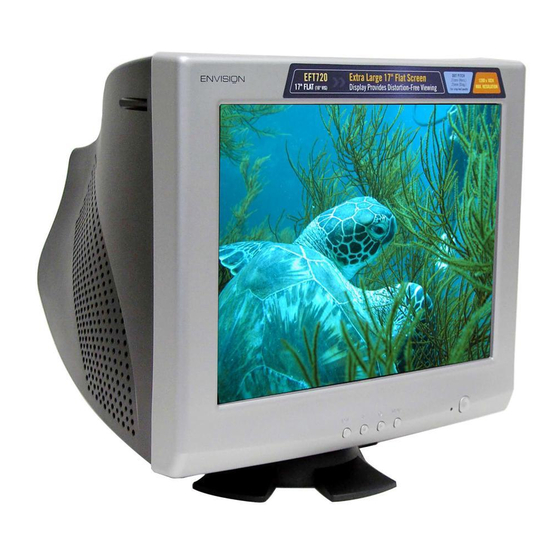
Summary of Contents for Envision EFT720
- Page 1 EFT720 17” Flat CRT User’s Manual By Envision Peripherals, Inc. www.ENVISIONdisplay.com...
- Page 2 Please keep this manual in a safe place for your future reference. Plug & Play Drivers for the Envision Series Monitors are available at: www.ENVISIONdisplay.com...
- Page 3 ENERGY STAR WARNING : To prevent fire or shock hazard, do not expose the monitor to rain or moisture. Dangerously high voltages are present inside the monitor. Do not open the cabinet. Refer servicing to qualified personnel only.
- Page 4 ! Do not place the monitor on an unstable cart, stand, or table. If the monitor falls, it can injure a person and cause serious damage to the appliance. Use only a cart or stand recommended by the manufacturer or sold with the monitor.
- Page 5 Plug & Play DDC1/2B Feature This monitor is equipped with VESA DDC1/2B capabilities according to the VESA DDC STANDARD. It allows the monitor to inform the host system of its identity and, depending on the level of DDC used, communicate additional information about its display capabilities.
-
Page 6: Technical Support(Faq)
*Make sure monitor’s video cable is properly connected to the computer. *Inspect monitor’s video cable and make sure none of the pins are bent. *Make sure computer is operational by hitting the CAPS LOCK key on the keyboard while observing the CAPS LOCK LED. The LED should either turn ON or OFF after hitting the CAPS LOCK key. -
Page 7: Power Cord
AC or 220/240V AC voltage area (No user adjustment is required). 3. Connect the power cord into your monitor’s power input socket, and then plug the other end into a 3-pin AC power outlet. The power cord may be connected to either a wall power outlet or the power outlet socket on your PC, depending on the type of power cord supplied with your monitor. - Page 8 OPERATING INSTRUCTIONS GENERAL INSTRUCTIONS The other control knobs are located at the base of the monitor (See Figure 3). By changing these settings, the picture can be adjusted to your personal preferences. The power cord should be connected. Connect the video cable from the monitor to the video card.
- Page 9 Figure 1: Installing and Removing the Swivel Base Figure 2: Connecting Cables Figure 3: External Controls Figure 4: The OSD Menu 1024 × 768 Signal Cable Power Cord AC Outlet Power Indicator On/Off Switch Menu Contrast/Right Brightness/Left Exti...
- Page 10 FRONT PANEL CONTROL (see figure 3) NT PANEL CONTROL Power ON/OFF Switch: Press this key to switch the display ON or OFF. Power Indicator : Green — Power On mode. Orange — Off mode. MENU : Press this key to either bring up the OSD menu or select an item on the menu.
- Page 11 ADJUSTING THE PICTURE (see figure 4) CONTRAST BRIGHTNESS H- CENTER H- SIZE V- CENTER V- SIZE ZOOM PINCUSHION TRAPEZOID PIN-BALANCE PARALLELO- GRAM ROTATION 6500°K/9300°K ( COLOR TEMPERATURE ) USER COLOR ( Red / Blue ) DEGAUSS MOIRE REDUCE Adjust the picture contrast. Adjust the picture brightness.
- Page 12 RECALL EXIT SELECT LANGUAGE Press RECALL to restore the monitor to factory settings. Close OSD window. Select the language as you like.
-
Page 13: Specification
50Hz to 160Hz automatically 1280 × 1024 110MHz Universal AC 100-240V, 50Hz/60Hz 0°C to 40°C ambient 10% to 85% relative, non- condensing (Monitor&Base) 410(W) × 402(H) × 420(D)mm 17.0 kg(Net) Attached Mini D-sub 15 Male DDC1/2B 75 Watts Max. 310mm × 230mm... -
Page 14: Horizontal Frequency
Preset Timing Table STANDARD RESOLUTION 720 x 400 640 x 480 VESA/85 640 x 480 VESA/85 800 x 600 VESA/85 1024 x 768 VESA/60 1280 x 1024 Connector Pin Assignment PIN NO. HORIZONTAL FREQUENCY 31.5kHz 31.5kHz 43.3kHz 53.7kHz 68.7kHz 64.0kHz PIN NO.


