Keurig K-3500 Quick Start Manual
Hide thumbs
Also See for K-3500:
- Use & care manual (12 pages) ,
- Cleaning & start-up procedure (11 pages)
Advertisement
Quick Links
Advertisement

Related Manuals for Keurig K-3500


Summary of Contents for Keurig K-3500
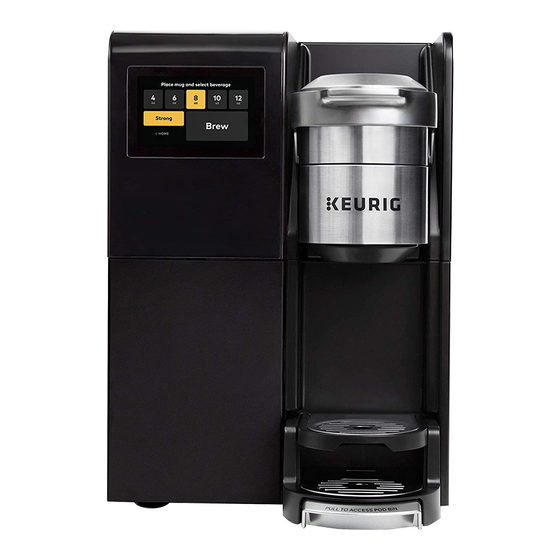
- Page 1 Let’s get brewing. K-3500 Quick Start Guide...
-
Page 2: Important Safeguards
8. Do not operate any appliance with a damaged cord or plug or after the appliance malfunctions, or has been damaged in any manner. Contact a Keurig Authorized Distributor to report any malfunction of or damage to the brewer. The use of accessory attachments not... -
Page 3: Power Cord Instructions
3. CAUTION: Keurig recommends using ® ii. If the appliance is of the grounded type, only Keurig K-Cup pods in this appliance. -
Page 4: Plumbing Instructions
(Invensys solenoid valve). ¼” OD LLDPE (Linear Low Density Polyethylene) tubing is recommended (NSF compliant) between the filter WARNING: Keurig® requires the use of an external water filter such as the kit assembly and the brewer. NSF compliant fittings such as High Density Omnipure KQ8A Water Filter, available from Keurig®. - Page 5 Screws (4x) 9. Turn on water supply and allow at least four gallons of water to flush through the filter. Turn off water supply. Filter Mounting Bracket 10. Cut the tubing to the proper OUT PORT length and connect a stem elbow fitting to the cut end of tubing.
- Page 6 Authentic, full-flavored coffeehouse taste. One perfect cup at a time, anytime. Have questions? We’re here to help. Visit commercial.keurig.com for troubleshooting videos, maintenance recommendations, and the full Use & Care Guide. Still need help? Give us a call at 1.888.287.2739 ext 5...
- Page 7 Before You Brew Power On Heat Up Turn the brewer on. The power switch is located The brewer will automatically fill the internal hot at the bottom left-hand side of the brewer on water tank with water and then the water will be the back.
- Page 8 Lift & Lower Cleansing Brew Place a 12 oz. mug on the drip tray plate and The touch screen will now display “No pod detected. then fully raise the handle. Lower the handle to Continue?” Press “Yes” and then select a size to close the lid over the K-Cup®...
- Page 9 Brew Your First Cup Place Mug & Insert Brew & Enjoy! Place a mug on the drip tray. Lift the handle. Place When your desired selections are highlighted in yellow, a K-Cup® pod in the K-Cup® pod holder. Do not press the “Brew”...
- Page 10 The PHA can be cleaned by submerging it in Keurig® Descaling solution, or a vinegar solution (1:3), for 12 Brewing Iced Beverages: Fill a 16 oz. cup (do not hours or more.
-
Page 11: Warranty
If you obtained this brewer through sale display “Empty Pod Bin.” or rental from a Keurig Authorized Distributor, you may also want to refer to your distributor’s To empty the K-Cup® pod bin, open the brewer door warranty policies. - Page 12 KAD or KASP, please call purchase. Nor does this warranty cover damages Keurig at 1.888.287.2739 ex 5. Keurig Green caused by use of non-Keurig® K-Cup® brand pods or Mountain, Inc., 33 Coffee Lane, Waterbury, VT 05676. accessories, services performed by anyone other than Keurig or its authorized service providers, use of parts other than genuine Keurig®...