
Related Manuals for Prem-I-Air EH1104


Summary of Contents for Prem-I-Air EH1104
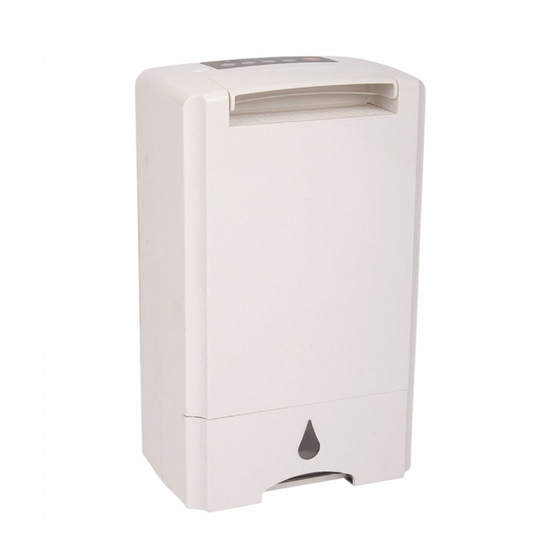
- Page 1 EH1104 Desiccant Dehumidifier & Laundry Dryer Déshumidificateur et Fonction Sèche–Linge Page 1...
-
Page 2: Before Use
IMPORTANT Installer and Users please note: These instructions should be read carefully and left with the user of the product for future reference. BEFORE USE You must inspect the product including its cable and plug for any signs of damage. If the product is damaged, DO NOT use it, and contact your supplier immediately. -
Page 3: Installation
INSTALLATION Place the appliance on a firm, flat level surface. If continuous drainage is to be used, remove the plastic circle shown by the arrow. A rubber bung will be visible behind insde the hole. Remove the bung, and attache a hose (not supplied) to the spigot. -
Page 4: Drying Laundry
DO NOT allow any of the clothes to obstruct the air intakes or exhausts of the EH1104. DO NOT allow water to drip on the EH1104. Adjust the louvre to direct the airflow on to the drying rack, and set the EH1104 on POWERFUL mode. This will dry the clothes quickly and efficiently and will prevent the excessive humidity caused by drying clothes indoors, which can lead to mould growth. -
Page 5: General Safety Requirements
GENERAL SAFETY REQUIREMENTS Domestic wiring must be tested periodically by a qualified electrician at least once every 10 years or at every change of occupancy. For office and retail premises, and buildings such as village halls, the wiring must be inspected at least once every 5 years. It is recommended that all building be fitted with smoke alarms (it is mandatory for new buildings). -
Page 6: Fault Finding
If the mains lead is damaged, it must be replaced by the manufacturer or an authorised service centre. If the mains plug needs to be replaced, proceed as follows: Connect the brown wire to the terminal labelled "L". Connect the blue wire to the terminal labelled "N". -
Page 7: Technical Specification
TECHNICAL SPECIFICATION Dimensions: 490×300×195 mm Weight: 6.5 kg Power supply: 230 V ~ 50 Hz Power consumption: 620 W Operating current: 2.6 A Airflow: 135 m Moisture removal: 8 litres/day Tank capacity: 2.6 litres Sound level (Quiet mode): <39 dB(A) DISPOSAL AND RECYCLING Most local authorities have specific collection system for appliances and disposal is free of charge to the end-user. -
Page 8: Avant Utilisation
IMPORTANT Installateurs et Utilisateurs, veuillez noter: Vous devez lire cette notice attentivement et la conserver pour une éventuelle future consultation. AVANT UTILISATION Vérifiez que le produit, y compris le câble, n'est pas endommagé. Si le produit est endommagé, NE l'utilisez PAS, et contactez votre revendeur. CONSIGNES DE SECURITE Cet appareil peut être utilisé... - Page 9 Assurez-vous que l'appareil ne se renverse pas quand il y a de l'eau dans le bac. Ceci peut être dangereux car l'eau peut s'infiltrer dans les parties électroniques. N'utilisez pas cet appareil sur un bateau, un navire ni dans un camping-car ou une caravane.
- Page 10 Pour sécher du linge, accrochez le linge sur un séchoir ou un étendoir à linge, de préférence dans un espace clos comme une petite pièce. Placez le EH1104 à proximité. La solution idéale est de placer le EH1104 à côté du séchoir. (>400 mm) NE laissez PAS des habits obstruer les entrées et sorties d'air du EH1104.
- Page 11 VIDER L'EAU COLLECTEE Si vous n'utilisez pas un tuyau de drainage, videz le bac à eau quand le témoin lumineux "WATER FULL" s'allume. • Tirez un peu le bac vers l'extérieur. • Videz l'eau dans l'évier. RANGEMENT Si vous n'utilisez pas l'appareil pendant longtemps: 1.Videz et nettoyez le bac à...
-
Page 12: Entretien
ENTRETIEN Avant de nettoyer l'appareil, éteignez-le et débranchez-le. Vous pouvez le nettoyer à l'aide d'un chiffon humide et une goutte de produit vaisselle pour enlever la saleté et la poussière. N'utilisez pas de détergents ni solvants puissants car cela endommagerait le revêtement de l'appareil. Nettoyez l'intérieur du bac à... -
Page 13: Defauts De Fonctionnement
DEFAUTS DE FONCTIONNEMENT L'appareil arrête de fonctionner et le témoin lumineux "FULL" est allumé. Le bac à eau est plein - videz l'eau comme indiqué précédemment. Ne buvez pas cette eau (vous pouvez par contre l'utiliser pour arroser les plantes). Vous n'avez pas bien replacé... -
Page 14: Caracteristiques Techniques
CARACTERISTIQUES TECHNIQUES Dimensions: 490×300×195 mm Poids : 6,5 kg Alimentation: 230 V ~ 50 Hz Consommation: 620 W Courant de Fonctionnement : 2,6 A Débir d'Air : 135 m Suppression d'Humidité 8 litres/jour Capcité du Bac à Eau: 2.6 litres Niveau Sonore (mode «Quiet») : <39 dB(A) ELIMINATION ET RECYCLAGE... -
Page 15: Service / Warranty
WA9 3EX website: www.prem-i-air.com GARANTIE Prem-I-Air garantit le produit contre tout défaut de matériaux et de fabrication pour une période de un an. Si vous utilisez cet appareil dans des conditions autres que celles recommandées, à des tensions autres que celle indiquée sur l'appareil ou si vous essayez de modifier ou de réparer l'appareil, la garantie est annulée.