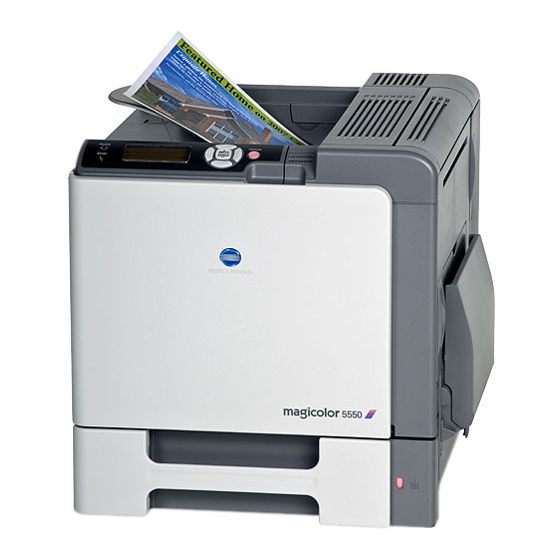
Konica Minolta magicolor 5550 Instructions Manual
Staple finisher
Hide thumbs
Also See for magicolor 5550:
- Reference manual (296 pages) ,
- User manual (284 pages) ,
- Service manual (214 pages)
Table of Contents
Advertisement
Quick Links
magicolor 5550/5570
Staple Finisher
Instructions
Compared
Trademark Statement
All rights reserved. Specifications are subject to change without notice. The Konica Minolta logos, used
trademarks, are trademarks or registered trademarks of Konica Minolta Holdings, Inc. All other trademarks
or registered trademarks are the property of their respective owners or manufacturers.
Version 1.0. June 2007
Konica Minolta Business Solutions Europe
Field Support Vienna Office
Advertisement
Table of Contents

Related Manuals for Konica Minolta magicolor 5550


Summary of Contents for Konica Minolta magicolor 5550
- Page 1 Compared Trademark Statement All rights reserved. Specifications are subject to change without notice. The Konica Minolta logos, used trademarks, are trademarks or registered trademarks of Konica Minolta Holdings, Inc. All other trademarks or registered trademarks are the property of their respective owners or manufacturers.
-
Page 2: Table Of Contents
Staple Finisher mc5550/5570 Contents 1. Media recommendation 2. Installation 2.1. Accessories 2.2. Finisher installation 2.3. Configuration 2.4. HD & CF Card 3. Driver settings 3.1. Stapled printing 3.2. Offset function 4. Menu settings 5. Page Scope Web connection - 2 -... -
Page 3: Media Recommendation
Staple Finisher mc5550/5570 Intro The optional installed staple finisher enables you performing job separation, offset and stapled printing. Below listed you will see the details regarding to installation, configuration, driver and printer menu settings recommended to follow for easy usage. 1. -
Page 4: Finisher Installation
Staple Finisher mc5550/5570 2.2. Finisher installation: Open the box for the optional Finisher Unpack the relay unit, and then open the relay unit cover. Remove all packing tapes. Close the relay unit cover. Remove the two mounting hooks on backside of the relay unit. Since the gears (1) are exposed, be careful not to grab them or to hit... - Page 5 Staple Finisher mc5550/5570 Remove the output tray from the machine While lightly bending the output tray as much as possible, remove the output tray. Remove the inside cover (three locations) at the top of the machine. Use a coin to remove the front cover (two locations) at the top of the machine.
- Page 6 Staple Finisher mc5550/5570 Secure the relay unit on the machine with the two mounting hooks. Lock the relay unit lever. Close the relay unit cover Remove the two finisher – mounting hooks from the box. Remove the main output tray and the sub output tray , and then unpack them.
- Page 7 Staple Finisher mc5550/5570 Use a coin to remove the cover (two locations) on the left side of the machine. Secure the two mounting hooks on the staple finisher to the left side of the machine. Align the side of the relay unit with that of the staple finisher, and then hook them onto the finisher to install them.
-
Page 8: Configuration
Staple Finisher mc5550/5570 Install the sub output tray. Insert the connectors of the staple finisher into the connector of the machine. Reconnect the power cord, and turn on the machine. 2.3. Configuration: Declare the Staple Finisher/Output Tray Unit within the Windows printer driver (Properties/Configure tab). -
Page 9: Hd & Cf Card
For the installation procedure of HD refer to Konica Minolta Userguide Page 232 or the “mc55xx Direct Printing” instruction document. For the installation procedure of CF Card refer to Konica Minolta Userguide Page 235 or the “mc55xx Direct Printing” instruction document. -
Page 10: Driver Settings
Staple Finisher mc5550/5570 3. Driver settings 3.1. Offset function The offset function(A) means, the media is fed to the main tray with each copy slightly shifted. (B)Multiple collated copies of a job can easy be separated. This function is avail. just with Output Tray set to “Main Tray”... -
Page 11: Menu Settings
Staple Finisher mc5550/5570 4. Printer Menu settings If the Staple finisher is installed, 2 additional modes in the paper menu are available for preset within the printer paper menu. Paper menu Paper Source Duplex Copies Collate Finishing Sub Tray Main Tray Offset Stapling Job Separation...