Table of Contents
Advertisement
Quick Links
Advertisement
Table of Contents

Related Manuals for Crestron CNXRY-8


Summary of Contents for Crestron CNXRY-8
- Page 1 Crestron CNXRY-8 CNX Relay Output Expansion Card Operations Guide...
-
Page 2: Table Of Contents
Crestron CNXRY-8 Contents CNX Relay Output Expansion Card: CNXRY-8 Description... 1 Functional Description ... 1 Physical Description... 1 Leading Specifications... 2 Setup ... 2 Installation ... 2 Preparation for Use... 3 Programming with SIMPL Windows ... 3 How the Program Works... 3 How to Create the Program ... -
Page 3: Cnx Relay Output Expansion Card: Cnxry-8
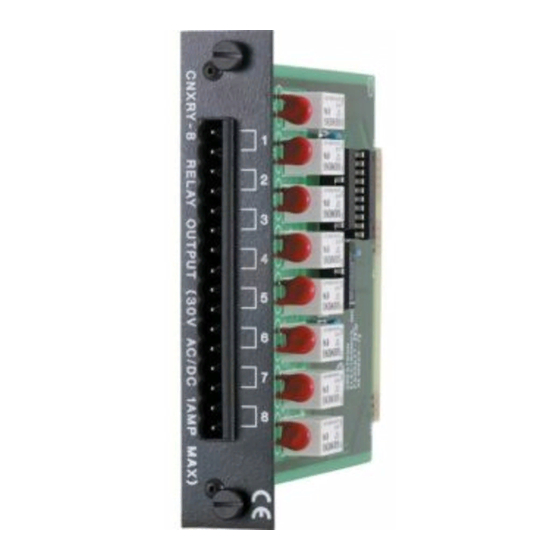
“real world” loads. Refer to the schematic below. CNXRY-8 Schematic Physical Description The CNXRY-8, shown below, is a circuit board fastened to an aluminum faceplate. The card is manufactured to easily fit into an unoccupied slot in a Crestron Generation Control System. -
Page 4: Leading Specifications
2. Use the Phillips tip screwdriver and remove two screws and blank faceplate from the control system. 3. Align the CNXRY-8 with the card guides in the open slot and slide the expansion card into postion. 4. Firmly press both ends of the CNXRY-8 faceplate to seat the expansion card into the control system connector. -
Page 5: Preparation For Use
How the Program Works A basic CNXRY-8 SIMPL program is shown on the next page in block diagram form. For this example, the CNXRY-8 occupies slot 1 of a CNMSX-PRO. Assume there are two rooms that have lighting systems that are controlled via relays. Each room can have up to four scenes of lighting. -
Page 6: How To Create The Program
For this example, add a CNXRY-8 to slot #1 of the CNMSX-PRO. Also add a LC-1500 to the system; its NET ID must be set to 03, shown below. - Page 7 “Enter Symbol Comment” dialog box and click OK. Expand the Central Control Modules folder and double click on the CNXRY-8 for a detail view (alternatively CTRL+D or drag and drop into Detail View). Assign signals as shown below.
- Page 8 Tab). Enter a new descriptive name in the “Enter Symbol Comment” dialog box and click OK. Graphical Detail View of an Interlock (S-2) in SIMPL Windows’ Programming Manager 6 • CNX Relay Output Expansion Card: CNXRY-8 Crestron CNXRY-8 Operations Guide - DOC. 8121...
-
Page 9: Problem Solving
For assistance in your local time zone, refer to the Crestron website (http://www.crestron.com) for alisting of Crestron worldwide offices. You can also log onto the online help section of the Crestron website to ask questions about Crestron products. First-time users will need to establish a user account to fully benefit from all available features. -
Page 10: Operations Guide - Doc
CRESTRON shall not be liable to honor the terms of this warranty if the product has been used in any application other than that for which it was intended, or if it has been subjected to misuse, accidental damage, modification, or improper installation procedures. - Page 11 Crestron CNXRY-8 CNX Relay Output Expansion Card This page intentionally left blank. CNX Relay Output Expansion Card: CNXRY-8 • 9 Operations Guide - DOC. 8121...
- Page 12 Crestron Electronics, Inc. Operations Guide – DOC. 8121 15 Volvo Drive Rockleigh, NJ 07647 09.98 Tel: 888.CRESTRON Fax: 201.767.7576 Specifications subject to www.crestron.com change without notice.