Table of Contents
Advertisement
Quick Links
Advertisement
Table of Contents

Related Manuals for Datavideo BB-1

Summary of Contents for Datavideo BB-1
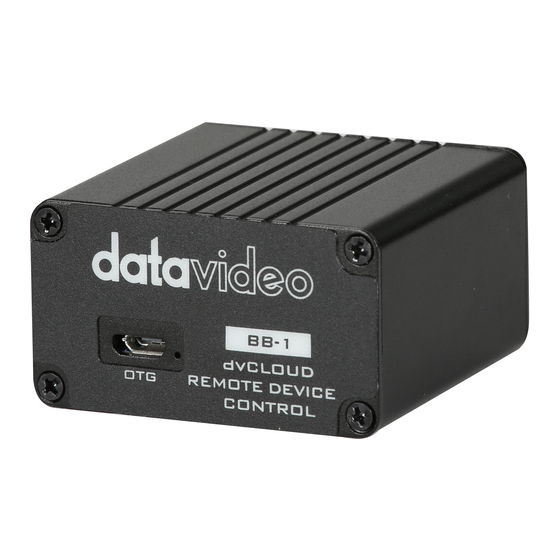
- Page 1 DVCLOUD REMOTE DEVICE CONTROL BB-1 Instruction Manual...
-
Page 2: Table Of Contents
SERVICE AND SUPPORT ..............................24 Disclaimer of Product & Services The information offered in this instruction manual is intended as a guide only. At all times, Datavideo Technologies will try to give correct, complete and suitable information. However, Datavideo Technologies cannot exclude that some information in this manual, from time to time, may not be correct or may be incomplete. -
Page 3: Fcc Compliance Statement
7. This product should only be operated from the type of power source indicated on the marking label of the AC adapter. If you are not sure of the type of power available, consult your Datavideo dealer or your local power company. -
Page 4: Warranty
Warranty Standard Warranty Datavideo equipment is guaranteed against any manufacturing defects for one year from the date of purchase. The original purchase invoice or other documentary evidence should be supplied at the time of any request for repair under warranty. -
Page 5: Introduction
Sign up to dv Cloud A dv Cloud subscription is required in order for your BB-1 remote device control kit to work, two BB-1 units can be connected to a single dv Cloud Essentials server, six BB-1 units can be connected to a dvCloud Professional server. - Page 6 7. Click the ‘Checkout’ button. 8. Enter your ‘Personal Information’, ‘Billing Address’ and ‘Account Security’ details or if you have an existing account click ‘Already Registered?’ 9. If creating a new account, choose a password. 10. Enter your ‘Payment Details’.
- Page 7 11. Accept the ‘Terms of Service’ and click the ‘Complete Order’ button. 12. You order is complete. 13. You will receive an order confirmation via email as shown below. 14. Finally, you will receive the email below confirming your streaming server is ready.
-
Page 9: Connecting Bb-1 To Dv Cloud
You must first you must connect each BB-1 unit to your dv Cloud server. 1. Connect the built in Ethernet port of the BB-1 into your network / router, by default the BB-1 will obtain it IP address automatically using DHCP. - Page 10 11. To connect the first BB-1 unit click the copy button next to the auth key you wish to use. Each auth key is locked to the serial number of the first BB-1 that uses it, to use the auth key on another device you must reset it.
-
Page 11: Status Messages
= The connection between the BB-1 and dv Cloud is OK. This Auth key is already locked to another unit! = Each auth key is locked to the serial number of the first BB-1 that uses it, to use the auth key on another device you must reset it on dvcloud. -
Page 12: Lan
In this mode the BB-1 will provide remote access to devices connected to the USB to Ethernet LAN port, the BB-1 acts as a DHCP server and will automatically assign IP addresses to all connected devices. To connect more than one device simply use an Ethernet switch. -
Page 13: Control Datavideo Ptc-140 Ptz Cameras Using A Laptop
Control Datavideo PTC-140 PTZ cameras using a laptop In these examples we will access a single PTZ camera remotely via a laptop, we assume that you have two BB-1 devices that are already connected to a dv Cloud server. WAN Mode Let’s assume the BB-1 called ‘Device 1’... - Page 14 6. Click ‘Shared Device IP`s’ to the right of ‘Device 2’. 7. Datavideo DVIP devices will be automatically detected and can be selected from the drop-down menu. 8. Alternatively, if you have a third party PTZ camera you can enter the devices IP address manually. In this example we will assume the camera at location two has a local IP of 192.168.1.12.
- Page 15 LAN Mode Let’s assume the BB-1 called ‘Device 1’ is connected to the router and laptop in location one and the BB-1 called ‘Device 2’ is connected to the router and PTZ camera at location two. 1. At location one, connect the first BB-1 to your internet router (using the built in Ethernet WAN port) and to the laptop (using a USB to Ethernet adapter).
-
Page 16: Using The Rmc-300A Controller
1. Connect the phone or tablet to the BB-1 USB Ethernet adapter (directly or via a switch) and power it on. 2. The RMC-300A will automatically detect the Datavideo PTZ cameras that are shared via dvCloud on boot, setup and operation is the same as if the cameras were local to the controller. - Page 17 your stream works reliably even on poor networks. For more information on SRT please visit https://www.dvcloud.tv/srt.php. Create a SRT input channel on dvCloud 1. Login to your dvCloud server. 2. Click ‘Add a video source’. 3. Give your video source a name. 4.
- Page 18 7. Click the ‘Save’ button at the bottom of the page, the stream to dvCloud should start automatically. 8. Please see the dvCloud tutorial videos for more information on how to use dvCloud https://www.datavideo.com/us/page/dvcloud-howto-vids Decoders & Software players Pull the SRT stream directly from the PTC-140 The PTC-140 has a built in SRT server listening on port 9000, to pull the SRT stream into any SRT capable software player or decoder use the URL below replacing 10.34.1.1 with the remote IP of your PTC-140.
-
Page 19: Srt Latency
Datavideo NVD-3X MK2 Decoders Datavideo NVD-3X MK2 HDMI/SDI decoders connect seamlessly with dvCloud using just your username and password. Features: • Control the NVD-30 MK2 settings from anywhere over the internet. • Monitor the NVD-30 MK2 from anywhere over the internet. -
Page 20: Frequently-Asked Questions
Frequently-Asked Questions This section describes problems that you may encounter while using the BB-1. If you have any questions, please refer to related sections and follow all suggested solutions. If problem still exists, please contact your distributor or the service center. - Page 21 Note...
- Page 22 Note...
- Page 23 Note...
-
Page 24: Service And Support
Aug.-23.2021 Version E1 Datavideo Technologies Co., Ltd. All rights reserved 2020...