
Related Manuals for Zanussi ZDM17301SA


Summary of Contents for Zanussi ZDM17301SA
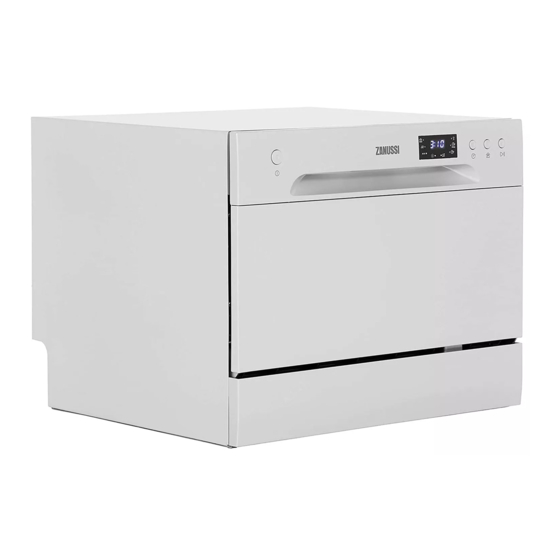
- Page 1 User Manual GETTING STARTED? EASY. ZDM17301SA ZDM17301WA EN User Manual Dishwasher...
-
Page 2: Safety Information
VISIT OUR WEBSITE TO: Get usage advice, brochures, trouble shooter, service and repair information: www.zanussi.com/support SAFETY INFORMATION Before the installation and use of the appliance, carefully read the supplied instructions. The manufacturer is not responsible for any injuries or damage that are the result of incorrect installation or usage. -
Page 3: Safety Instructions
Do not change the specification of this appliance. • The operating water pressure (minimum and maximum) must be • between 0.3 (0.03) / 10 (1) bar (MPa) Follow the maximum number of 6 place settings. • If the supply cord is damaged, it must be replaced by the •... -
Page 4: Water Connection
WATER CONNECTION status of the appliance. They are not intended to be used in other applications and are not • Do not cause damage to the water hoses. suitable for household room illumination. • Before connection to new pipes, pipes not used •... -
Page 5: Product Description
PRODUCT DESCRIPTION GENERAL OVERVIEW Salt container Inlet hose connection Detergent dispenser Mains cable Rinse aid dispenser Basket Spray arm Cutlery basket Filters Inlet hose Rating plate Funnel Drain hose... -
Page 6: Control Panel
CONTROL PANEL CONTROL PANEL On / Off Delay start Programme indicators Programme Indicators Start / Pause Display INDICATORS Indicator Description It is on when the rinse aid dispenser needs refilling. It is always off while the pro- gramme operates. It is on when the salt container needs refilling. It is always off while the programme operates. -
Page 7: Consumption Values
Degree of soil Detergent pre-wash / Programme Phases in the cycle Rinse aid Type of load main wash • Normal or light • Wash 45 °C soiling • Rinse 60 °C - / 18g • Glasses, crystal, • Drying fine china •... -
Page 8: Cancelling A Programme
7. Close the water tap. STARTING A PROGRAMME WITH DELAY START Wait until the dishes are cold before you remove them from the appliance. 1. Close the appliance door. 2. Open the water tap. There can be water on the sides and 3. -
Page 9: The Water Softener
THE WATER SOFTENER The water softener should be adjusted according to the hardness of the water in your area. Your local The water softener removes minerals from the water water authority can advise you on the hardness of supply, which would have a detrimental effect on the water in your area. -
Page 10: Filling The Detergent Dispenser
FILLING THE DETERGENT DISPENSER Refill the detergent dispenser before CAUTION! Use only detergents for each wash cycle. dishwashers. USING DETERGENT, SALT AND RINSE AID 1. Press the release button to open the lid of the SEPARATELY detergent dispenser. 1. Fill the salt container and the rinse aid dispenser. -
Page 11: Hints And Tips
ADJUST THE RINSE AID DOSAGE You can set the rinse aid dosage between 1 - 4 (the highest dosage). Turn the rinse aid selector (A) to adjust the dosage. HINTS AND TIPS GENERAL USING SALT, RINSE AID AND DETERGENT Follow the hints below to ensure optimal cleaning •... -
Page 12: Care And Cleaning
USING THE BASKETS • Make sure that glass items do not touch each other. • Always use the whole space of the baskets. • Mix spoons with other cutlery to prevent them • Use the appliance to wash dishwasher-safe from bonding together. items only. -
Page 13: Troubleshooting
CLEANING THE SPRAY ARM PROTECTING AGAINST FROST Do not remove the spray arm. If the openings in the Protect the appliance from frost, for example in spray arm are clogged, remove remaining parts of winter. After each cycle: soil with a thin pointed object. 1. - Page 14 The display Problem Possible solution shows... The appliance does not • Make sure that the drain hose is correctly con- drain the water. nected. • Make sure that the filters in the appliance are clean. • Make sure that the kitchen sink drains correctly. The appliance does not fill •...
-
Page 15: The Washing And Drying Results Are Not Satisfactory
THE WASHING AND DRYING RESULTS ARE NOT SATISFACTORY Problem Possible cause Possible solution The dishes are not clean. The selected programme was Make sure that the programme not applicable for the type of is applicable for the type of load and/or for the degree of load and/or for the degree of soil. -
Page 16: Electrical Connection
min. 443mm min. 550 mm min. 555mm • Keep 5 mm distance between both sides of the • Connect the water drain hose into a drain pipe appliance and the cabinet. There are two with minimum diameter of 40 mm. possibilities for the cabinet opening for the •... -
Page 17: Technical Data
• The power is switched on. • All packing materials and printings are removed • The inlet and drain hoses are knotted. from the dishwasher. TECHNICAL DATA TECHNICAL INFORMATION Height: 438 mm Width: 550 mm Depth: 500 mm Depth with the door fully open: 812 mm Voltage connected load: see rating label... - Page 20 WWW.ZANUSSI.COM/SHOP...