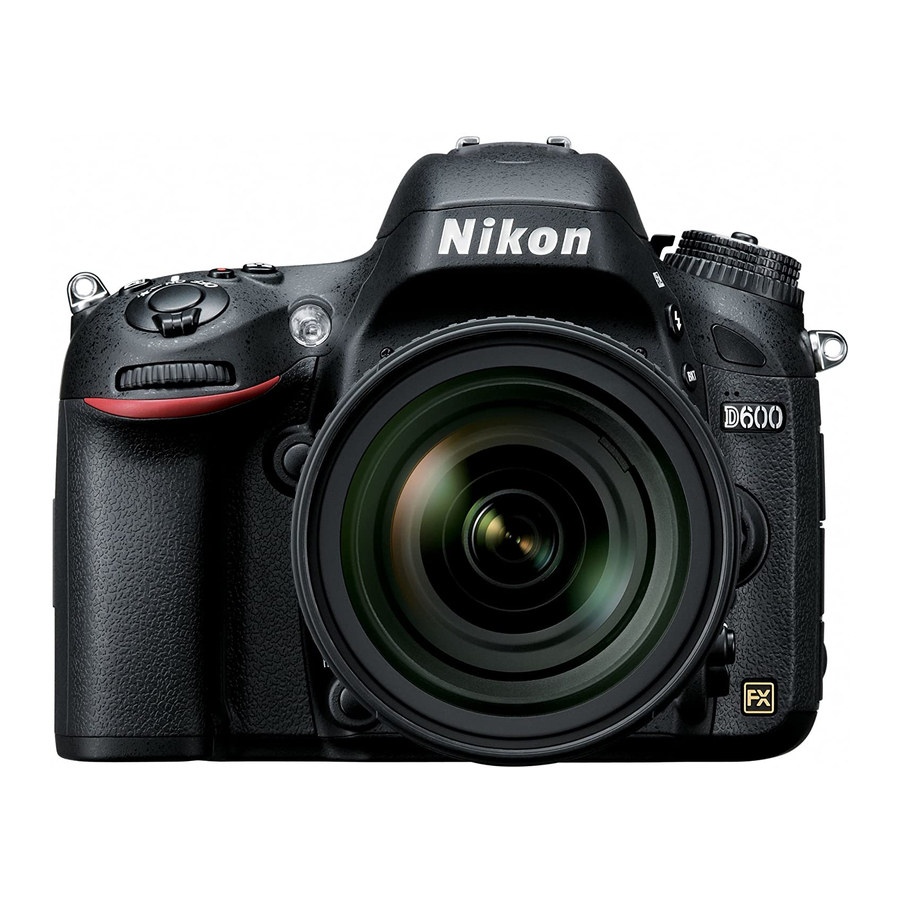
Nikon D600 Digital Field Manual
Hide thumbs
Also See for D600:
- User manual (368 pages) ,
- Manual to operations (20 pages) ,
- How do (6 pages)
Advertisement
Quick Links
Exploring the
Nikon D600
T
his chapter covers the
key components of the
D600, including the buttons,
switches, dials, and knobs.
These are the features you
most
need
to
because you will use them
all the time as you modify
settings to adapt to chang-
ing shooting conditions.
The D600 is very similar
to its DX sibling the D7000
and, indeed, was designed
with this camera in mind. If
you're upgrading to FX from
the D7000, you will feel
instantly at home. If you're
stepping up from a D5100 or
a D3200, the number of con-
trols may surprise you. If you
are accustomed to using one
of Nikon's compact pro bod-
ies such as the D300s, D700,
or D800, you will defi nitely
notice the difference in the
control layout.
master
Getting to know all your camera's menus, buttons, and
dials allows you to capture your images just as you
envision them.
1
C HAP T E R
Advertisement

Related Manuals for Nikon D600


Summary of Contents for Nikon D600
- Page 1 The D600 is very similar to its DX sibling the D7000 and, indeed, was designed with this camera in mind. If you’re upgrading to FX from...
-
Page 2: Top Of The Camera
Top of the camera Most of the important buttons are on the top of the D600. This makes it easier to fi nd them, especially when you have your eye to the viewfi nder. This is where you fi nd the dials to change the shooting modes as well as the all-important shutter-release button and the relatively new Movie record button. - Page 3 ). Pressing this button while spinning the ▶ Main Command dial allows you to modify the exposure that is set by the D600’s light meter when it is set to Programmed auto ( ), Shutter-priority auto ( ), or Aperture-priority auto mode ( ). Turning the Main Command dial to the right increases exposure while turning the dial to the left decreases the exposure.
- Page 4 Nikon D600 Digital Field Guide Image courtesy of Nikon, Inc. Top-of-the-camera controls On the kit lens, you fi nd four key features: Focus ring. Rotating the focus ring allows you to focus the lens manually. The ▶ location of the focus ring varies by lens. With old AF (non AF-S) lenses, and even older manual-focus lenses, you turn the ring to focus the lens.
- Page 5 Release mode dial. Although technically the Release mode dial is located on ▶ the top of the camera, on recent Nikon cameras the release modes are easier to view from the rear of the camera. The release mode controls how the shutter is released when you press the shutter-release button.
- Page 6 Nikon D600 Digital Field Guide stays up until you release the button. This allows you to take pictures more quietly by moving to a different area or covering up the camera before you release the shutter-release button, allowing the mirror to reset.
- Page 7 Live View button/Live View selector. With the introduction of the D800, ▶ Nikon added this switch, which makes it much more convenient to use the Live View settings. Simply pressing the Live View button ( ) activates the Live View...
- Page 8 TV or computer speakers. Rear infrared sensor. This picks up the infrared signal from the optional wire- ▶ less remote, the ML-L3. Image courtesy of Nikon, Inc. Back-of-the-camera controls Playback button ( ). Pressing this button activates Playback mode and by ▶...
- Page 9 When the D600 is in Playback mode, press this button to protect (lock) the image from accidentally being deleted.
- Page 10 Front of the camera The front of the D600 (with the lens facing you) is where you fi nd the buttons to quickly adjust the fl ash settings as well as some camera-focusing options, and with certain lenses, you will also fi nd some buttons that control focusing and Vibration Reduction (VR).
- Page 11 Front infrared sensor. This receiver picks up the infrared signal from the ▶ optional wireless remote, the ML-L3. Built-in microphone. This microphone can record sound while you’re recording ▶ HD video. For best sound quality, I recommend using an external microphone. Image courtesy of Nikon, Inc. Front of the Nikon D600...
- Page 12 On the right side of the camera (with the lens facing you) are the output terminals on the D600. These terminals are used to connect your camera to a computer or to an external source for viewing your images directly from the camera. They are hidden under a rubber cover that helps keep out dust and moisture.
- Page 13 Chapter 1 Exploring the Nikon D600 Image courtesy of Nikon, Inc. The right side of the D600 AF mode/AF-area mode button/Focus mode switch. Flipping the switch allows ▶ you to choose between autofocus and manual focus. Pressing the button and rotating the Main Command dial allows you to select the AF mode;...
- Page 14 If you purchased the camera with a kit lens, there are a few switches on the lens as well. If you’re using a different Nikon lens or a third-party lens, there may be different switches or no switches at all, depending on the lens and the features that it offers.
-
Page 15: Viewfi Nder Display
Chapter 1 Exploring the Nikon D600 Viewfi nder Display The viewfi nder display is kind of like the heads-up display in a jet plane. It allows you to see all the useful information about the settings of the camera. This aids you in set- ting up the shot without having to take your eye away from the viewfi nder to check your settings. - Page 16 Nikon D600 Digital Field Guide Framing grid. When this option is turned on in the d2 menu, you will see a ▶ grid displayed in the viewing area. Use the grid to line up elements of your com- position to ensure they are straight.
- Page 17 Chapter 1 Exploring the Nikon D600 F-stop indicator. This indicator appears when a non-CPU lens is attached that ▶ hasn’t had non-CPU lens data entered. The camera displays the aperture steps in numbers. When wide open, the indicator reads F0, and each stop you click down is another full number;...
-
Page 18: Control Panel
Control Panel The control panel on the top of the camera gives you a quick way to reference some of the most important settings on your D600. Kelvin color temperature indicator ( ). This indicator displays to alert you that ▶... - Page 19 Chapter 1 Exploring the Nikon D600 Control panel...
- Page 20 • Bracketing sequence. When the D600 Auto-bracketing feature is activated, pressing the button displays the number of shots left in the bracketing sequence. This includes WB, exposure, and fl ash bracketing.
- Page 21 • PC mode. This indicator appears as PC when you connect the D600 to a computer via a USB cable. Memory card indicators (slot 1, slot 2). This indicator appears when a memory ▶...
- Page 22 ▶ record multiple exposures. You set multiple exposures in the menu. Auto-bracketing indicator. When the D600 is in the Autoexposure or fl ash ▶ bracketing setting, this indicator appears on the control panel; when it is using WB bracketing, a WB icon ( ) also appears.
-
Page 23: Information Display
D600 displays the Screen tips to guide you through what each setting does. If you don’t want Screen tips to appear, you can turn this feature off in... - Page 24 Nikon D600 Digital Field Guide Information display...
- Page 25 Chapter 1 Exploring the Nikon D600 This display shows you everything you need to know about your camera settings. Additionally, the camera has a sensor built in that tells it when you are holding it verti- cally, and the Info display is shown upright, regardless of which way you are holding your camera.
- Page 26 Nikon D600 Digital Field Guide F-stop/Aperture number. At the default settings, this indicator displays the ▶ aperture at which the camera is set. It also displays other settings as follows: • Aperture (number of stops). This shows the number of stops for a non- CPU lens with no data entered into the camera.
- Page 27 Image comment option. This indicator informs you that this feature is on. Copyright info indicator. You can program the D600 to add copyright informa- ▶ tion to the EXIF data of all your images. When you turn this option on, this indica-...
- Page 28 GPS connection indicator. This indicator appears when using an optional GPS ▶ device with the D600. If the icon is fl ashing the GPS unit is searching for a sig- nal, if no icon is shown there is no GPS connection, and if the GPS indicator is solid the GPS unit has a connection.
- Page 29 Chapter 1 Exploring the Nikon D600 Info settings display High ISO noise reduction. You can adjust the high ISO noise reduction settings ▶ here. ▶ Active D-Lighting. You can change the Active D-Lighting settings here. Vignette control. This option allows you set the lens vignette control quickly.
- Page 30 Nikon D600 Digital Field Guide Memory card slot 2 role. This option allows you to change the settings for the ▶ function of the memory card in slot 2 (if one is used). Remote control mode. This option allows you to change the settings of the ▶...