Table of Contents
Advertisement
Quick Links
Advertisement
Table of Contents

Summary of Contents for Zanussi ZDI112
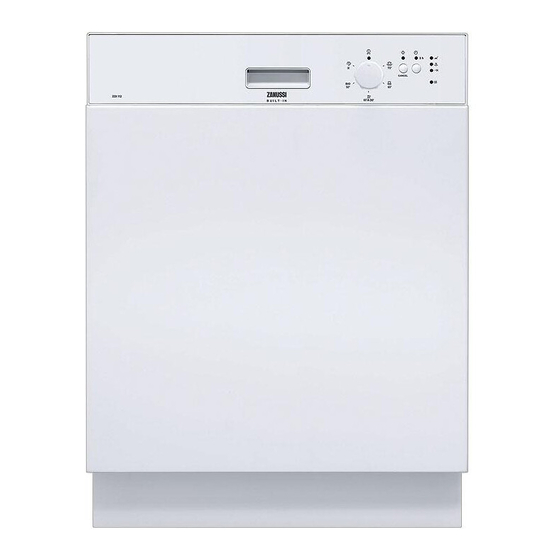
- Page 1 User manual Dishwasher ZDI112...
-
Page 2: Table Of Contents
Contents Safety information _ _ _ _ _ _ _ _ _ _ _ _ _ _ _ _ _ _ 2 Loading cutlery and dishes _ _ _ _ _ _ _ _ _ _ _ _ _ 9 Control panel _ _ _ _ _ _ _ _ _ _ _ _ _ _ _ _ _ _ _ _ 4 Select and start a washing programme _ _ _ _ _ _ _ 10 Washing programmes _ _ _ _ _ _ _ _ _ _ _ _ _ _ _ _ 5... - Page 3 Care and cleaning • Make sure that the water couplings are tight to prevent a water leakage. • Before you clean the appliance, deactivate it and dis- • The first time you use the appliance, make sure that the connect the mains plug from the mains socket. hoses do not have water leaks.
-
Page 4: Control Panel
Warning! The dishwasher detergents are dangerous • Keep dishwasher detergents in a safe area and out of and can cause corrosion ! children touch. • If an accident occurs with these detergents, contact im- • Do not keep the appliance door open when there is de- mediately a physician. -
Page 5: Washing Programmes
Programme knob and on/off indicator light – The on/off indicator light goes off. Delay start button To switch on the appliance and select a washing programme: Use this button to delay the start of the washing pro- gramme with an interval of 3 hours. Refer to 'Select and •... -
Page 6: Use Of The Appliance
Programme Programme time (minute) Energy (kWh) Water (litre) 130-140 1,0-1,2 14-16 The water pressure and temperature, the variations of the mains supply and the quantity of dishes can change the consumption values. Use of the appliance 1. Be sure that the set level of the water softener agrees 5. - Page 7 Water hardness Water hardness adjustment German degrees French degrees (TH°) mmol/l Clarke degrees manually electron- (°dH) ically 51 - 70 91 - 125 9,1 - 12,5 64 - 88 43 - 50 76 - 90 7,6 - 9,0 53 - 63 37 - 42 65 - 75 6,5 - 7,5...
-
Page 8: Use Of Dishwasher Salt
Use of dishwasher salt It is correct that water comes out from the salt con- tainer when you fill it with salt. Fill the salt container with 1 litre of water (only for the first time you fill with salt). Use of detergent and rinse aid Follow the detergent manufacturer recommendations on the detergent packaging. -
Page 9: Loading Cutlery And Dishes
You can set the rinse aid dosage between position 1 (low- Different brands of detergent dissolve in different est dosage) and position 4 (highest dosage). times. Some detergent tablets do not have the best cleaning results during short washing programmes. Use Turn the rinse aid selector to increase or decrease the long washing programmes when you use the detergent... -
Page 10: Select And Start A Washing Programme
Prevent to put plates in the first three sectors in the front part of the basket. Make sure the plates tilt for- ward. Adjustment of the height of the upper basket You can put the upper basket in two positions to increase the load flexibility. -
Page 11: Care And Cleaning
Select and start a washing programme with delay How to cancel a washing programme start 1. Press and hold the start/cancel button until the start/ cancel indicator light goes off. 1. Close the door. 2. Make sure that there is detergent in the detergent dis- 2. -
Page 12: What To Do If
To clean the spray arms Do not remove the spray arms. If the holes in the spray arms become clogged, remove re- maining parts of soil with a thin pointed object. To clean the external surfaces Clean the external surfaces of the appliance and control panel with a moist soft cloth. - Page 13 Malfunction Fault code Possible cause Possible solution The connection of the water Make sure that the connec- inlet hose is not correct. tion is correct. The water inlet hose is dam- Make sure that the water in- aged. let hose has no damages. The appliance does •...
-
Page 14: Technical Data
Problem Possible cause Possible solution The baskets were not loaded correct- Load the baskets correctly. ly, water did not touch all surfaces. The spray arms could not turn freely Make sure that an incorrect arrange- because of incorrect arrangement of ment of the load does not cause a the load. -
Page 15: Environment Concerns
Capacity Place settings 1) Connect the water inlet hose to a water tap with 3/4" thread. Environment concerns health, which could otherwise be caused by inappropriate The symbol on the product or on its packaging waste handling of this product. For more detailed indicates that this product may not be treated as information about recycling of this product, please contact household waste. - Page 16 www.zanussi.com/shop...


