Advertisement
Quick Links
Advertisement

Related Manuals for North Star MultiStar

Summary of Contents for North Star MultiStar
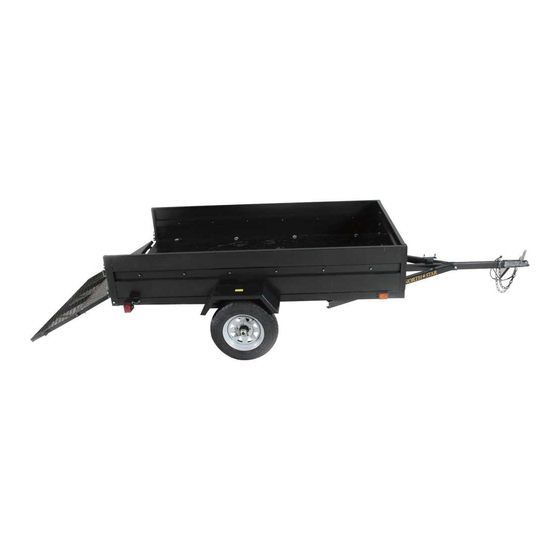
- Page 1 Trailer Assembly Instructions MultiStar...
- Page 2 2 Place ATV Trailer Parts List Trailer Parts Hardware Description Description Trailer Frame M14 x 85 Bolt Trailer Tongue M14 Jam Nut Trailer Side Rails M10 x 20 Bolt Rear Rail Bracket M10 Lock Nut Front Rail M10 x 25 Bolt Rear Gate M10 Lock Washer Wheel/Hub Assembly...
- Page 3 Trailer Assembly Instructions The 2 place ATV Trailer comes with the • following: Trailer Frame and Parts Trailer Frame Accessories and Fasteners and Parts 2 Wheels with Hub Assemblies Ensure that you have everything Side Rails Remove all Shipping materials and lay Accessories out all parts and hardware.
- Page 4 Assemble axles. • Spindle Lay Axle on a table or some flat surface with the Spindles or threaded portion hanging off each side. The Springs will attach toward each end of the Axle. Set the Springs, curving upward, by placing Locating hole the head of the Spring Bolt into the Locating Hole.
- Page 5 Install Hub Assembly to Axle. • Dust Cover Hubs come attached to the wheels. Remove Dust Covers from Hubs. This can be done by inserting a long bolt or punch into the hole of the hub and driving the dust cap off. A screwdriver can also be used on the face side of the Hub to gently pry the dust cover off.
- Page 6 Assemble Axle, Tongue Coupler, • Fenders. Lay Trailer Frame flat upside down on a table. Align the holes in the Fenders with the Fender Bolt Holes on the Trailer Frame. They are located alongside the Axle Fender Channels. Using two Bolts and Lock Washers on each Fender, attach and Leaf Spring tighten both Fenders.
- Page 7 Electrical Equipment • Attach Taillight L-Brackets using two short bolts and lock washers. Place License Plate bracket under the tail light for the driver's side of the trailer. The studs on the light go through the License Plate Bracket and then through the Taillight L-Bracket.
- Page 8 Side Rails • With the Trailer right side up you can install the Side Rails. First install the Ramp Pins on the front, rear and middle. The Side Rails are first located with the pins on the lower edge. The Side Rail Ramp Pins has a Threaded insert on one end.
- Page 9 Note: It is owner's responsibility to tighten all bolts and nuts on trailer to ensure safe operation. Coupler Adjustment It is customer's responsibility to perform Coupler Latch Nut final adjustments to the Hitch Coupler before operation. Adjust after all other assembly.