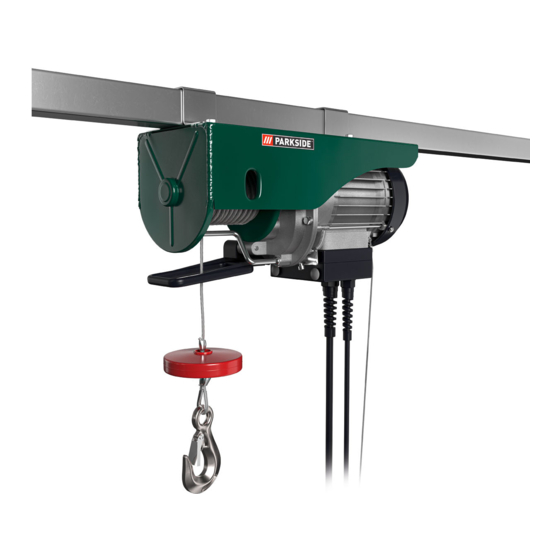
Parkside PSZ 250 A2 Manual
Hide thumbs
Also See for PSZ 250 A2:
- Operation and safety notes (40 pages) ,
- Operation and safety notes (72 pages)
Advertisement
Quick Links
Anleitung_LB6_2255414:_
01.06.2011
17:24 Uhr
Seite 7
GB/
IE
Table of contents:
Page
1. Introduction .............................................................................8
2. Safety information...................................................................8
3. Layout and items supplied .....................................................8
4. Proper use ..............................................................................8
5. Technical data ........................................................................9
6. Before putting the machine into operation ..............................9
7. Mounting and assembly .........................................................9-10
8. Cleaning, maintenance and ordering of spare parts...............10
9. Disposal and recycling ............................................................10
10. Guarantee Certificate .............................................................11
The reprinting or reproduction by any other
means, in whole or in part, of documentation
and papers accompanying products is
permitted only with the express consent of ISC
Technical changes subject to change
GmbH.
7
Advertisement

Summary of Contents for Parkside PSZ 250 A2
- Page 1 Anleitung_LB6_2255414:_ 01.06.2011 17:24 Uhr Seite 7 Table of contents: Page 1. Introduction ................8 2. Safety information..............8 3. Layout and items supplied .............8 4. Proper use ................8 5. Technical data ................9 6. Before putting the machine into operation ......9 7. Mounting and assembly ............9-10 8.
- Page 2 Anleitung_LB6_2255414:_ 01.06.2011 17:24 Uhr Seite 8 1. Introduction 3. Layout and items supplied (Fig. 1/2) Important! When using equipment, a few safety Pipe collar (with large hinge pin A) precautions must be observed to avoid injuries 2x holding bars for pipe collars and damage.
- Page 3 Anleitung_LB6_2255414:_ 01.06.2011 17:24 Uhr Seite 9 5. Technical data through the hole in the hinge pin (A) (Figure 6-7). Finally, bend apart the two shanks of the Reach l: Max. load: cotter pin (8) so that the cotter pin (8) = 750 mm = 600 kg cannot work its way out of the bore hole.
- Page 4 Anleitung_LB6_2255414:_ 01.06.2011 17:24 Uhr Seite 10 test and a 180° left and right swing test must each be performed twice with no load. Then the cable winch must be loaded with increasingly heavier loads up to the maximum permissible load weight. Only when the cable winch has passed these tests are you allowed to use the equipment for normal operations.


