Advertisement
Available languages
Available languages
Quick Links
Instruction Sheet
Please read and save these instructions. Read carefully before attempting to assemble, install, operate or maintain the product described.
Protect yourself and others by observing all safety information. Failure to comply with instructions could result in personal injury and/or
property damage! Retain instructions for future reference.
BUILT TO LAST
WARNING
!
Before attempting this procedure, make sure you have read all manuals and safety
information included with your paint sprayer. Failure to do so could result in death or serious injury.
WARNING
!
Turn off unit and disconnect power before attempting this procedure. Failure to do so
could result in death or serious injury from electrical shock.
Freeing Inlet Valve
1. If there is a hose clamp on suction hose, loosen clamp and remove hose.
2. Insert screwdriver into inlet and push on spring-loaded pin until pin is moving freely. Do not push too hard.
Freeing Outlet Valve
1. With wrench, remove outlet valve.
2. Turn valve upside down.
3. With screwdriver, push on ball inside valve until ball is moving freely. Do not push too hard.
4. Reinstall outlet valve and tighten with wrench until snug. Do not overtighten.
© 2005 Campbell Hausfeld/Scott Fetzer
Outlet Valve
Inlet Valve
Suction Hose
For parts, manuals, product & service information
visit www.chpower.com
Special Priming
Instructions
Freeing valves when stuck
For replacement parts
or technical assistance,
call 1-800-626-4401
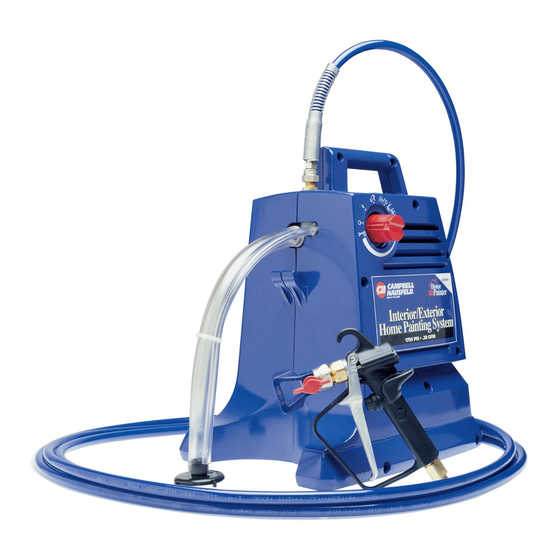
EZ5000 Series Sprayers
(Outlet valve shown
upside down.)
Push here to free
up outlet valve.
IN423500AV 1/05
Advertisement

Related Manuals for Campbell Hausfeld EZ5000 Series


Summary of Contents for Campbell Hausfeld EZ5000 Series
- Page 1 3. With screwdriver, push on ball inside valve until ball is moving freely. Do not push too hard. 4. Reinstall outlet valve and tighten with wrench until snug. Do not overtighten. IN423500AV 1/05 © 2005 Campbell Hausfeld/Scott Fetzer For parts, manuals, product & service information visit www.chpower.com...
- Page 2 3. Utiliser le tournevis et pousser bille à l’intérieur de la soupape jusqu’à ce qu’elle se déplace librement. Ne pas pousser trop fort. 4. Réinstaller la soupape de sortie et resserrer avec la clé jusqu’à ce qu’elle soit bien ajustée. Ne pas trop resserrer. IN423500AV 1/05 © 2005 Campbell Hausfeld/Scott Fetzer 2 Fr...
- Page 3 3. Con un destornillador, empuje la bola que está dentro de la válvula hasta que la bola se mueva libremente. No empuje demasiado fuerte. 4. Vuelva a instalar la válvula de salida y apriétela con la llave hasta que quede ajustada. No apriete en exceso. IN423500AV 1/05 © 2005 Campbell Hausfeld/Scott Fetzer 3 Sp...
- Page 4 Instruction Sheet Feuillet d’Instructions Hoja de Instrucciones Notes Notas...