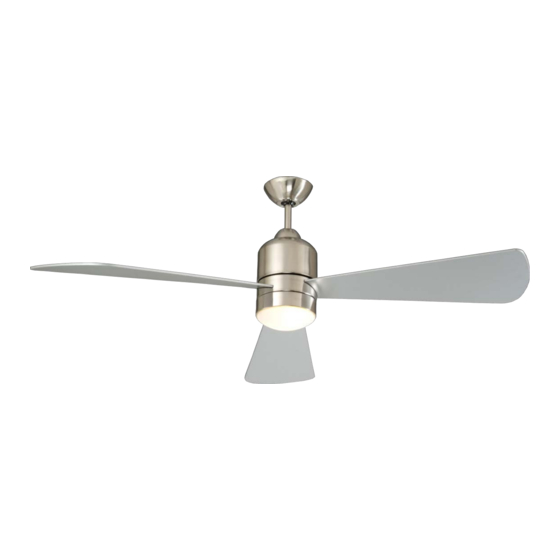
Summary of Contents for CONCORD Decca 60DEC3EST
- Page 1 Decca ® 60DEC (17.6 LBS) Owners Manual Installation Instructions Part Number: 60DEC3EST A Continuing Commitment to Excellence...
- Page 2 50 pounds of moving weight and marked “Acceptable for Fan Support”. If you have any questions, outlet boxes and support systems for ceiling fans are available at most hardware and do-it-yourself centers. In most cases, your Concord ® dealer will have all the necessary products for the proper and safe installation of your ceiling fan.
- Page 3 This ceiling fan was not designed for installation in any location where it might be exposed to moisture or high humidity. Installation in this type of location could be unsafe, will most likely damage the fan and its finish ..and WILL VOID YOUR WARRANTY. Every effort has been made to provide you with proper instructions for the safe installation of this ceiling fan.
- Page 4 Step 1 Install Mounting Bracket Loosen the two canopy mounting screws on the down- side face of the mounting bracket. Back them out about half way. This will allow for easier installation of the ceil- ing canopy later (see figure 1). Install the mounting bracket onto the electrical junction box in the ceiling using two machine screws, two wash- Ceiling Canopy Mounting Screw...
- Page 5 Step 2 Install the Fan Unit (see figure 4) White Attach the WHITE wire from the junction box to the WHITE wire from the Fan unit. Attach the BLACK wire from the junction box to Ground the BLACK wire from the Fan unit. Mounting Black Bracket...
- Page 6 Step 3 Attach the support assembly Loosen the set screws (2) in the support rod cou- pler located on the top center of the motor hous- ing (see figure 5) until the inside channel is clear. Canopy Remove and save the safety pin from the cou- pler.
- Page 7 Mounting Bracket Step 5 Install Ceiling Canopy Lift the ceiling canopy up into place covering the Canopy mounting bracket. Push the canopy up so the screws come through the Canopy Screws mounting holes in the canopy. Rotate the canopy slightly and tighten the screws (see figure 7). Fig.
- Page 8 Step 7 Install Bottom Motor Cover (see figure 9) Motor Remove and save 1 of the 3 screws from the bot- tom of fan motor housing. Place cover on housing lining up the 2 keyway Blue holes over the 2 remaining screws. Rotate cover, locking screws into keyway holes.
- Page 9 Operation Instruction Remote Control Operation Instruction The Remote Control Transmitter NOTE: The Remote Control Transmitter comes with a bracket that can be mounted in any con- venient place you choose. Next to a light switch in the same room as the ceiling fan is a good Transmitter place.
- Page 10 (see figure 11A) 1. FAN SPEED CONTROL PAD: Controls six fan speeds from highest (VI) to lowest (I) 2. FAN ON/ OFF BUTTON: Turns fan motor On/Off 3. REVERSE BUTTON: Controls fan blade direction ( Clockwise Summer and Counter-Clockwise for Winter ) 4.
-
Page 11: Maintenance
Hanging Ball Canopy Support Rod Canopy Screw Coupling Cap Set Screw Safety Screw Motor Coupler Set Screw Blade To Motor Screw Bottom Light Plate Bulb Plate Screw (3) Motor Cover Screw (3) Light Glass Cap Maintenance Your fan requires very littlemain- tenance. - Page 12 Conforms To D.O.E. EPACT Regulation Limited Lifetime Warranty Applies To Fan Motor Only © Concord Fans 2012 ® Concord Fans. Concord Fans is a division of Luminance.


