
Related Manuals for CONCORD 52HED


Summary of Contents for CONCORD 52HED
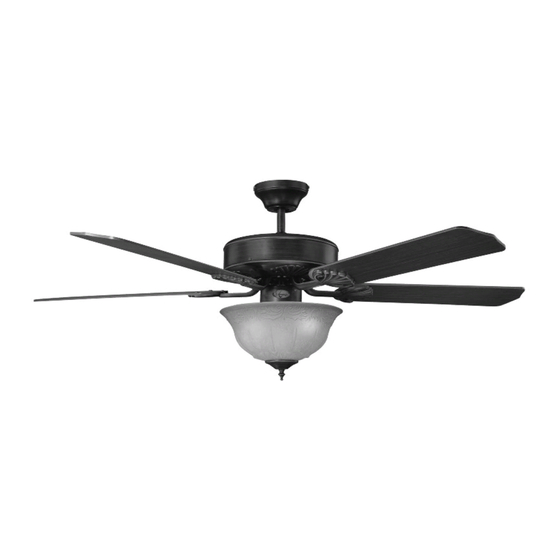
- Page 1 Heritage Designer ™ ® 52HED Owners Manual Installation Instructions A Commitment to Excellence...
- Page 2 50 pounds of moving weight and marked “Acceptable for Fan Support”. If you have any questions, outlet boxes and support systems for ceiling fans are available at most hardware and do-it-yourself centers. In most cases, your Concord dealer will have all the necessary products ®...
- Page 3 This ceiling fan was not designed for installation in any location where it might be exposed to moisture or high humidity. Installation in this type of location could be unsafe, will most likely damage the fan and its finish ..and WILL VOID YOUR WARRANTY. Every effort has been made to provide you with proper instructions for the safe installation of this ceiling fan.
- Page 4 Canopy Mounting Screw Have you TURNED OFF the Electricity? Fig. 1 This fan is shipped with 2 downrods. 6” for regular ceil- ing application and 2” for low ceiling application. Choose the one that fits your need. Junction Box Step 1 Attach the mounting bracket Loosen the two canopy mounting screws on the downside face of the mounting bracket.
- Page 5 Pull the electric wires in the junc- tion box down through the mount- ing bracket then bend them up and back out of the way. Place the black wire to one side and the white and ground wire to the other side (see figure 4) The wires should be off to the side and up against the ceiling.
- Page 6 Mounting Bracket Step 3 Hanging the Fan Body Keyway Pin Notice the half ball on the end of the support rod is grooved down one side (see figure 6). This Keyway fits over the small keyway pin on the Ball Hanger inside of the mounting bracket and keeps the ceiling fan from spinning on the mounting bracket.
- Page 7 Making the electrical connections To operate your ceiling fan with the pull chain(s) and switches mounted on your fan, follow the instruction below (see figure 9). If you require or would like to use a different method of con- trolling your fan, refer to the Optional Electrical Wiring Green Procedures on page 10.
- Page 8 Step 4 Install the ceiling fan If you are using the Flush Mount System, skip this step and go to step 4a. Canopy Screws Slide the ceiling canopy up into place over the ceiling mounting bracket (see figure 11). The two screws on the mounting bracket face should slip through the key hole slots in the canopy.
- Page 9 Motor Housing Step 6 Blade Assembly Installation Remove the large screws in the face of the motor. Discard any rubber blocks attached to these screws. The rubber blocks are installed at the factory to stabilize the motor during ship- ment. Pre-Installed Screws to Blade Arm Select the correct mounting pattern and attach...
- Page 10 Fan controlled with wall switch and Light controlled at fan. Step 8 Final Checks Check that all safety pins, set screws and con- nections are properly in place and tight. Check blade clearance and rotation. Attach the decorative pull chain tassel(s) to the switch housing.
- Page 11 Your new ceiling fan is now ready to use. Reset your circuit breaker and restore power to the circuit. See the Operation Instruction below to review the function of each control on your fan. Operation Instructions The pull chain located on the switch housing controls the speeds of your fan.
- Page 12 No part of this publication may be produced, transmitted, transcribed, stored in a retrieval system, or translated into any language ® in any form by any means without the written permission of Great 2000 Enterprise, Inc.. Concord Fans and Lighting is a division of Great 2000 Enterprise, Inc.