Advertisement
Quick Links
Advertisement

Related Manuals for CONCORD Avia 60AV5E


Summary of Contents for CONCORD Avia 60AV5E
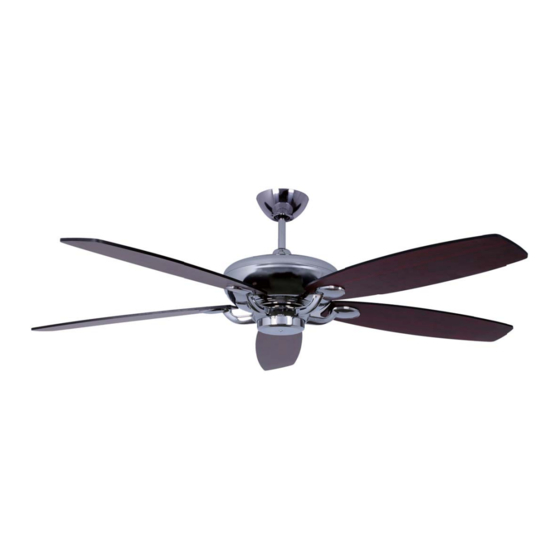
- Page 1 Avia ® 60AV5E Owners Manual Installation Instructions A Continuing Commitment to Excellence...
- Page 2 Support”. If you have any questions, outlet boxes and support systems for ceiling fans are available at most hardware and do-it-yourself centers. In ® most cases, your Concord dealer will have all the necessary products for the proper and safe installation of your ceiling fan.
- Page 3 This ceiling fan was not designed for installation in any location where it might be exposed to moisture or high humidity. Installation in this type of location could be UNSAFE, will most likely damage the fan and its finish... and will VOID YOUR WARRANTY. Every effort has been made to provide you with proper instructions for the safe installation of this ceiling fan.
- Page 5 Step 2 Attach the support assembly If you are using an extended support rod, (longer than the one supplied with your fan) remove the half ball from the support assem- Half Ball Hanger bly and attach it to the extended support rod at this point.
- Page 8 Step 6 Fan Blade and Blade Arm Assembly Most CONCORD fans are supplied with a reversible blade finish. Choose the blade finish that you prefer and attach as follow: Blade to Arm Screws Attach each fan blade to a blade arm with three 3/16”...
- Page 9 Step 8 Light Fixture Installation Blue White Depending on which model of Avia fan you are in- Black stalling, you will either have the 4 light Turtle Clu- Switch Housing Cover ster (figure 13A-13B) or the Twist-on Light (figure 14) or the Bowl Light (figure 15A-15C). Please fol- low instruction under the correct light fixture.
- Page 10 Bowl Class: Back off (loosen) the three screws on the switch housing cover. Blue White Connect White wire to White wire, and Black wire Black Switch Housing Cover to Blue wire using wire nuts. Press together firmly. Light Light Fixture Switch A.
- Page 11 Operation Instruction Remote Control Operation Instruction The Remote Control Transmitter NOTE: The Remote Control Transmitter comes I I I with a bracket that can be mounted in any con- venient place you choose. Next to a light switch in the same room as the ceiling fan is a good Transmitter place.
-
Page 12: Transmitter Buttons
TRANSMITTER BUTTONS (see figure 16A) 1. FAN SPEED CONTROL PAD: Controls six fan speeds from highest (VI) to lowest (I) 2. FAN ON/ OFF BUTTON: Turns fan motor On/Off 3. REVERSE BUTTON: Controls fan blade direction ( Clockwise Summer and Counter-Clockwise for Winter ) 4. -
Page 13: Maintenance
Support Rod Ceiling Canopy Coulper Cover Set Scrwer Retaining Clip Safety Pin Motor Housing Blade to Arm Screws Blade Arm Fan Blade Blade Arm to Motor screws Switch Housing Maintenance Your fan requires very littlemain- tenance. Cleaning of thehousing should be done with adamp soft cloth, DO NOT USE CLEANING AGENTS. - Page 14 Conforms To D.O.E. EPACT Regulation Limited Lifetime Warranty Applies To Fan Motor Only Concord Fans 2014 ® Concord Fans. Concord Fans is a division of Luminance.