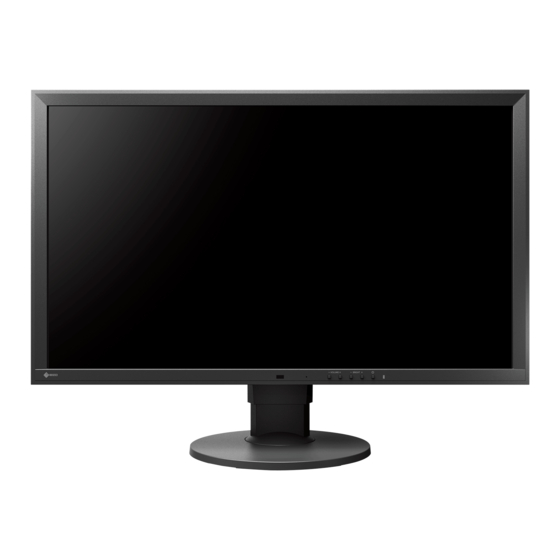
Eizo DuraVision FDF2711W-IP Instruction Manual
Color lcd monitor
Hide thumbs
Also See for DuraVision FDF2711W-IP:
- Installation manual (100 pages) ,
- Setup manual (39 pages) ,
- Instruction manual (19 pages)
Table of Contents
Advertisement
Quick Links
Instruction Manual
Color LCD Monitor
Software Version 5.2
Important
Please read this "Instruction Manual", "Installation Manual", and
"Setup Manual" carefully to familiarize yourself with safe and
effective usage.
• For the latest product information including the "Instruction
Manual", refer to our web site :
www.eizoglobal.com
Advertisement
Table of Contents

Related Manuals for Eizo DuraVision FDF2711W-IP


Summary of Contents for Eizo DuraVision FDF2711W-IP
- Page 1 Instruction Manual Color LCD Monitor Software Version 5.2 Important Please read this “Instruction Manual”, “Installation Manual”, and “Setup Manual” carefully to familiarize yourself with safe and effective usage. • For the latest product information including the “Instruction Manual”, refer to our web site : www.eizoglobal.com...
- Page 2 EIZO Corporation is under no obligation to hold any submitted material or information confidential unless prior arrangements are made pursuant to EIZO Corporation’s receipt of said information. Although every effort has been made to ensure that this manual provides up-to-date information, please note that EIZO monitor specifications are subject to change without notice.
-
Page 3: Cleaning
Cleaning The stains on the cabinet and LCD panel surface can be removed by moistening part of a soft cloth with water. Attention • Chemicals such as alcohol and antiseptic solution may cause gloss variation, tarnishing, and fading of the cabinet or LCD panel, and also quality deterioration of the image. -
Page 4: Table Of Contents
CONTENTS Cleaning ..............3 To use the monitor comfortably ......3 CONTENTS ............. 4 Chapter 1 Product Overview ......5 1-1. System Configuration ........5 Chapter 2 Turning On / Off the Power ....6 2-1. Turning On the Power ........6 2-2. -
Page 5: Chapter 1 Product Overview
Chapter 1 Product Overview This product is a color LCD monitor capable of displaying images from a maximum of 32 network cameras *1 A type of camera which converts images into network signals and transmits the signals. 1-1. System Configuration Product main unit Network camera Ethernet... -
Page 6: Chapter 2 Turning On / Off The Power
Chapter 2 Turning On / Off the Power 2-1. Turning On the Power Turn on the main power switch on the back of the monitor. The main power switch is turned on by factory settings. Press on the front of the monitor. The power indicator lights up blue and the live image screen is displayed. -
Page 7: Chapter 3 Operating The System
Chapter 3 Operating the System The various menus can be operated using a USB mouse or USB keyboard. This chapter describes operation using a USB mouse. Attention • Connect a USB mouse or USB keyboard to the USB downstream port of this product in advance. 3-1. -
Page 8: Basic Menu Operations
● Basic menu operations The menu is used to set display settings of the image display area and to set the settings of the system and network cameras. Screen Layout Display mode menu Current time System menu Image display area •... -
Page 9: Logging In
Display mode menu Camera images displayed on the live screen can be operated. Display mode menu Shortcut key Details Displays or hides the menu. Changes the display layout of the images. When using a USB keyboard, each time the shortcut key is pressed, the layout changes as follows: 1 Screen →... - Page 10 1. Select (Login). The login screen is displayed. 2. Enter “Username” and “Password”. Please contact the system administrator about the username and password. Entering characters • When entering using a mouse Clicking an item that requires characters to be input, such as a text box, will display a software keyboard. When the focus is moved out of the software keyboard, the software keyboard is hidden.
- Page 11 3. Select “Login”. Chapter 3 Operating the System...
-
Page 12: Setting Screen Display
3-3. Setting Screen Display ● To change over the screen layout Set the number of images to be displayed simultaneously on the live image screen. Procedure 1. Select an icon for the layout to display. The screen layout changes by selecting the layout icon in the display mode menu. Attention When displaying the image layout in three screens: •... -
Page 13: To Change Over The Page Displayed On The Screen
● To change over the page displayed on the screen Camera images are displayed by changing over pages. Pages can be changed over either manually or automatically at a set interval (sequence display). Note • When “Custom Screen” is specified for the screen layout, the number of pages varies depending on the specified number of screens. -
Page 14: To Switch Camera Image Display Positions
Changing pages automatically (Sequence display) Procedure 1. Select in the display mode menu. Pages displayed on the screen are changed over automatically at a specified interval. Note • The interval for page changeover can be changed (default setting: 10 sec.). For information on how to change the display interval, refer to the "Installation Manual". - Page 15 The display positions of the source and destination camera image are switched. Chapter 3 Operating the System...
-
Page 16: Operating Network Cameras
3-4. Operating Network Cameras ● Before operation Network camera control is allowed only when the level of the user accessing this product is “CAMERA CONTROL” or “ADMIN”. Be sure to log in to the system with a user account of this level. Procedure 1. -
Page 17: To Operate Network Cameras
● To operate network cameras Procedure 1. Select the network camera to operate. Select a network camera displayed in the Live Image Screen. The frame around the selected camera image become bold. 2. Operate each function. Attention • Depending on the type of the network camera you are using, some functions may not be available. •... - Page 18 Brightness / Preset / Focus Function Description Brightness Adjust the network camera brightness. The image becomes darker. Returns the brightness to the default setting. The image becomes brighter. Preset Moves the camera orientation to the position registered in advance. 1. Select the preset number. Note •...
-
Page 19: Chapter 4 Troubleshooting
Chapter 4 Troubleshooting 4-1. The screen is not displayed Problem Possible cause and remedy 1. The screen is not displayed • Is the power correctly connected? • Power indicator is not turned on • Is the power cord correctly connected? •... - Page 20 03V28080A1 UM-FDF2711W-IP Copyright © 2019 EIZO Corporation. All rights reserved. 1st Edition-December, 2019...