Table of Contents
Advertisement
Advertisement
Table of Contents

Related Manuals for NANLITE Forza 60B


Summary of Contents for NANLITE Forza 60B
- Page 1 Forza 60B USER MANUAL Guangdong NanGuang Photo&Video Systems Co., Ltd...
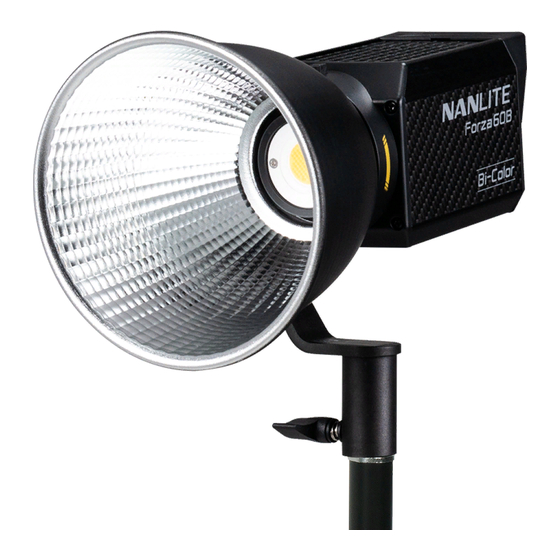
- Page 2 Forza 60B LED Bi-Color Spot Light Product Diagram Technical Data LED total power: 60W Rated power: 80W Input voltage/current: 15V Color Temperature: 2700K - 6500K CRI: Average 96 TLCI: Average 98...
- Page 3 Product Details 1. Angle fixing knob 4. Lock catch 5. LCD display 7. Right knob 6. Left knob 8. Power socket 9. Power switch 2. L shaped 10. LED indicator bracket 11. Reflector 3. Bracket fixing knob 12. USB port...
- Page 4 Detailed Description 1. Angle fixing knob: Allows for vertical adjustments and fixing of the lamp. 2. L shaped bracket: Designed for connecting the lamp to the light stand and adjusting the beam angle. 3. Bracket fixing knob: For connenting the spot light and camera equipment , and adjusting the horizontal illumination direction of fixture.
- Page 5 2. 2.4G and Bluetooth Remote Control The Forza 60B has a built-in 2.4Ghz receiver, enabling it to be remotely controlled by remote controller or by APP via the 2.4G transfer device. It also has built-in bluetooth function to connet with bluetooth for more control options.
- Page 6 Operating Instructions 1. Connection between fixture and power adapter. ① First be sure that the power switch of the fixture is in the "off " position. Now it is safe to connect the power adapter and power the unit on. If the LED indicator is on that means the power supply is normal. The LCD screen will display all the relevant information for the fixture.
- Page 7 ④ FX setting: Rotate the " right knob" to select the desired special effect. Forza 60B has a range of built-in effects - OFF, CCT LOOP, INT LOOP, FLASH, PULSE, STORM, TV, PAPARAZZI, CANDLE/FIRE, BAD BULB, FIREWORK, EXPLOSION and WELDING.
- Page 8 (2)CCT LOOP: Press in the "left knob" to select DIM, CCT1 and CCT2 , then rotate it to set the parameters; Press in the "right knob" to enter SPD setting, then rotate it to set the SPD, SPD range: 2S ... 30S. 3200K 3200K 100%...
- Page 9 (3)INT LOOP: Press in the "left knob" to select DIM1, DIM2 and CCT, then rotate it to set the parameters; Press in the "right knob" to enter SPD setting, then rotate it to set the SPD, SPD range: 2S … 30S. 5600K 5600K 100%...
- Page 10 (4)FLASH: Press in the "left knob" to select DIM and CCT, then rotate it to set the parameters; Press in the "right knob" to enter INTVL setting, then rotate it to set the INTVL, INTVL range: 1s … 10s. 100% 5600K 100% 5600K...
- Page 11 (5)PULSE: Press in the "left knob" to select DIM and CCT, then rotate it to set the parameters; Press in the "right knob" to enter P/MIN setting, then rotate it to set the P/MIN, P/MIN range: 1 … 240. 100% 5600K 100% 5600K...
- Page 12 (6)STORM: Press in the "left knob" to select DIM and CCT, then rotate it to set the parameters. Press in the "right knob" to enter INTVL range setting, then rotate it to set the INTVL range; Press in the "right knob" then rotate it to set the INTVL range.
- Page 13 (7)TV: Press in the "left knob" to select DIM1, DIM2, and CCT, then rotate it to set the parameters; Press in the "right knob" to enter SPD setting, then rotate it to set the SPD. SPD range: 1 … 100. 5600K 5600K 100%...
- Page 14 (8)PAPARAZZI: Press in the "left knob" to select DIM and CCT, then rotate it to set the parameters; Press in the "right knob" to enter SPD setting, then rotate it to set the SPD. SPD range: 1 … 100. 100% 5600K 100% 5600K...
- Page 15 (9)CANDLE/FIRE: Press in the "left knob" to select DIM 1, DIM 2 and CCT, then rotate it to set the parameters; Press in the "right knob" to enter SPD setting, then rotate it to set the SPD, SPD range: 1 … 100. 5600K 5600K 100%...
- Page 16 (10)BAD BULB: Press in the "left knob" to select DIM and CCT, then rotate it to set the parameters; Press in the "right knob" to enter INT setting, then rotate it to set the INT, INT range: 1 … 100. Press in the "right knob"...
- Page 17 100% 5700K 100% 5700K FX:BAD BULB SPD:50 INT:51 FAN:ON Press in the "right knob" to enter SPD setting. 100% 5700K 100% 5700K SPD:50 SPD:51 FAN:ON FAN:ON Rotate the "right knob" to set the SPD. (11)FIREWORK: Press in the "left knob" to select DIM, CCT, then rotate it to set the parameters; Press in the "right knob" to enter SPD setting, then rotate it to set the SPD, SPD range: 1…100.
- Page 18 100% 5700K 100% 5700K FX:FIREWORK FX:FIREWORK SPD:50 SPD:50 Press in the "right knob" to enter SPD setting. 100% 5700K 100% 5700K FX:FIREWORK FX:FIREWORK SPD:50 SPD:51 Rotate the "right knob" to set the SPD. 100% 5700K 100% 5700K FX:FIREWORK DECAY:50 FAN:ON SPD:51 Press in the "right knob"...
- Page 19 (12)EXPLOSION: Press in the "left knob" to select DIM, CCT, then rotate it to set the parameters; Press in the "right knob" to enter SPD setting, then rotate it to set the SPD, SPD range: 1…100. Press in the "right knob" enter DECAY setting, then rotate it to set the DECAY, DECAY range: 1…100.
- Page 20 100% 5700K 100% 5700K FX:EXPLOSION DECAY:50 SPD:50 FAN:ON Press in the "right knob" to enter DECAY setting. 100% 5700K 100% 5700K DECAY:50 DECAY:51 FAN:ON FAN:ON Rotate the "right knob" to set the DECAY. (13)WELDING: Press in the "left knob" to select DIM1, DIM2, CCT, then rotate it to set the parameters; Press in the "right knob"...
- Page 21 SPD:51 Rotate the "right knob" to set the SPD. · Lighting effects and additional functionality maybe added with future firmware releases, for details of these please see www.nanlite.com. ⑤ Fan Setting: Press in the "right knob" to enter FAN setting, then rotate it select the FAN "ON" or "OFF".
- Page 22 ⑥ CH Setting: 100% 5600K 100% 5600K FX:OFF CH:51 FAN:OFF LANGUAGE:ENG Press in the "right knob" to enter CH setting, then rotate it to set the address code for the fixture. ⑦ Language Setting: 100% 5600K 100% 5600K CH:51 通道:51 LANGUAGE:ENG 语言:中文...
- Page 23 4. When cleaning the light, please wipe off debris or dirty by using a cloth with clean water or neutral cleanser. 5. The Forza 60B should be safely operated where it won’t be at risk of getting wet or under extreme temperatures.
- Page 24 If the failure is not resolved after troubleshooting, please contact place of purchase. This manual and all stats within it were produced under controlled conditions, and are accurate at time of print. Any future changes to design/technical data can be found at www.nanlite.com.
- Page 25 Version:V2 2020-05-23 +86-754-85751187 +86-754-85300887 service@nanlite.com Zhanglin,324,Dongli Chenghai Shantou Guangdong China www.nanlite.com...