Table of Contents
Advertisement
Quick Links
MODEL:
Natural Gas Only
0743512
MODEL:
Propane Gas Only
0743511
WARNING: Improper installation, adjustment,
alteration, service, or maintenance can cause
injury or property damage. Refer to this
manual. For assistance or additional
information, consult a qualified installer,
service agency or the gas supplier.
WARNING: Installation and repair must be
done by a qualified service person. The
furnace should be inspected before use and at
least annually by a professional service
person.
WARNING: If not installed, operated and
maintained in accordance with the
manufacturer's instructions, this
product could expose you to substances in
fuel or from fuel combustion which can cause
death or serious illness and which are known
to cause cancer, birth defects or other
reproductive harm.
Williams Furnace Co., 250 West Laurel Street, Colton, CA 92324 U.S.A.
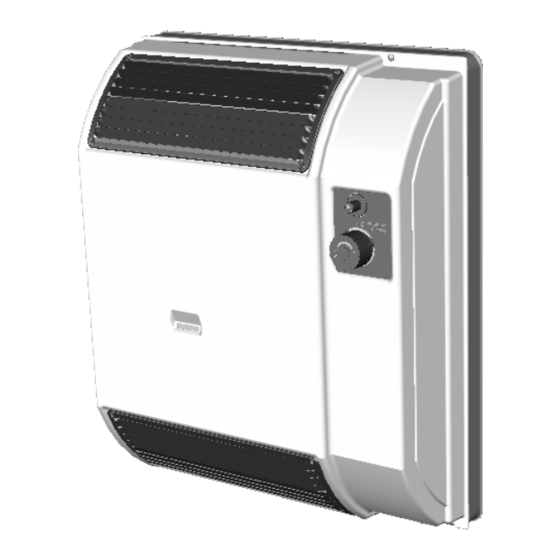
Installation Instructions and Owner's Manual
Direct-Vent Wall Furnace
WARNING: If the information in this
manual is not followed exactly; a fire
or explosion may result, causing
property damage, personal injury or
loss of life.
- Do not store or use gasoline or other
flammable vapors and liquids in the
vicinity of this or any other appliance.
- WHAT TO DO IF YOU SMELL GAS
• Open all windows.
• Do not try to light any appliance.
• Do not touch any electrical switch.
• Do not use any phone in your building.
• Extinguish any open flame.
• Immediately call your gas supplier
from a neighbor's phone. Follow
the gas supplier's instructions.
• If you cannot reach your gas supplier,
call the fire department.
- Installation and service must be
performed by a qualified installer,
service agency or the gas supplier.
Advertisement
Table of Contents

Related Manuals for Williams 743511


Summary of Contents for Williams 743511
- Page 1 Williams Furnace Co., 250 West Laurel Street, Colton, CA 92324 U.S.A. Installation Instructions and Owner’s Manual Direct-Vent Wall Furnace WARNING: If the information in this manual is not followed exactly;...
-
Page 2: Table Of Contents
General Information and Technical Data Instructions to Installer ………………………………………………………………………….………...………… 1 Safety and General Warnings ………………………………………………………………….…………………...………... 2 Technical Data ……………………………………………………………………………………….…………...……………. 3 Installation Wall Installation ………………………………………………………………………………………………………………… 4 Outside Location for Vent Terminal ……………………………………………………………………………….…………. 5 Gas Supply ………………………………………………………………………………………………………….………….. 7 Operating Instructions Operating Instructions …………………………………………………………………………………………….………….. 9 Servicing Checking and Adjusting the Gas Manifold Pressure ………………………………………………………………….…. -
Page 3: Safety And General Warnings
DO NOT OPERATE THIS FURNACE WITHOUT FRONT PANEL INSTALLED • Due to high temperatures, the furnace should be located out of traffic and away from furniture and draperies. • Children and adults should be alerted to the hazards of high surface temperatures and should stay away to avoid burns or clothing ignition. -
Page 4: Technical Data
• Learn to recognize the odor of LP Gas. Your local LP Gas Dealer can give you a ”Scratch and Sniff” pamphlet. Use it to find out what the propane odor smells like. If you suspect that your LP Gas has a weak or abnormal odor, call your LP Gas Dealer. -
Page 5: Installation
Installation should be done by a QUALIFIED SERVICE TECHNICIAN. Wall Installation Minimum clearances from combustible materrials: • Unit to the top surface of carpeting, tile: 2-inches (50 mm) • Unit to back wall (0” to spacers): 1/4-inch (6.3 mm). • Vent to wall enclosure: 1-inch (25.4 mm) •... -
Page 6: Outside Location For Vent Terminal
Figure 1 1 = Fixed/Closed A. Clearance above grade, veranda, porch, deck or balcony 12-inches (30 cm) minimum. B. Clearance to window or door that may be opened 12- inches (30 cm) minimum. C. Clearance to permanently closed window (minimum 12- inches (30 cm) recommended to prevent condensation on window. - Page 7 5. Place the insulating sheet on the support bracket and attach the bracket with insulation to the wall by tightening the five screws with washer. (Figure 3) Be sure the bracket is horizontal. 6. Remove the casing from the furnace body, unscrewing the two mounting screws. (Figure 3) 7.
-
Page 8: Gas Supply
8. Position the furnace on the wall inserting the inlet/outlet flue in the hole previously drilled. Make sure that the edges of the support bracket perfectly match the existing holes in the back on the unit (Figure 5) 9. Attach the furnace to the support bracket with the two screws provided. During this operation make all necessary adjustments to have a correct installation of the unit (Figures 5 and 6) 10. - Page 9 3. The furnace must be isolated from the gas supply piping system by closing its individual manual shutoff valve during any pressure testing of the gas supply piping system at test pressures equal to or less than 1/2 psig (3.5 kPa). Attention: If one of the above procedures results in pressures in excess of 1/2 psig (14”...
-
Page 10: Operating Instructions
Before operating the furnace, read carefully all warnings and safety information in this manual. FOR YOUR SAFETY READ BEFORE OPERATING WARNING: If you do not follow these instructions exactly, a fire or explosion ma y result causing property damage, personal injury or loss of life. A. -
Page 11: Servicing
All servicing activities must be carried out by a qualified service technicial or a service agency. The home owner may not service the furnace. The home owner must read this section to be informed of the periodic maintenance and checks the required. -
Page 12: Replacement Parts
Replacement Parts Gas Valve Pilot Sparking Candle and Nozzle Piezo Electric Button Thermocouple Burner Pilot Pilot Gasket Burner Nozzle Part Number: JVLV023 (Natural Gas) Part Number: JVLV024 (LPG) Part Number: J12306065 (Sparking Candle) Part Number: JGLL064 (Nozzle – Natural Gas) Part Number: J12160880 (Nozzle - LPG) Part Number: JPZO000...