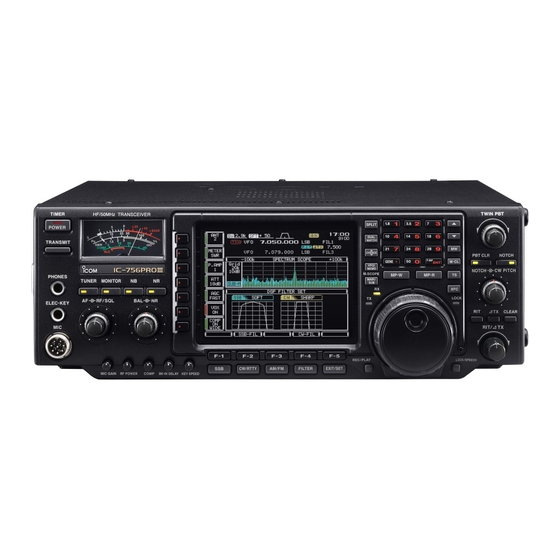
Icom IC-756ProIII Installing Manual
Installing a lif port into the transceiver
Hide thumbs
Also See for IC-756ProIII:
- Instruction manual (124 pages) ,
- Service manual (119 pages) ,
- Installation notes (4 pages)
Advertisement
Quick Links
Installing a LIF port into the IC-756ProIII transceiver
Introduction
This document describes the procedure for installing a LIF (Low Intermediate
Frequency [455kHz]) port into the Icom IC-756ProIII transceiver. The procedures
described in this document may also apply to other IC-756 models, but have not
yet been attempted. This procedure requires a level of expertise sufficient to
dismantle the transceiver and to solder SMT size components. Nonetheless, the
installation is straight forward and should not cause any difficulties for the
experienced radio amateur. It is important to unplug all connectors and power
before working on any transceiver. It is also important to be grounded to avoid
static discharges.
Please note: no responsibility or liability will be taken by the author of this
document for any damage or malfunction caused by user modifications.
LIF port installation
Dismantling the Transceiver
The bottom cover of the radio must be removed. There are 10 screws that
need to be removed and then the cover will come loose. These screws are
two on either side and six on the bottom of the radio. The coaxial cable
plug P701 @ J211 should be gently unplugged and moved out of the way.
It may be useful to also disconnect J641 (multicolor ATU cable assembly)
and move it out of the way as well. You should now have plenty of room to
work.
Drilling the Hole
An SMA connector is the preferred connector because of its small size
and limited real estate on the IC-756. A hole will need to be drilled next to
the DIN 8 (ACC1) jack. Ensure that the hole is centered between the DIN
8 jack and the bulkhead. The SMA connector fits neatly into this space.
Before drilling the hole, cover the PCB with masking tape to prevent metal
shavings from falling into the lower part of the transceiver. Vacuum out
the metal dust and clean all surfaces before reassembling.
Advertisement

Related Manuals for Icom IC-756ProIII


Summary of Contents for Icom IC-756ProIII
- Page 1 Introduction This document describes the procedure for installing a LIF (Low Intermediate Frequency [455kHz]) port into the Icom IC-756ProIII transceiver. The procedures described in this document may also apply to other IC-756 models, but have not yet been attempted. This procedure requires a level of expertise sufficient to dismantle the transceiver and to solder SMT size components.
- Page 2 Connecting the RF cable to the PCB The 455kHz bidirectional port of the IC-756ProIII is on the bottom side of the main circuit board. The RF cable center is soldered onto a 1nF (1000pF) ceramic decoupling capacitor. The Layout design drawing (left) and the picture of the actual PCB (right and below).
- Page 3 Replace the bottom cover and all screws. Connection of the LIF converter (RX-only) The LIF RX output of the transceiver connects to the IN port (TB1) of the LIF assembly and the audio Line out (TB3) connects to the tip line-in of the sound card.
- Page 4 Setup of the CAT interface The MDSR software controls the transceiver via the CAT port. The connector cable CI-V is the Icom version of the interface cable that plugs into the back of the radio and the RS-232 port of the computer. There are also virtual RS-232 cables available that connect via the USB bus to the computer.